


 TL;DR:
The ideal method for converting HEIC to JPG depends entirely on your operating system capabilities, with newer macOS versions supporting native conversion tools while older Macs or Windows PCs require external software.
● Users on macOS 12 can batch convert directly in Finder using the built-in Convert Image Quick Action, while macOS 10.13 through 11 users can natively export HEIC files to JPG via the Preview app, Photos app, or Automator workflows.
● Systems older than macOS 10.13 lack native HEIC compatibility entirely, requiring users to rely on third-party solutions like the downloadable iMazing HEIC Converter or by uploading files to Dropbox to manually save them as JPGs via the web interface.
● Windows users face a similar native format limitation and must use standalone third-party tools, such as the free MobileTrans software, which supports batch converting up to 100 HEIC files at a time.
Ask AI for a summary
 ChatGPT
 Perplexity
 Gemini
 Claude
 Grok
Grok
Hi, I transferred images from my iPhone 17 ProMax to my Mac computer for personal use. But the issue is that the platform I want to use the photos on doesn't support the HEIC file format. Please how can I convert multiple HEIC files to JPG on Mac?
Recently, there have been lots of controversies about converting HEIC to JPG on Mac. While some users lack the knowledge of how to get the job done, others just find the process difficult.
Well, converting HEIC to JPG on Mac depends on the version of macOS you're using, but it's still not a difficult task. In this post, we'll guide you through 6 possible ways to convert HEIC to JPG on Mac. So, just keep reading.

Part 1: Batch Convert HEIC to JPG on Mac [macOS 12]
If you're using the latest macOS 12, converting HEIC to JPG is easier than you might think. Unlike the earlier Mac versions, Monterey has a built-in "Convert Image" that allows users to convert HEIC to JPG quickly and easily.
The step-by-step process to use this fantastic feature on macOS Monterey is illustrated below;
Step 1: Launch the Finder app on your macOS Monterey and locate the HEIC files you want to convert > use the "Command key" to select the HEIC files, then right-click it.

Step 2: Select "Quick Actions" from the pop-up list and click on "Convert Image".
Step 3: Select JPG as the preferred image format.

Step 4: Next, choose a suitable size for your image file. You can select either Small, Medium, Large, or the Actual size.

Step 5: Tick the checkbox next to "Preserve Metadata", then hit the "Convert to JPG" button to complete the action.

Part 2: How to Convert HEIC to JPG on Mac [MacOS 10.13 - 11]
For users whose Mac is running macOS 10.3 - 11, you can open and view HEIC photos natively via Preview, Photos, or Automator. Here, we've explained the steps to use any of these options to change HEIC to JPG on Mac without hassles.
Method 1: Convert Multiple HEIC files to JPG on Mac via Preview
The Preview app on Mac is a reliable image viewer and PDF viewer, and it can also convert multiple HEIC files to JPG. Yes, the app supports basic edit options that users can use to edit their image quality and convert it into different formats.
The following steps explain the how-to process to use the Preview app;
Step 1: Open the Finder app on your Mac computer and use the Command key to select the "HEIC" files you want to convert to JPG. Then right-click and choose "Preview (default)".

Step 2: In the Preview window, navigate to the top bar and click "Edit," then choose "Select All."

Step 3: Afterward, click "File" from the top bar and select "Export Selected Images" from the pop-up list.

Step 4: Select where you want to save the files, then click "Options" and select JPEG as the preferred format for your images. Finally, click Choose to complete the operation.

Method 2: Change HEIC Photos to JPG on Mac via Photos
You can also change HEIC photos to JPG via the Photos app on Mac, and there are two different methods to complete the action. You can use the drag and drop option or "Export Images".
- Using Drag and Drop
Select the HEIC photos in the Photos library, and drag and drop the HEIC photos to any location on your Mac computer. By doing so, the HEIC photos will be automatically converted to JPG instantly.
- Using Export Photos
Step 1: Open the HEIC photo via the Photos app > click the File option and select Export > Export Photos.

Step 2: Select JPEG as the format, then click the "Export" button to complete the process.
Method 3: Make HEIC to JPG on Mac via Automator
You can use the Automator to convert HEIC to JPG on Mac. However, you need to add this option to "Quick Actions" first to be able to get the job done. The process is explained below;
Step 1: Set up Quick Actions.
- Launch the "Applications" folder on your Mac, search for "Automator," and then open it.
- Click "New Document" > Quick Actions > Choose.
- Navigate to the left side of your screen and search 'Change type,' then double-click 'Change Type of Images' to add it to Quick Actions. And select JPG from the drop-down menu of image types.
- From the Menu bar, click File > Save, and type 'Convert to JPG.'

Step 2: Once you've completed the Quick Actions setup, locate your HEIC images and select them, then right-click and choose Convert to JPG from the Quick Actions menu. The HEIC images will be automatically converted to JPG.

Part 3: How to Change HEIC to JPG on Mac [Old MacOS Version]
Unfortunately, you can not view or convert HEIC files without using third-party tools on old macOS versions. Yes, this is because its OS doesn't support the HEIC format.
We recommend using tools like Dropbox or iMazing as they're easy to use and don't compromise image quality. Read on to learn how to use either of them to change HEIC to JPG on Mac.
Method 1: Turn HEIC to JPG on Mac Online via Dropbox
To use Dropbox for HEIC to JPG conversion does not require the installation of the app. Instead, you can get the job done directly from the official website with only a few clicks.
Step 1: Visit the Dropbox official website via the link; https://www.dropbox.com/
Step 2: Now, sign in to your dropbox account > locate the HEIC image, then right-click the image and choose "Save image as".

Step 3: Finally, choose the location where you want to save the image and choose JPG as the format to save it.
Note: You need to upload HEIC photos to Dropbox first.
Method 2: Convert from HEIC to JPG on Mac via iMazing
iMazing HEIC Converter is free software that allows users to manage data on a Mac. With this tool, you can easily convert small or large HEIC files to JPG seamlessly without requiring technical knowledge.
Step 1: Download and install the iMazing software on your Mac computer.
Step 2: Drag and drop the HEIC photo(s) you want to convert to JPG to the tool's interface. Then, click the drop-down icon next to format and select JPG.

Step 3: Click the Convert button to begin the HEIC to JPG conversion.

Step 4: Save the converted photos to your Mac afterward.
Bonus: How to Convert HEIC to JPG on Windows
In contrast to converting HEIC to JPG on Mac, you can also convert HEIC to JPG on Windows. However, the process is entirely different.
To convert HEIC to JPG on Windows, you need the best software, "MobileTrans" - a multifunctional tool that offers different data management functionalities.
With MobileTrans, you don't need to be tech-savvy to be able to use the software, and the amazing thing is the tool is 100% free. It also supports the conversion of up to 100 HEIC files in just one click.
Step 1: First, download the MobileTrans software and install it on your Windows PC.
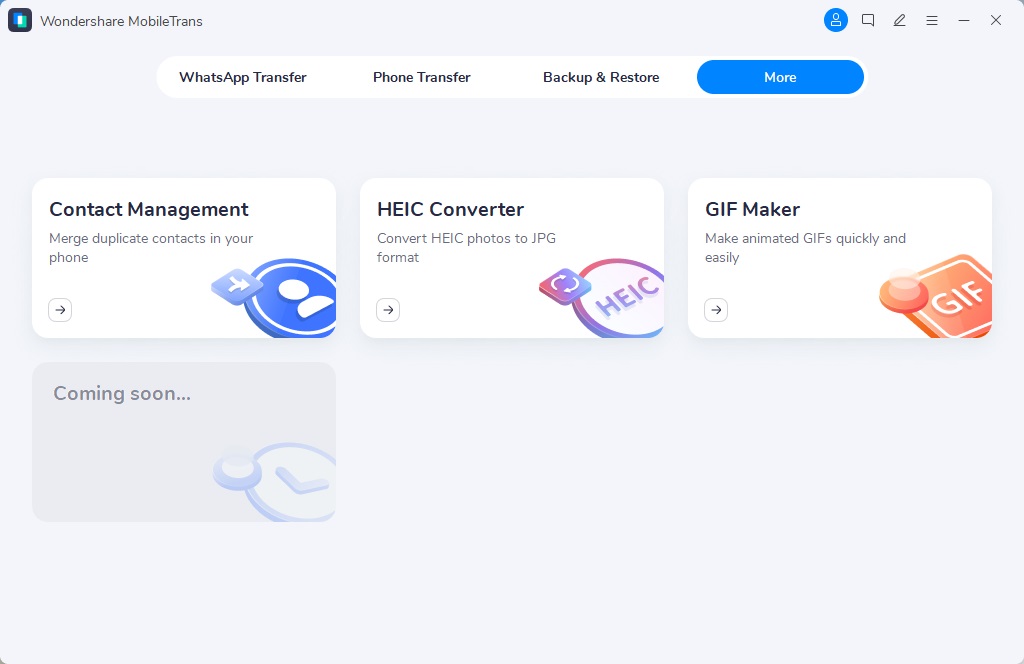
Step 2: Launch the program and select the 'More Tools' module.
Step 3: Up next, choose 'HEIC Converter'.
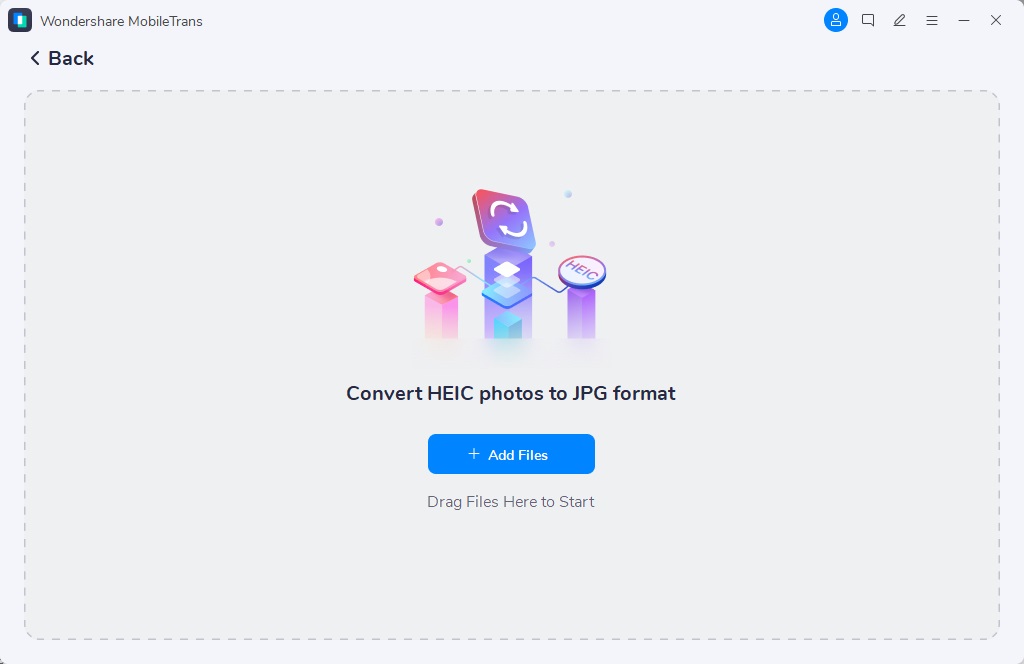
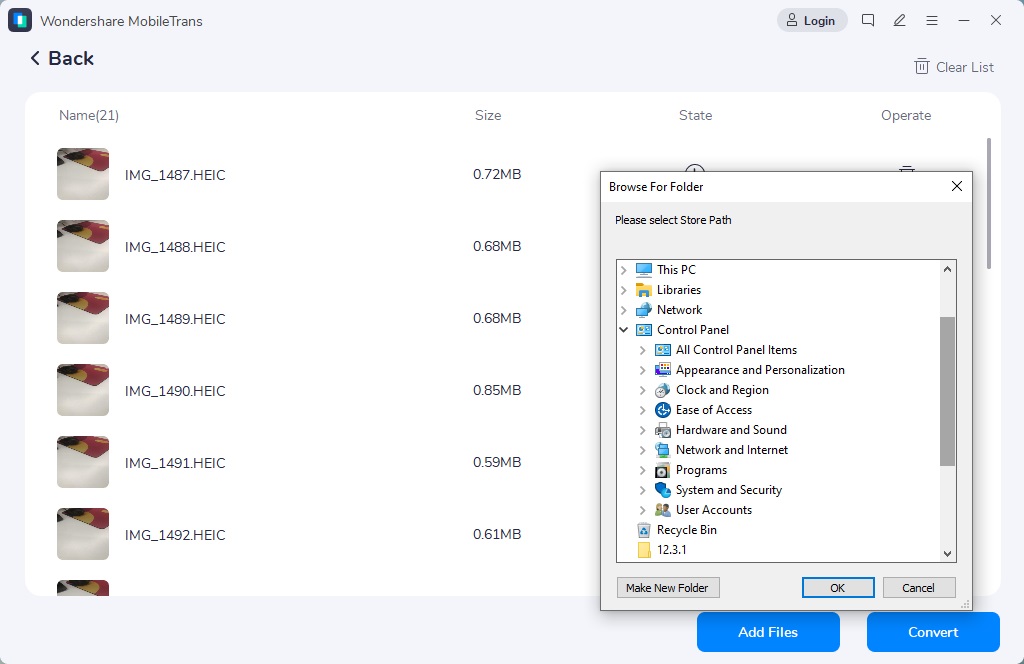
Step 4: Click the 'Add Files' button and upload the HEIC files from your PC. Alternatively, you can drag and drop the HEIC files.
Step 5: Click the 'Convert' button at the bottom right corner to convert HEIC to JPG. Then save the converted files to your PC.
Conclusion
Converting HEIC to JPG on Mac has never been this easy. In the article above, we've briefly explained different methods to convert HEIC to JPG on Mac computers. All you just have to do is to check out each conversion method and find the one that suits your needs.
Also, perhaps you need to convert HEIC to JPG on Windows, MobileTrans is the best tool to help you carry out the operation very fast and with high quality.
MobileTrans - HEIC Converter
Convert HEIC files to JPG fast without losing quality
New Trendings

Top Stories
All Categories


Axel Nash
chief Editor