How to Upload Photos to iCloud from iPhone – 3 Methods Explained

Written By Axel Nash |

If you love to take photos on your iPhone, losing your photos is the last thing you want to experience. That's where you want to upload photos to iCloud from your iPhone. This post will share the best methods to move photos from an iPhone to iCloud.
So, read this article to the very end, and you will know which method fits you best.

How to Move Photos from iPhone to iCloud
Moving your photos to iCloud from your iPhone is easy when you use the listed methods. Check them out.
Method 1: How to Transfer Photos from iPhone to iCloud via Settings
One of the easiest methods for transferring photos to iCloud from your iPhone is via Settings. Follow up on the outline.
Steps to Transfer Photos from iPhone to iCloud via Settings:
- Quickly head to your iPhone Settings.
- Hit on your account or avatar.
- Navigate to iCloud and head to Photos.
- Toggle to turn on the iCloud Photo Library option.

- Once done, wait a few minutes, head to the iCloud website, and check if the photos are there.
Note: Before you toggle the option to turn to iCloud Photo Library, ensure you have an active and valid iCloud account.
Caution: Transferring your photos to iCloud via Settings will synchronize all your videos and photos to iCloud only when there is enough space available. And you should not always count on iCloud to save your photos because once you delete the video or the photos from your device, it will be gone from the iCloud too.
Method 2: How to Upload Photos to iCloud from iPhone
What if I tell you that you do not have to turn on the iCloud Library feature to transfer photos? You can also do it manually. For example, suppose you wish to upload only some photos and some of the bunch. Here is how. Do follow-up.
Steps to Upload Photos to iCloud from iPhone:
- Open up Safari on your phone and head to the iCloud website.
- Use your iCloud credentials and log in.

- Under the Photos tab, click on Upload, and then select Photos Library.
- Choose the desired photos you wish to upload and hit Add .

Pros:
- Choose which photo to upload
- Very easy to copy photos
Cons:
- Choosing and uploading pictures can be very time-consuming.
Method 3: Move Photos from iPhone to iCloud
The aforementioned method is pretty straightforward, but another method is reliable as well. Even if you find the above method easy, there is no harm to known other alternatives.
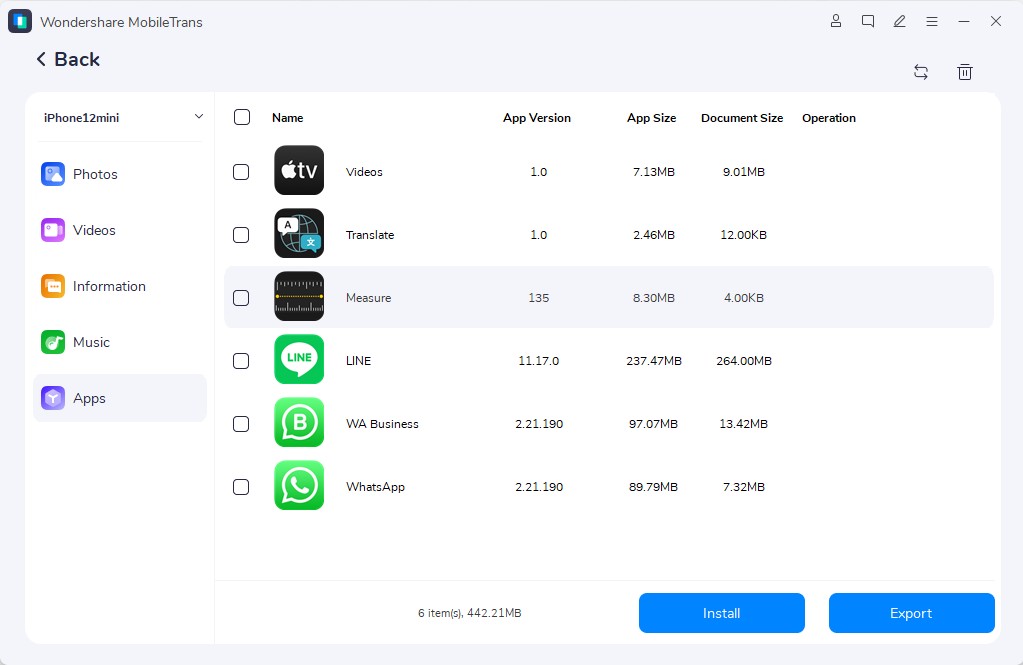
In case you didn't know, the Wondershare MobileTrans is one of the most reliable applications that can help you transfer any data in the simplest way possible. It lets transfer photos between any device, whether you use an iPhone, Android, Mac, or Windows computer.
MobileTrans - Phone Transfer
- • Transfer both small and huge data sizes from Android to iPhone or vice versa fast without lagging.
- • Supported on both Mac and Windows computers and can be used to manage data in over 6000 types of mobile devices.
- • It doesn't compromise existing data on a device during data transfer, backup, or restoration.
- • Transfer different types of app data including WhatsApp data, Viber data, Photos, Videos, and lots more.

 4.5/5 Excellent
Steps to Move Photos from iPhone to iCloud via MobileTrans:
- Install Wondershare MobileTrans.
- Launch the application from the main screen, hit on the Phone Transfer module, and select Export to Computer.

- Now, you will have to connect your iPhone to the computer and wait until MobileTrans detects your iPhone.
- Now, you will get to see a number of options available. From the list, simply choose Photos.
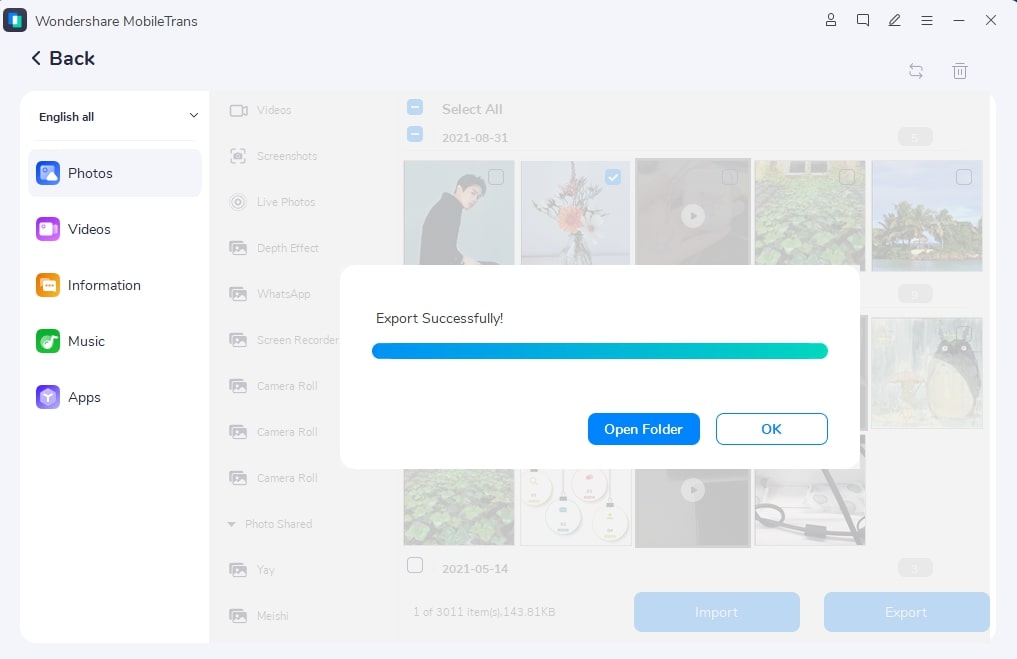
- Click on the Export button.

- Now, the app will start exporting the photos to your computer.

- Now that the photos are exported to the computer, head to the iCloud website and upload the desired photos.
Note: Using this method via MobileTrans will help you upload the photos from your iPhone to iCloud and disable the iCloud Photo Library feature. Also, you can delete the pictures and save some space on your iPhone.
Bonus: How to Upload Photos to iCloud from Mac, PC, and Android
Now that you have discovered every possible way of transferring photos from your iPhone to iCloud storage, you might have questions about how to upload photos to iCloud from a computer or an Android device. No worries, we have got your back.
Using a Mac
If you are using Mac, you will not have to rely on or download any other application from the web to transfer your photos to iCloud. Every resource you will need is already available on your Mac. Check the steps to transfer your photos to iCloud using a Mac:
- Go to System Preferences.
- Hit on Apple ID and then hit on iCloud.
- Tick in the box next to the iCloud option.
- And it will automatically start to synchronize all the pictures on your Mac.

Using a PC
You will need to do a bit more extra steps if you transfer photos from your Windows PC to your iCloud. But you will have to download and install iCloud for Windows. Once you have the application, follow these steps:

- Simply log into your iCloud account.
- Check in the box that you find next to Photos.
- Hit Apply.
- Open the File Explorer.
- Hit iCloud Photos under the Favorites tab on the left side of the screen.
- Now, copy your desired photos and paste them into the Uploads folder.
Once uploaded, you can access all the photos on iCloud.
Using an Android Phone
Since there is no iCloud app available for your Android device, you will still be able to upload your favorite pictures to iCloud. All you have to do is use your browser and head to iCloud.com. Log in, and upload your favorite pictures. That is all.
The Closing Thoughts
So, how to upload photos from iCloud to your iPhone? Now that you have read this post, we hope you have figured out the best method.
New Trendings
Top Stories
All Categories


Axel Nash
staff Editor