Whenever we get a new smartphone, the first thing that we would like to do is the transfer of our data. Though, switching from Android to iOS can be a tough job and you might end up losing your important files in between. That’s why it is recommended to use a Sony to iPhone transfer solution to make this transition without data loss. While there are a handful of ways to transfer data from Sony to iPhone, I’m going to discuss the three most convenient solutions in this post.

Part 1: Transfer Data from Sony to iPhone with a Single Click: MobileTrans – Phone Transfer
MobileTrans – Phone Transfer provides the fastest and simplest solution to perform Sony to iPhone transfer. With just a single click, you can move all kinds of data, such as photos, videos, music, contacts, call logs, messages, and so on. Also, the application will perform a direct device to device transfer without storing your data in between.
Since MobileTrans can transfer data between 8000+ Android and iOS devices, you will not encounter any compatibility issues as well. To learn how to transfer data from Sony to iPhone in minutes, just follow this simple drill:
Step 1: Launch MobileTrans – Phone Transfer
Firstly, install the phone transfer tool from the MobileTrans website and launch it to perform the Sony to iPhone transfer. From its home, you can select the “Phone Transfer” module to start the process.

Step 2: Connect your iPhone and Sony Device
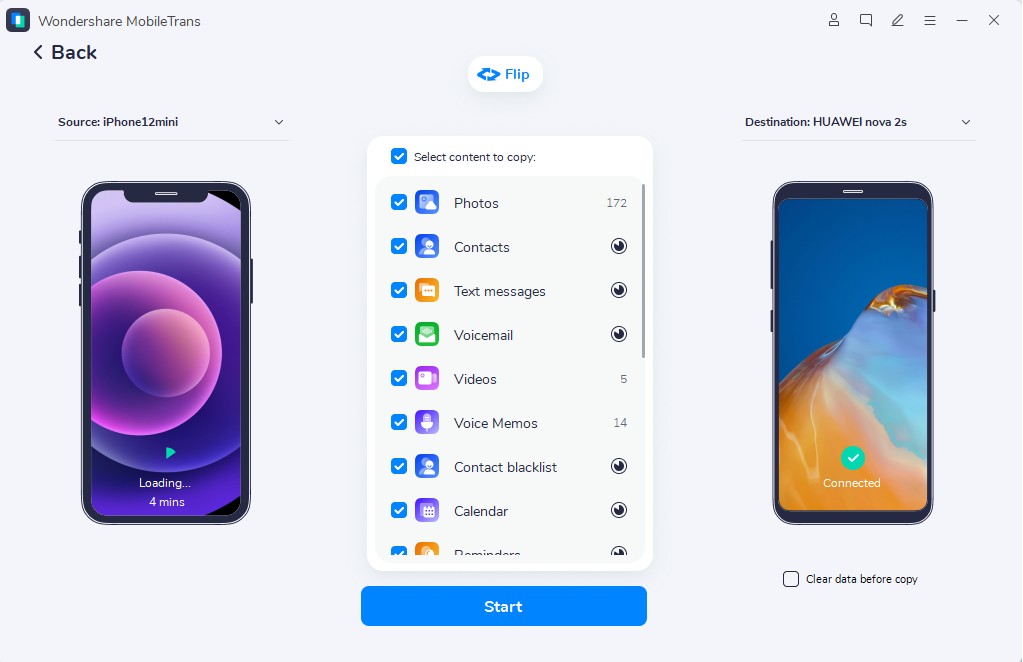
Now, using their respective USB and lightning cables, you can connect both the devices to the system, and let MobileTrans detect them. Just make sure that iPhone is the destination device here or else use the flip button to correct it.

Step 3: Transfer data from Sony to iPhone
In the middle, you can see a list of all the data types that you can move from your Sony smartphone to iPhone. From here, you can just select what you wish to move and click on the “Start Transfer” button to begin the process. You can choose to wipe the data on your target phone as well (optional).

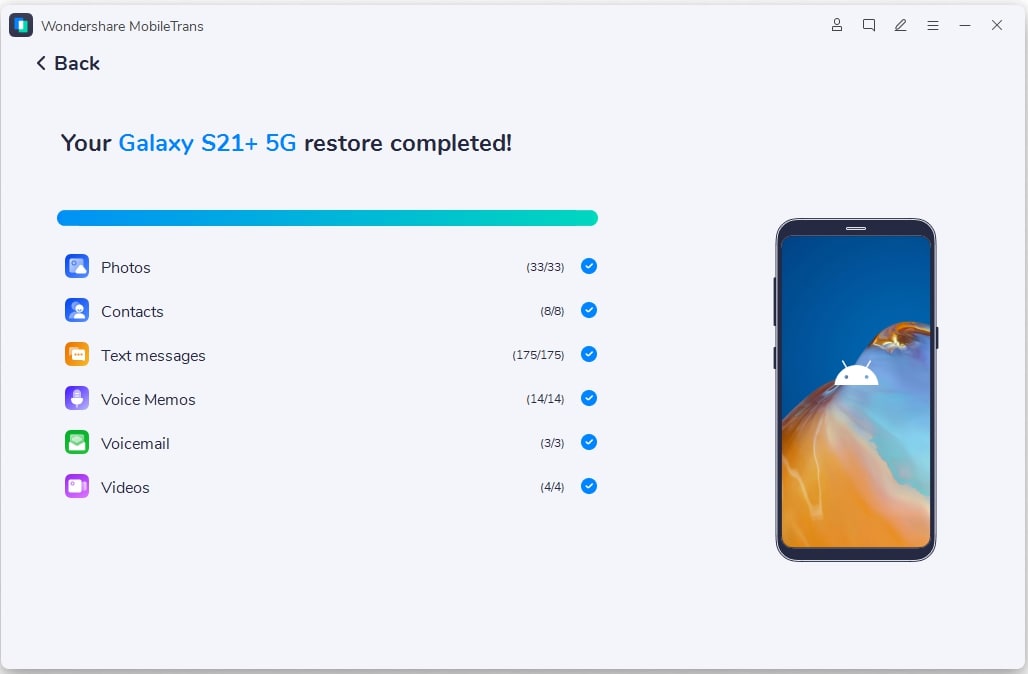
That’s it! You simply have to wait for a while as your selected data would be moved to your iPhone. When it will finish transferring your data, you will be notified so that you can safely remove both the devices.

By following these instructions, you can transfer your data between any two devices with no technical hassle.
Part 2: How to Perform Sony to iPhone Transfer with Move to iOS
If you want to perform a wireless transfer of data, then you can also take the assistance of Move to iOS. It is a freely available Android app that you can use while setting up your iPhone. For this, you need to connect both the devices and can choose to set up your iPhone from an Android phone.
As of now, Move to iOS can help you transfer your contacts, messages, bookmarks, Google account, and Camera Roll data. Since several data types are missing, a lot of people don’t use this solution. Nevertheless, you can learn how to transfer contacts from Sony to iPhone with Move to iOS in the following way:
Step 1: Install the Move to iOS app
To start with, just go to the Play Store on your Sony Xperia and install the Move to iOS application on it.

Turn on your iPhone, and while performing its setup, simply choose to restore data from an Android device.

Step 2: Connect your iPhone and Sony Xperia
Keep both the devices nearby and enable their Bluetooth and Wi-Fi features now. A one-time generated code will be displayed on your iPhone that you need to enter on your Sony device to establish a secure connection.

Step 3: Transfer data from Sony to iPhone
Once both the devices are successfully connected, you can just select the type of data to move, and wait for the transfer process to be completed. Since this will perform a wireless Sony to iPhone transfer, it will take more time than usual to complete.

Limitations
- • The method can only be implemented while setting up a new iPhone
- • It can only transfer a handful of data types
- • Overall, it is a time-consuming and complicated process
Part 3: How to Transfer Contacts from Sony Xperia to iPhone with a SIM Card
Lastly, if you only wish to transfer contacts from Sony to iPhone, then you can just use your SIM card. These days, most of the SIM cards have a few KBs of storage that can hold up to 200-300 contacts. Therefore, if you don’t have a lot of contacts saved on your phone, then just move them via your SIM card. Here’s how to transfer contacts from Sony Xperia to iPhone with your SIM card.
Step 1: Move Contacts from Device to SIM Storage
If you don’t have your contacts saved in the SIM card, then go to the Contacts app on your Sony device first. Now, tap on the three-dot icon from the top to go to its Settings > Import/Export and choose to export all contacts to the SIM card.

Step 2: Insert the SIM to your iPhone
Afterward, you can carefully remove the SIM card from your Sony device and insert it to your iPhone instead. You can use a SIM ejector tool to take out the SIM card tray from your iPhone.

Step 3: Import contacts to iPhone
Once the SIM is successfully detected on your iPhone, just go to its Settings > Mails, Contacts, Calendars, and find the “Import SIM Contacts” option from the bottom. Simply tap on this option and wait as it would transfer contacts from Sony to iPhone.

Limitations
- • It can only transfer contacts (and no other data types)
- • Can be time-consuming and complicated
- • Most of the SIM cards can’t store more than 200 contacts
I’m sure that after reading this post, you can easily perform Sony to iPhone transfer in an instant. You can use the SIM card of your phone to learn how to transfer contacts from Sony Xperia to iPhone. Though, if you wish to move all data types at once, then you can try MobileTrans – Phone Transfer. With a single click, it can perform a cross-platform transfer of data and would come handy whenever you wish to switch from one smartphone to another in the future as well.
New Trendings
Top Stories
All Categories


Axel Nash
staff Editor