How to Transfer Photos from iCloud to External Hard Drive

Written By Navkiran Dhaliwal |

That being said, there are situations where you might want to transfer iCloud photos to external hard drive for further use or just to manage your iCloud storage. But the next thing that struck your mind is, "How can I do it?" Well, that's why we've prepared this article.
Today, we will show you the simple steps on how to download iCloud photos to a hard drive in just a few clicks without requiring any technical knowledge. So, keep scrolling to find out more!

Part 1: Download Photos from iCloud to Hard Drive on Windows PC
This sounds quite impossible, but don't panic because we've got you covered. Perhaps you're unaware that Apple has released iCloud for Windows, and the fact is there's no straightforward way to transfer iCloud photos to a hard drive on a Windows computer except you download the iCloud photos to your Windows PC first.
The detailed step outlined below will guide you on how to download iCloud photos to hard drive on Windows.
- Step 1: Download the iCloud for Windows App on your PC, then sign in to your iCloud account using your Apple ID and password and connect the hard drive to the PC.
- Step 2: To the right of iCloud Photos, click > button.

- Step 3: From the pop-up that appears, turn on "iCloud Photos". Optionally, select "Download High-Efficiency format photos and videos" or "Download HDR videos" for the picture quality.
- Step 4: If you want to access your iCloud Shared Albums on your PC, turn on "Shared Albums". Click "Done" to finish settings.

- Step 5: Now, open File Explorer; then, from the left side of the page, click iCloud Photos, and select the Downloads folder > Choose the photos you want to download to the hard drive, then click Download.

- Step 6: Your iCloud photos will be downloaded to the hard drive. This might take some minutes to get completed.
Afterward, disconnect your hard drive from your Windows computer.
Note: Apple iCloud doesn't allow you to download more than 1000 at a time. So, you might need to repeat the operation if the photos you're looking to download are above 1000 using the method mentioned above.
Part 2: How to Transfer All Photos from iCloud to External Hard Drive at a Time
Apple iCloud doesn't support the direct download of more than 1000 photos at a time, but there are other reliable methods you can employ to download all photos from your iCloud to your external hard drive. Read on to find these methods and how they work.
Method 1: Get a Copy of Your Data from Apple
One of the ways to download all iCloud photos to hard drive is by requesting a copy of your iCloud data directly from Apple. Although it usually takes a few days for Apple to respond, the wait is worth it if you don't need the photos urgently.
All you just have to do is to visit Apple Privacy website and complete the request process!
Follow the steps below to get a copy of your iCloud data from Apple;
- Step 1: Open http://privacy.apple.com/ and sign in to your iCloud account with your Apple ID and password.
- Step 2: Under 'Obtain a copy of your data' option, click on 'Get Started.'

- Step 3: Now, tick the boxes of the category of data you want to download. Since all your photos you want to download, choose 'Photos', then click on Continue to proceed.

- Step 4: Choose the maximum file size you want to download (The maximum you can download is 25GB). Then click Complete request for your request to be sent to Apple instantly.

Once your photos are ready for Download, you'll get an email from Apple via the mail linked to your apple account. This usually takes 3-7 days.
Method 2: Download All iCloud photos to External Hard Drive via MobileTrans
Requesting the copy of all your iCloud data is a decent option to download photos to hard drive; however, not everyone is ready to wait for 3-7 days before they can download their photos.
We recommend MobileTrans data sharing tool for a faster and more effective download of iCloud photos to hard drive if your iPhone has all the photos synced to iCloud.
MobileTrans is a robust tool that allows users to transfer, backup, and restore data in just a few clicks. It doesn't matter if you're looking to transfer data from phone to phone, phone to computer, iCloud to phone, or iCloud to computer. This software will give you access to all required tools to get the job done effortlessly.
MobileTrans - Transfer iPhone Photos
Transfer Photos from iPhone to Hard Drive
- Export iPhone photos to hard drive directly.
- Transfer 5 types of data between phone and computer.
- Transfer phone data and whatsapp data between different phones.
- Very effective for non-tech savvy individuals, and it offers a faster data transfer process.

 4.5/5 Excellent
How to Save iCloud Photos to Hard Drive Using MobileTrans
Make sure you've installed the latest version on MobileTrans on your PC and you've enabled iCloud Photos on your iPhone.
- Step 1: Launch the MobileTrans software on your Mac/Windows and connect your iPhone to the PC.
- Step 2: Click' Phone Transfer' from the home interface, then select 'Export to computer.'

- Step 3: Connect the hard drive to your PC > Now from the new interface, select Photos as the category of data you want to transfer.
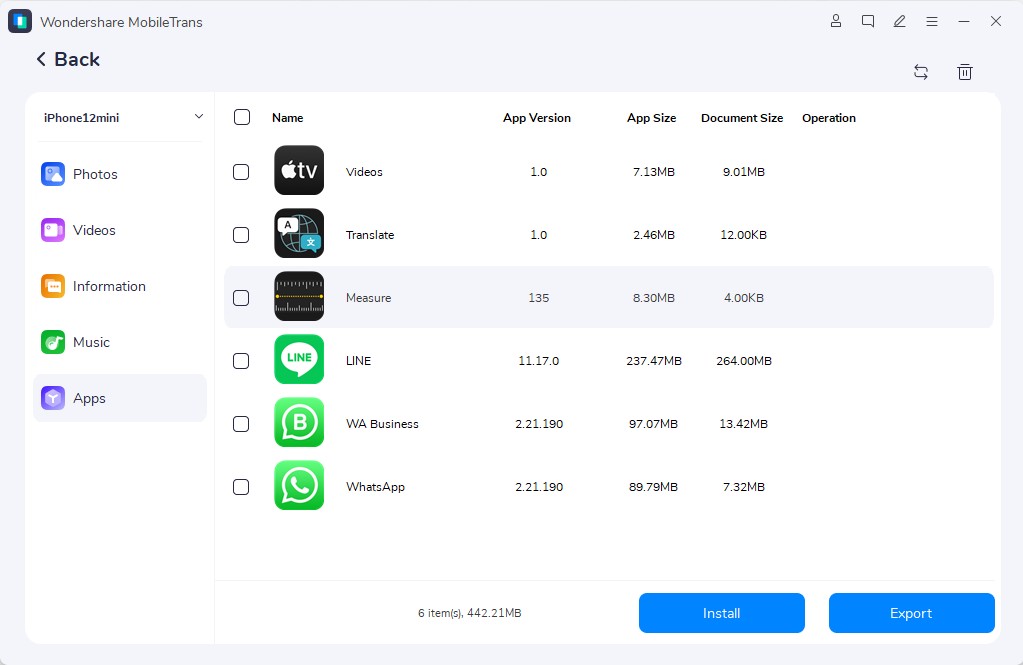
- Step 4: Select a specific date range of photos you want to transfer then click Select all and locate Export button to proceed.
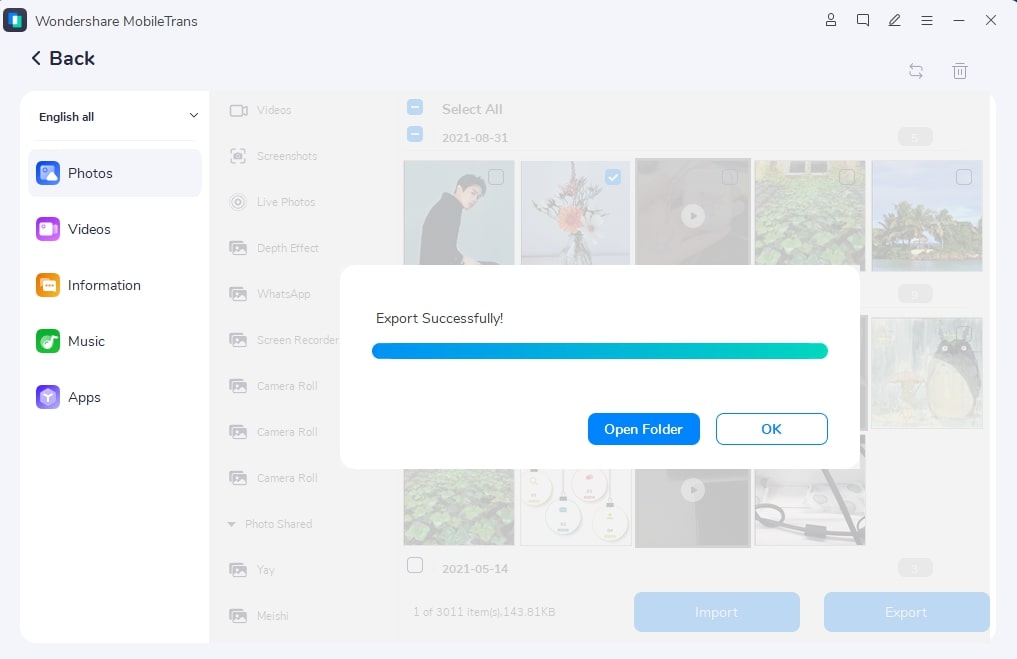
A pop-up window will appear requiring you to select the location where you want to save the photos. Just select on the connected hard drive
Your iCloud photos will be saved to the connected hard drive within a few minutes. You can disconnect the hard drive once the operation is completed.
Note: This method is available only when your iPhone has all the iCloud Photos
Part 3: Move Photos from iCloud to External Hard Drive via Photos App on Mac
It's easy to save iCloud photos to a hard drive using your Mac computer. All you just have to do is to connect your external hard drive to Mac and execute the operation from the Photos app on a Mac computer.
Employ the steps outlined to save photos from iCloud to an external drive;
- Step 1: Connect the hard drive to your Mac computer and create a new folder in the drive.
- Step 2: Launch the Photos app on your Mac.
- Step 3: Now select the photos you want to transfer to your hard drive and click on Export from the File menu, then select the hard drive as the location to save the photos.

- You can also decide to download original photos or edited photos as per your requirement.
- Step 4: Lastly, click on the Save button to complete the download process.
Bonus: Download iCloud Photos to Android Devices
Are you looking to move your iCloud photos to a new Android device? Worry less, because tools like MobileTrans software make the process of executing such tasks as simple as taking a walk in the Park.
As stated earlier, MobileTrans supports the transfer of data from iCloud to phone, so without wasting much time, let's proceed to see how to download iCloud photos to Android in a few clicks.
- Step 1: Open MobileTrans software and connect your Android phone to the PC.
- Step 2: Click on 'Phone transfer' and then select 'iCloud to phone' to proceed.
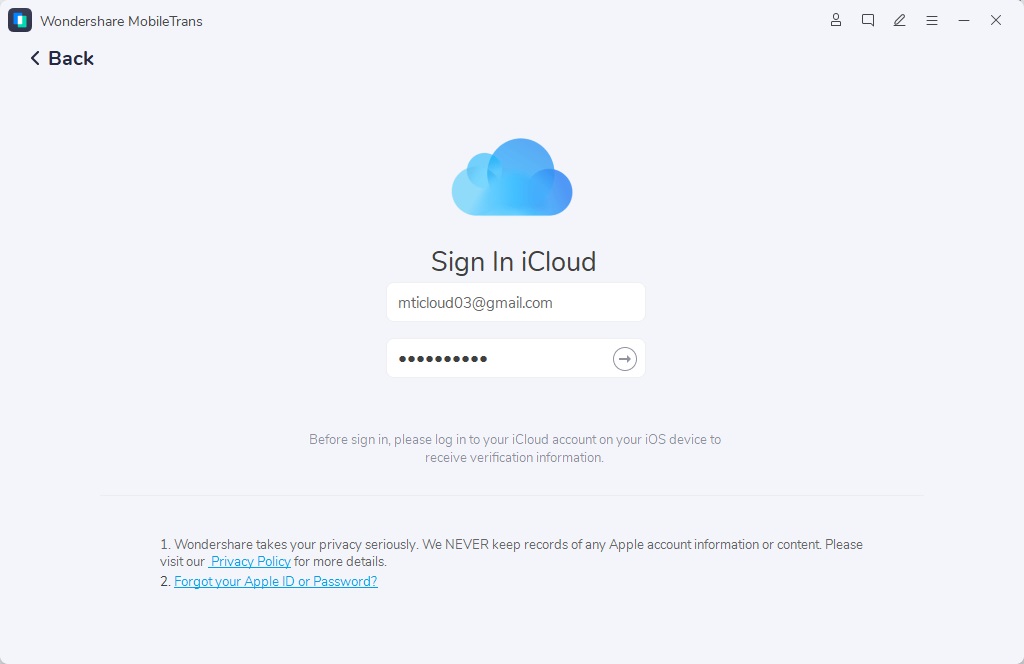
- Step 3: Sign in to your iCloud account. MobileTrans will not record any personal information.
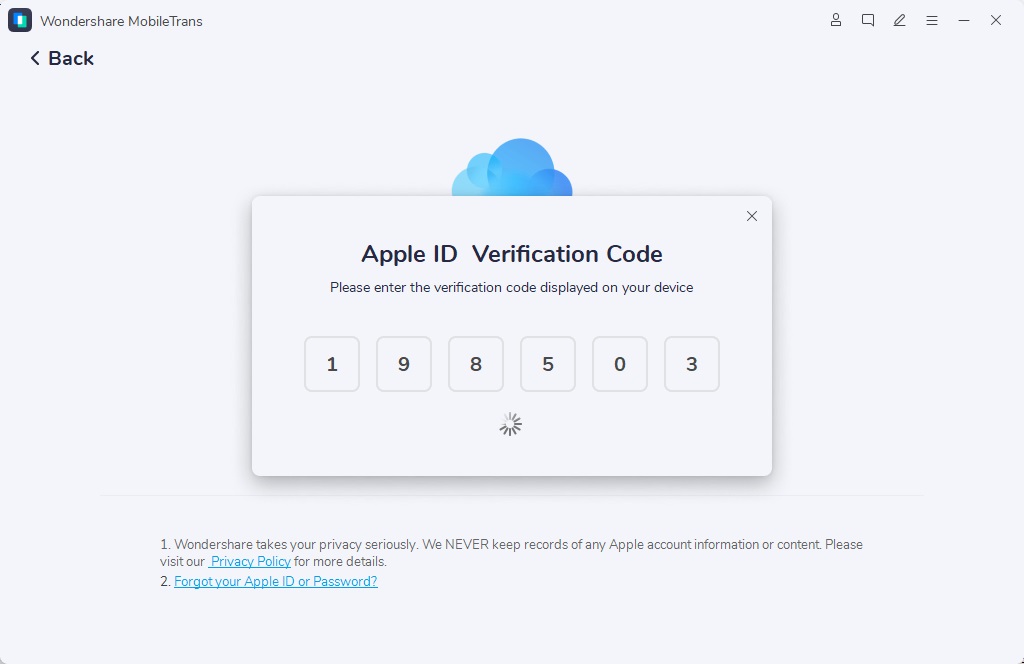
- Step 4: Enter the verification code that is sent to your iPhone.
- Step 5: Select the photos you want to export to your Android phone and click on 'Restore to Device'.
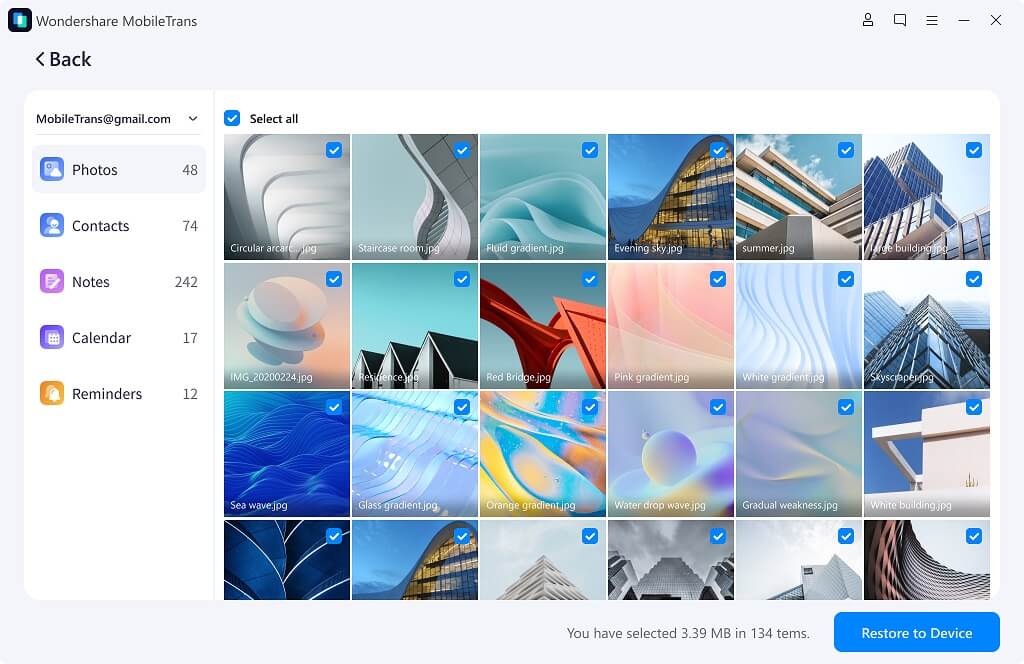
- Step 6: Hit the Start button to begin transferring iCloud photos to your Android device.
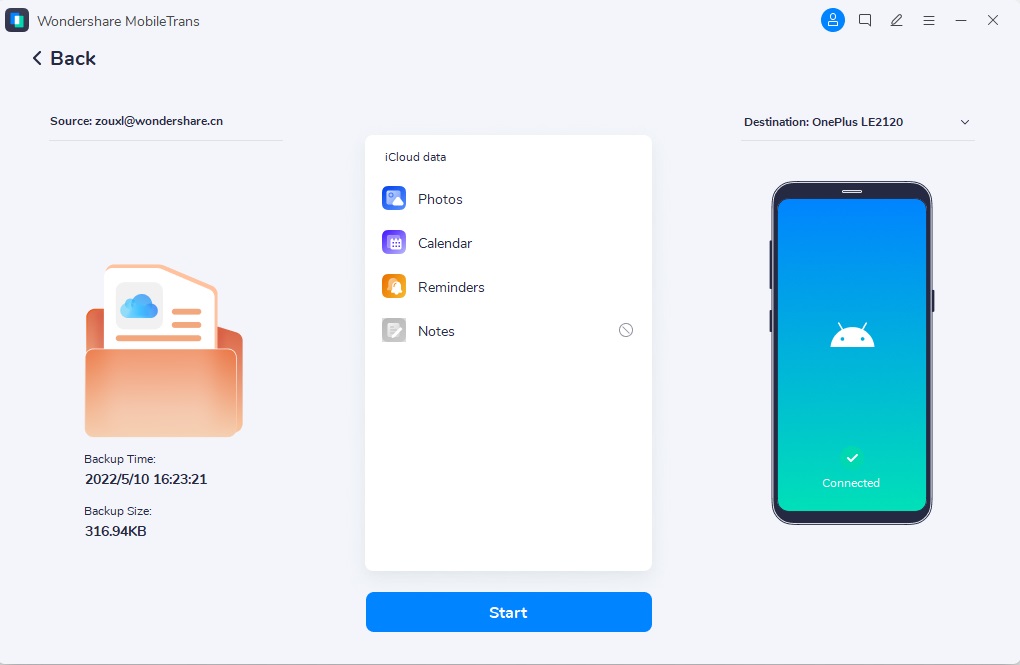
- Step 7: After the transfer is completed, which may take a few minutes, disconnect your Android phone from the PC.
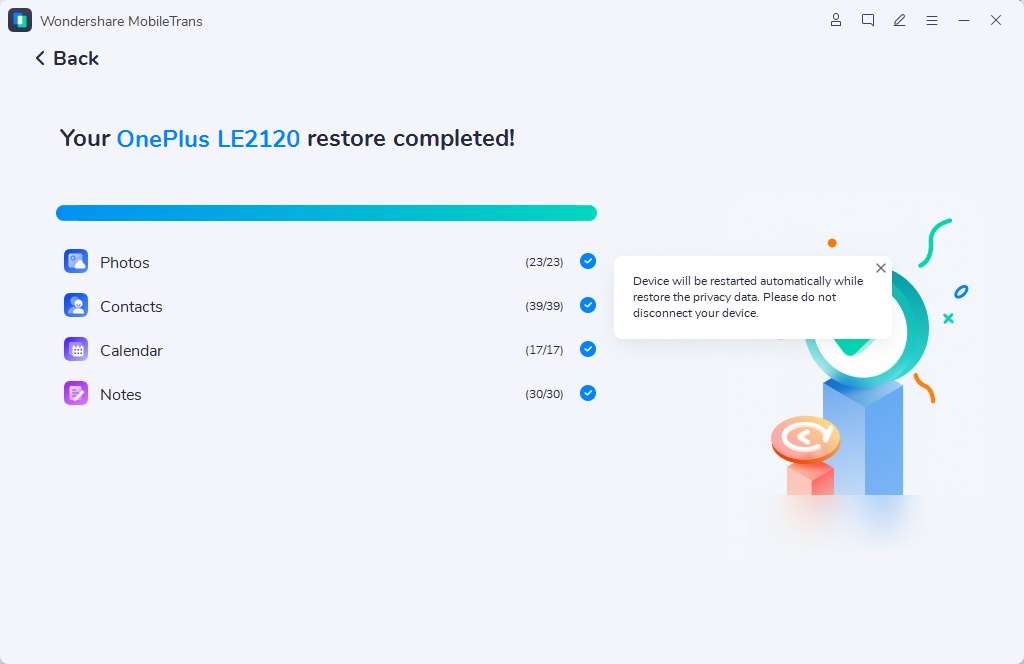
That's it! Now, you can view your iCloud photos on the new Android phone.
Conclusion
Photo transfer from iCloud to a hard drive is quite easy, and you don't require any technical knowledge to execute the operation. It doesn't matter if you're looking to transfer iCloud photos from iCloud to a hard drive on Windows or Mac. This page has covered all the information you must know to complete the task without complications.
Besides, we also touched on how to transfer all iCloud photos either to a hard drive or an Android using MobileTrans software. It's up to you to choose a method that suits your requirements.
New Trendings
Top Stories
All Categories


Navkiran Dhaliwal
staff Editor