


 TL;DR:
Choose AirDrop for instantly sharing individual files offline, or use MobileTrans and iCloud Backup to migrate complete device data depending on your internet and storage availability.
● AirDrop requires both devices to be unlocked and within 30 feet to transfer media without an internet connection, whereas iMessage and Mail support remote sharing but strict file size limits apply (approximately 100 MB for iMessage and 25 MB for Mail).
● iCloud Backup and iCloud Drive allow full system restorations on newly reset iPhones and asynchronous file access across devices, provided you have a stable Wi-Fi connection, matching Apple IDs, and sufficient space beyond the free 5GB tier.
● The MobileTrans app executes bulk data transfers—including WhatsApp histories—between devices with different Apple IDs without relying on Wi-Fi or cellular networks, though some capabilities require a paid subscription.
Ask AI for a summary
 ChatGPT
 Perplexity
 Gemini
 Claude
 Grok
Grok
Have you ever needed to quickly share photos, videos, or documents between iPhones? Whether you're switching to a new device or just sending a file to a friend, learning how to transfer files from iPhone to iPhone can save you time and effort. In this guide, you'll explore the best methods to do just that, with or without Wi-Fi.
Today, Apple users have several native and third-party tools available for smooth file transfers. From quick image sharing via AirDrop to full-device migration using tools like MobileTrans, you can find a method that matches your specific needs, be it sending a few photos, large videos, or entire app data. Let's break down each option and help you make an informed choice.
In this article
Which iPhone-to-iPhone Transfer Method Should You Choose?
Not all file transfers are created equal. Some methods are more suitable for individual files, such as images or documents, while others are designed for full device-to-device migration. Here's a quick comparison table to help you decide which method best suits your needs:
|
Method |
Speed |
File Types |
Internet |
Ease |
|
MobileTrans |
Fast |
All major file types |
No |
One-click |
|
AirDrop |
Fast |
Photos, Videos, Contacts |
No |
Easy |
|
iCloud |
Medium |
Limited (based on backup) |
Yes |
Moderate |
|
iTunes |
Medium |
Full device backup |
No |
Complex |
Tip: Use AirDrop for quick file sharing, like photos and videos. Opt for MobileTrans when you need to transfer everything—messages, contacts, apps, media—from one iPhone to another without using Wi-Fi.
Part 1: Use AirDrop for Quick iPhone-to-iPhone File Sharing
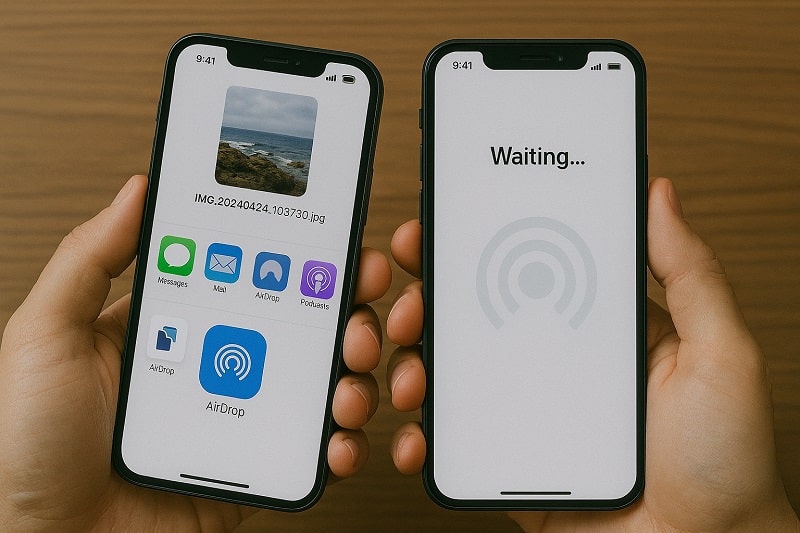
AirDrop is Apple's built-in wireless file-sharing service that uses Bluetooth and Wi-Fi to enable fast, peer-to-peer transfers between Apple devices. It's best suited for sharing small files like photos, videos, notes, contacts, and links. One of its greatest strengths is that it works without an internet connection, making it perfect for spontaneous, offline file sharing.
Here's how to prepare both iPhones for AirDrop:
- Turn on Bluetooth and Wi-Fi: Swipe down to access the Control Center and ensure both are enabled on both iPhones.
- Check AirDrop Settings: Press and hold the Wi-Fi section in the Control Center, then tap AirDrop. Select either Contacts Only or Everyone to make your device discoverable.
- Disable Personal Hotspot: If enabled, AirDrop won't function. Go to Settings > Personal Hotspot and toggle it off.
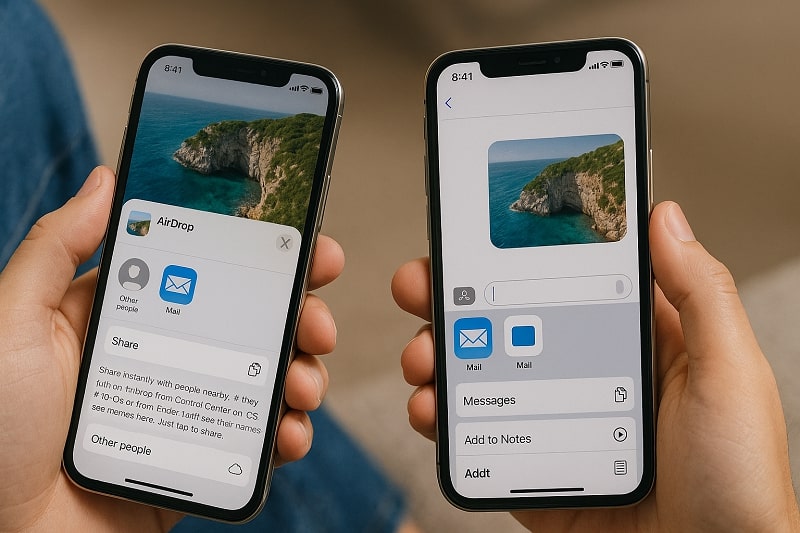
Steps to Send a File Using AirDrop:
Step 1: On the sender's iPhone, open the file you want to share (e.g., a photo or video from the Photos app).
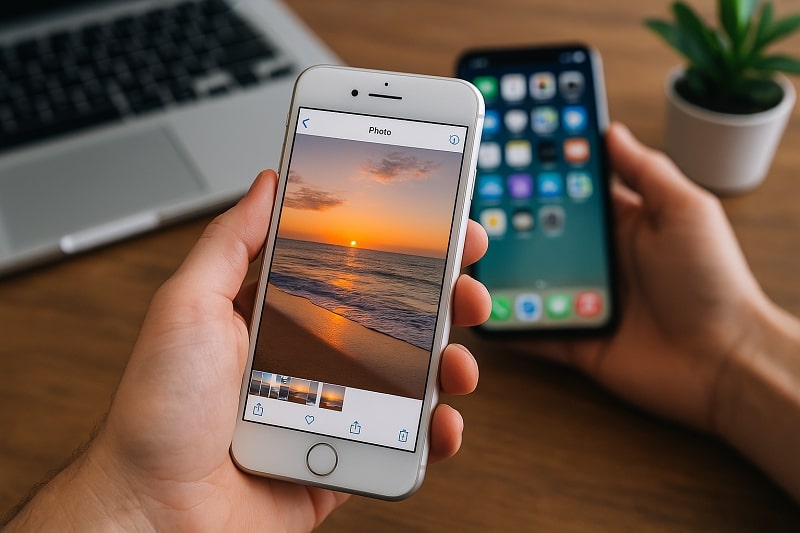
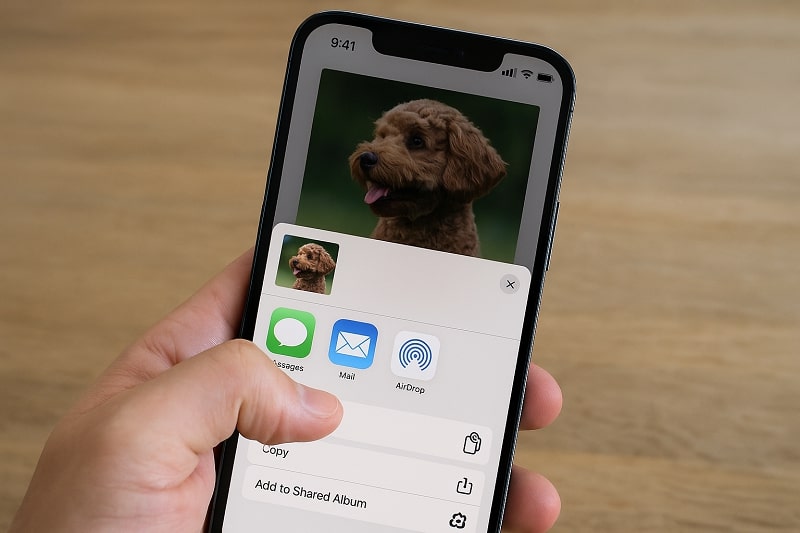
Step 2: Tap the Share icon (a square with an upward arrow).
Step 3: Tap the AirDrop button from the sharing options.
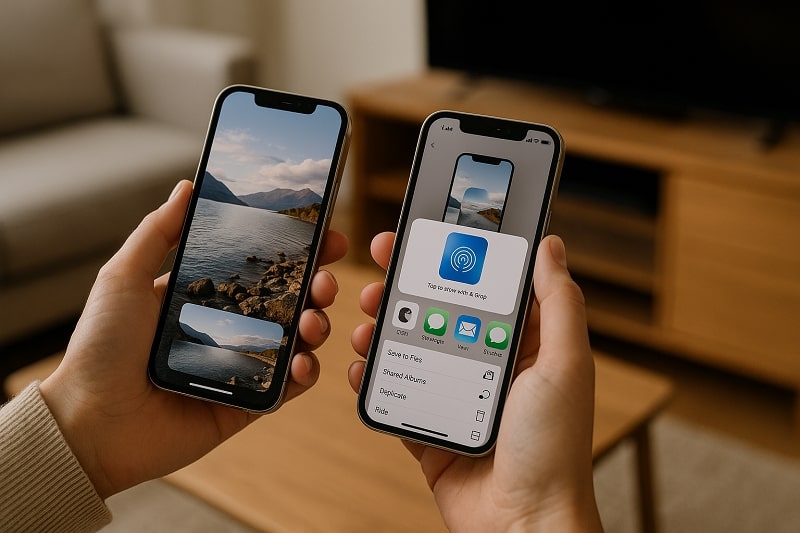
Step 4: Select the receiving iPhone from the list of available devices.
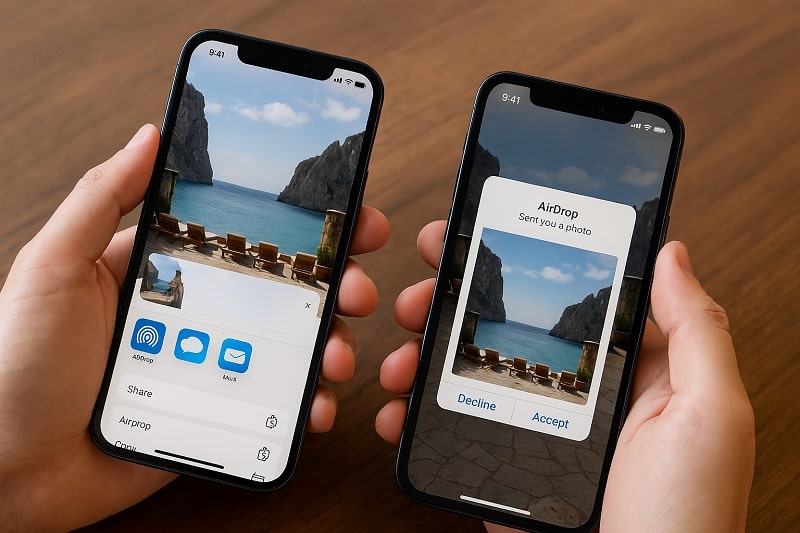
Step 5: On the recipient's iPhone, a prompt will appear asking to accept or decline the file. Tap Accept.
What Can You Send via AirDrop?
- Photos and videos
- Contacts
- Safari links
- Voice memos
- Maps locations
- Notes and documents
Troubleshooting Tips:
- Make sure both devices are unlocked and have screens turned on.
- Keep devices within 30 feet of each other.
- Restart Bluetooth and Wi-Fi if the receiving device doesn't appear.
- Ensure that the receiving device is not in Do Not Disturb mode, which can suppress AirDrop notifications.
AirDrop is best when you need to transfer individual files on the go. It's incredibly fast for short distances and perfect for real-time sharing during events, group trips, or collaborative work. Whether you're sending vacation photos to friends or sharing links with a colleague, AirDrop delivers a hassle-free experience with no cables, apps, or accounts required.
Part 2: Use iCloud Drive to Send Files Between iPhones
iCloud Drive enables Apple users to store and access files across devices. It's perfect when you're working across multiple Apple devices or when you want to share files at different times.
When to Choose iCloud Drive?
iCloud Drive is ideal for long-distance or delayed file transfers when both iPhones don't need to be near each other or online at the same time.
Things to Note:
- You need an internet connection to upload and download files.
- Free storage is limited to 5GB unless you upgrade.
- Larger files may take time to sync, depending on connection speed.
Steps:
Step 1: On both iPhones, go to Settings > Apple ID > iCloud > iCloud Drive, and toggle it on.
Step 2: Open the Files app on the sender's iPhone.
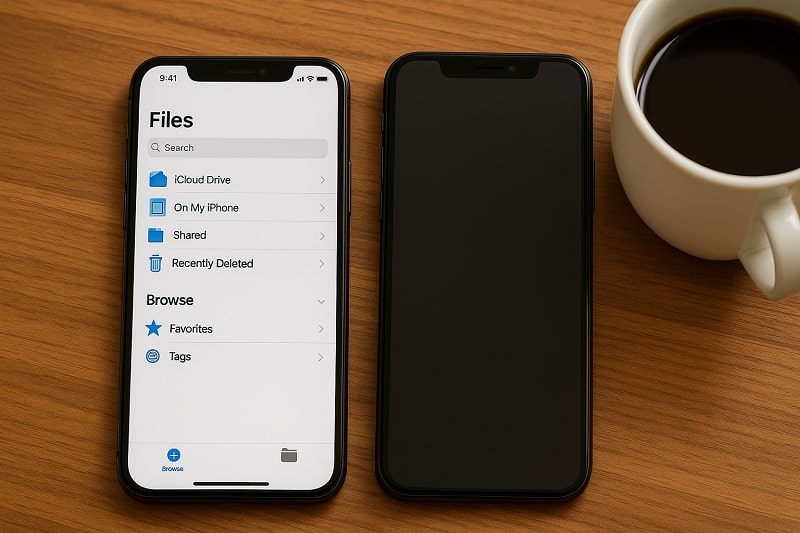
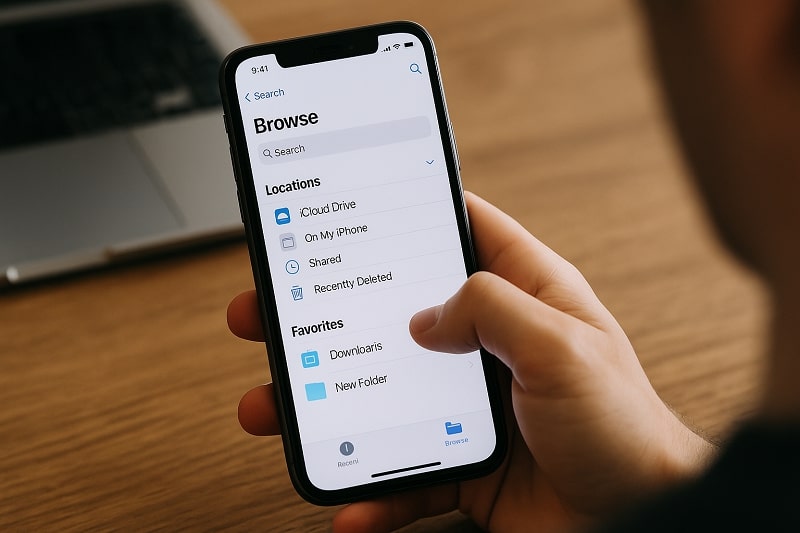
Step 3: Tap Browse > iCloud Drive, then select a folder or create a new one.
Step 4: Upload the file(s) you want to share.
Step 5: On the recipient iPhone, open the Files app > iCloud Drive.
Step 6: Locate the shared file and tap to download it.
Part 3: Use iMessage or Mail for Small File Transfers
When the file is small (like a document, PDF, or screenshot), using iMessage or Mail is often the fastest and most user-friendly method.
When to Choose iMessage or Mail?
Use this method when you're transferring something quick and light, such as boarding passes, scanned notes, or text documents.
Things to Note:
- File size limits apply: iMessage supports up to ~100MB; Mail supports attachments up to 20-25 MB.
- Requires internet access.
- Not suitable for bulk file transfers or media-heavy content.
Steps (iMessage):
Step 1: Open the file you wish to send.
Step 2: Tap the Share button and choose Messages.
Step 3: Enter the recipient's phone number or Apple ID.
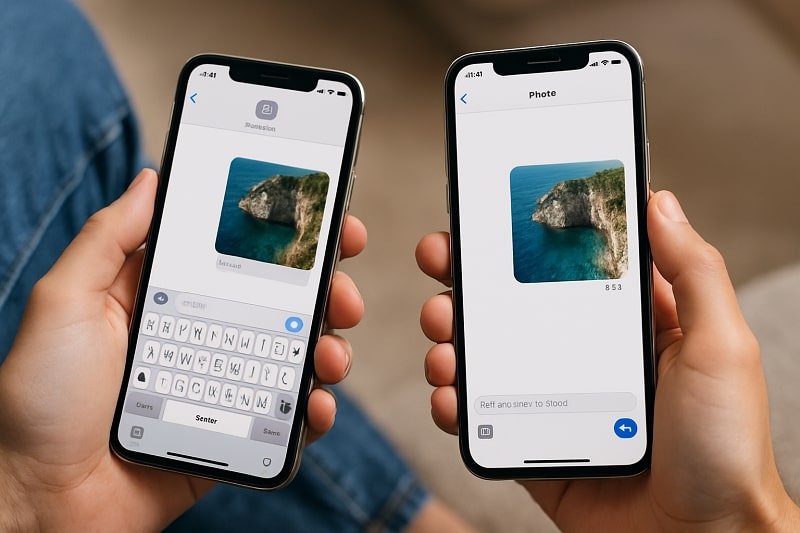
Step 4: The recipient receives a notification and can open the file directly in the app.
Steps (Mail):
Step 1: Tap Share > Mail.
Step 2: Enter the recipient's email address.
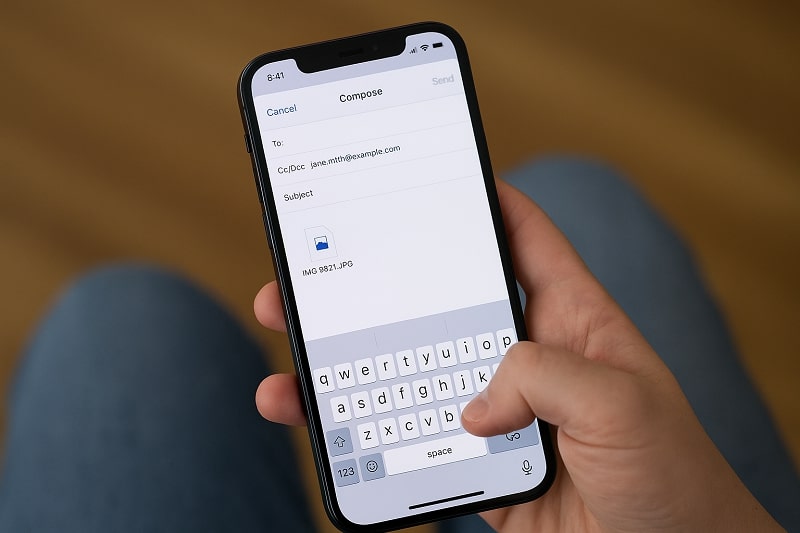
Step 3: Add a subject (optional) and tap Send.

Step 4: The file is sent as an attachment.
Part 4: Use the MobileTrans App for Full File Transfer
This is the best option when transferring all data from one iPhone to iPhone. MobileTrans offers both desktop software and a mobile app. While the app supports wireless transfers—like Android to Android—this guide focuses on the desktop software for iPhone transfers.
When to Choose MobileTrans?
MobileTrans is a professional data transfer tool that can transfer various types of data. It is ideal for bulk transfer or a large amount of data. It does not consume cellular data, nor need a WiFi or cable connection. And the larger the data it transfers, the faster the transfer speed is.


Steps:
Step 1: Install the MobileTrans app, then start it. Next, tap the button that says "Phone to Phone.
Step 2: Use iPhone to iPhone as the direction of transfer. Tab: Get your new iPhone by sending in your old one.
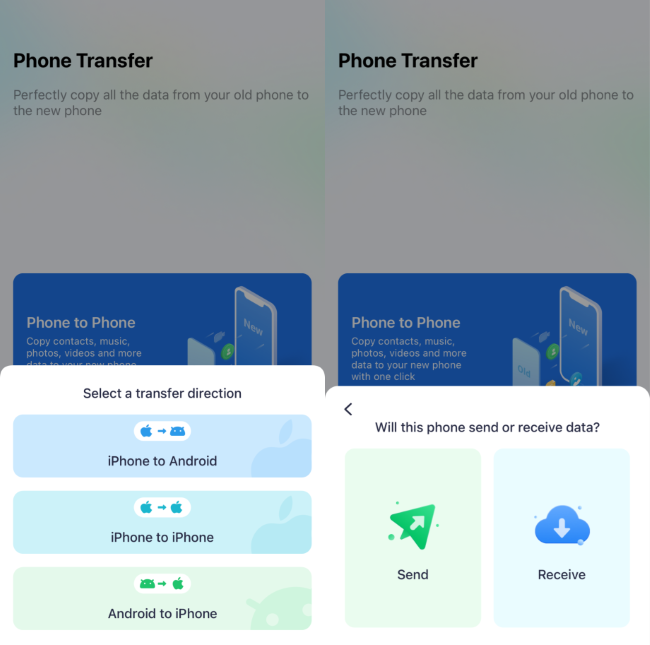
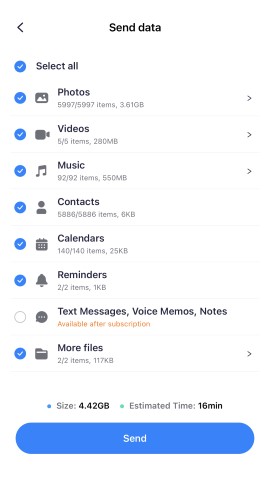
Step 3: Select the data to transfer from your old iPhone and tap the Send button.
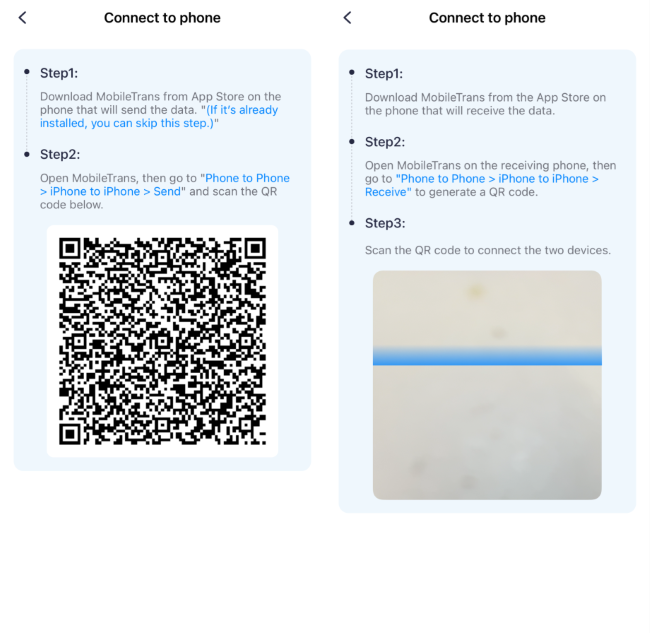
Step 4: You can use the QR code or iCloud account to link both devices.
Step 5: Give the transfer a few minutes. And after it's finished, the new iPhone will notify you that it was received successfully.

Bonus: MobileTrans also has a desktop software. For iPhone transfers, the desktop version offers more control and fewer limitations.
Part 5: Use iCloud Backup to Transfer Entire Device Data
This method is popular when activating a brand-new iPhone. If you're replacing an old device and want to transfer everything from photos to app data, iCloud Backup gets it done.
When to Choose iCloud Backup?
iCloud Backup can help you sync phone data automatically. But its free space is limited to 5GB. So, if you have subscribed to iCloud Pro (iCloud+), it is ideal for you. It's perfect for users who want a comprehensive and familiar setup.
Things to Note:
- Requires a stable internet connection (Wi-Fi only).
- You'll need enough iCloud storage to cover your backup (upgrade may be required).
- Only works for new or freshly reset iPhones.
Steps:
Step 1: On your old iPhone, go to Settings > [Your Name] > iCloud > iCloud Backup.
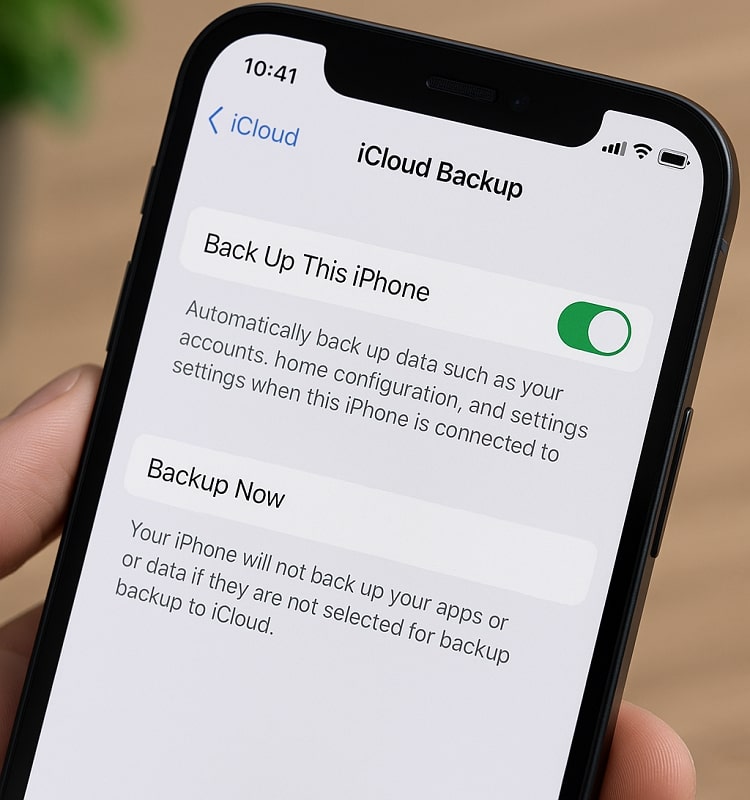
Step 2: Tap Back Up Now and wait until the process is complete.
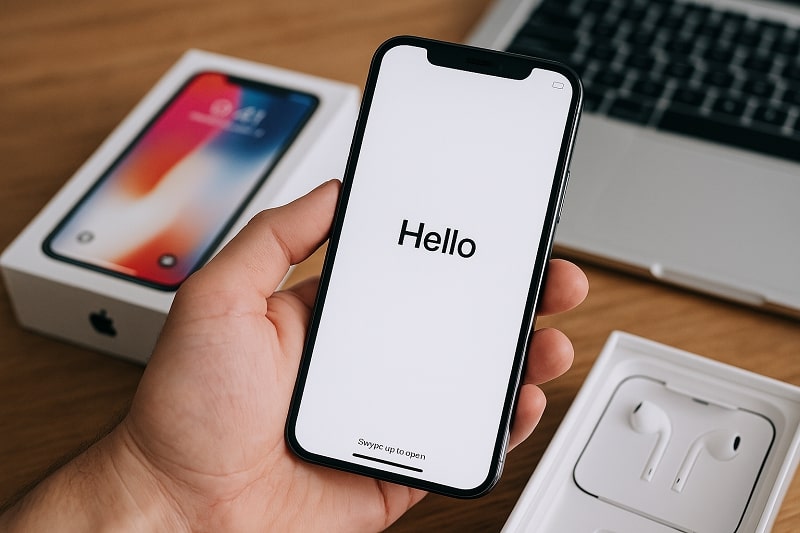
Step 3: Turn on your new iPhone and follow the on-screen setup instructions.
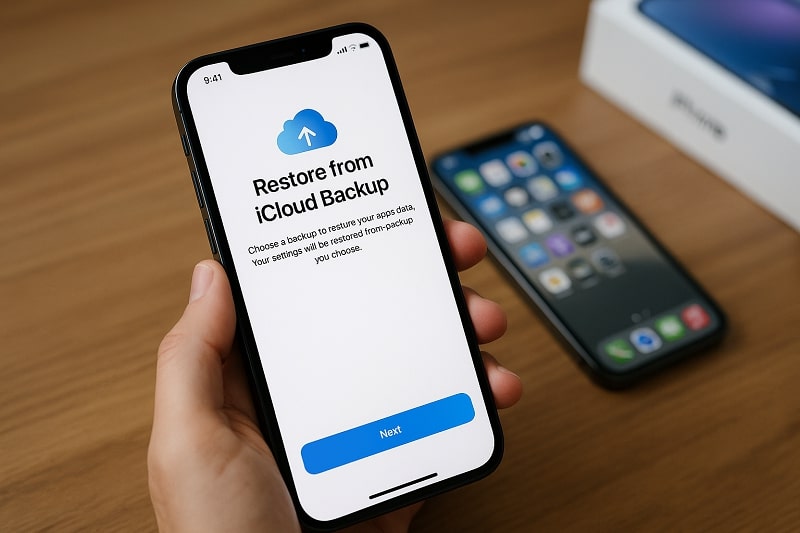
Step 4: Choose Restore from iCloud Backup when prompted.
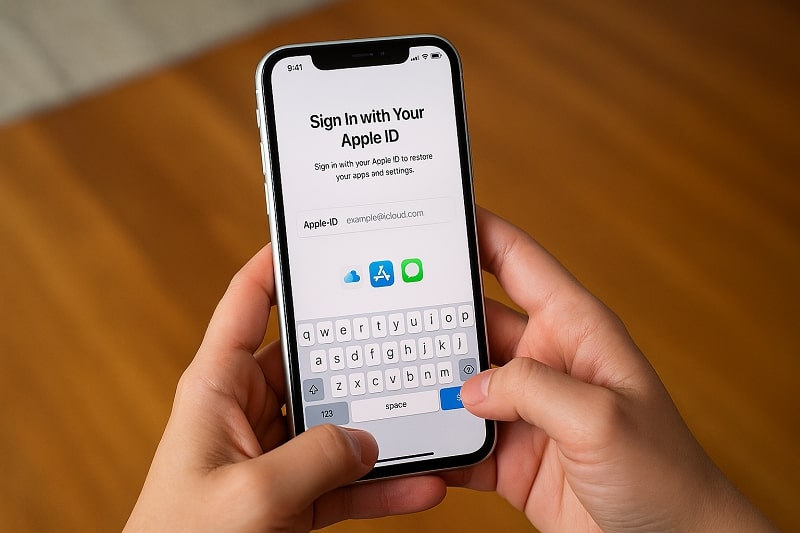
Step 5: Sign in using the same Apple ID.
Step 6: Select the latest backup and tap Restore.
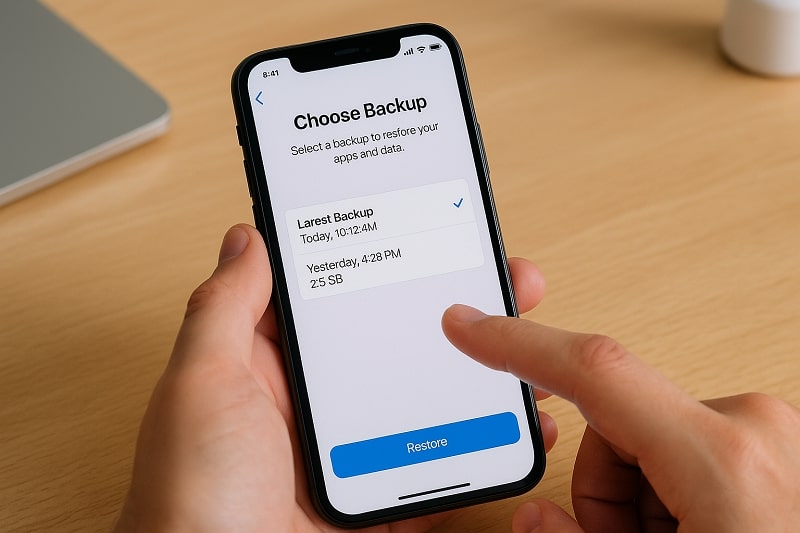
Once restored, your new iPhone will look and feel just like your previous one — apps, photos, and settings included.
Conclusion
Now you know multiple ways to transfer files from iPhone to iPhone, whether it's one image or your entire device data. For quick transfers, AirDrop is unbeatable. For complete transfers, go with MobileTrans for speed, simplicity, and control.
FAQ
-
Q: What is the easiest way to transfer files from iPhone to iPhone?
A: AirDrop is the fastest for small files; MobileTrans is best for full data transfers.
-
Q: Can I transfer apps and settings using these methods?
A: Only iCloud backup or MobileTrans can transfer apps and system settings.
-
Q: Is it possible to transfer files without Wi-Fi?
A: Yes, AirDrop uses Bluetooth and peer-to-peer Wi-Fi, even without internet access.
-
Q: Will quality be lost during iPhone file transfer?
A: No, these methods preserve original file quality.
-
Q: Do I need the same Apple ID on both devices?
A: Only for iCloud-based methods. AirDrop and MobileTrans don't require the same Apple ID.


