


 TL;DR:
To save photos from Google Drive to your iPhone, use the Google Drive app for single images, the iOS Files app to download multiple photos at once without a PC, or computer software like MobileTrans for large batch transfers.
● The standalone Google Drive app restricts you to saving one image at a time via the Send a Copy menu, making the native iOS Files app integration necessary for copying and pasting multiple items directly to local device storage.
● Transferring via a computer requires you to first download and extract the images from the Google Drive website as a ZIP file before importing them to the iPhone using MobileTrans or iTunes, though iTunes is prone to crashing with large files.
● If your media is stored in Google Photos instead of Drive, you must install the separate Google Photos app to save them directly to your device, ensuring the files are in compatible iOS formats like JPEG or PNG.
Ask AI for a summary
 ChatGPT
 Perplexity
 Gemini
 Claude
 Grok
Grok
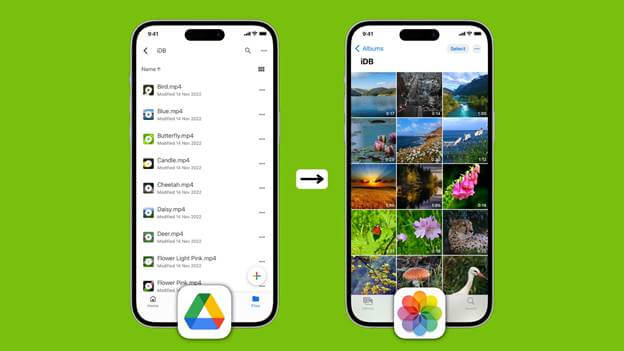
We all know Google Drive to be one of the most reputable cloud storage applications in this era. Yes, it allows users to save important files, photos, videos, and lots more without occupying phone storage and making them available across various devices.
If you switched from an Android phone to an iPhone and want to move photos saved on Google Drive to your iPhone, you might wonder how to go about it. But the good news is the process is pretty simple.
This post will guide you through the best methods to save Google Drive photos to an iPhone using fantastic techniques. So, read on to know more.

Part 1: How To Download Pictures From Google Drive to iPhone via Google Drive App
Our first recommended method to save Google Drive photos to iPhone is using the Google Drive app. Yes, since Google Drive is available for iOS, you directly download photos from there to your iPhone. But this is not a good option if you want to download many photos from Google Drive.
Step 1: Install the Google Drive app on your iPhone and log in to the Google Account where you've saved the photos.
Step 2: Locate the Photo(s) you want to download to your iPhone and tap the three-dot icon under it.
Step 3: Tap Send a Copy and select Save Image to save the picture from Google Drive to the iPhone Photos app.
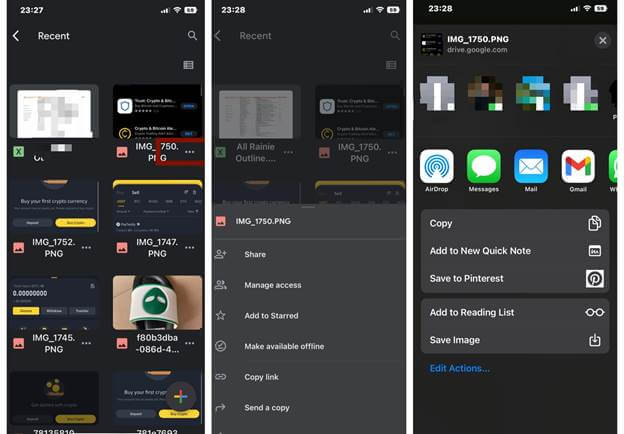
- Alternatively, you can save the photo to another app, like the Files app, by tapping the three-dot icon and selecting Open in > Save to Files.

Pros
- It's easy to operate.
- You don't need a PC or a third-party app.
- Easily download photos directly to the Photos app or Files app.
Cons
- It's not a reliable choice if you want to save many photos from Google Drive to your iPhone.
- You can only save one image at a time.
Part 2: How To Save Multiple Photos From Google Drive to iPhone Using Files App
You can also save multiple photos from Google Drive to your iPhone without third-party apps. But the process is not as straightforward as the above method. See how this works in the steps below;
Step 1: Install the Google Drive app on your iPhone and log in to the Google Account where you stored the photos you wish to save to your iPhone.
Step 2: Once you log into the Google account, go to the Files app on your iPhone and tap the three-dot icon on the top-right side. Then, select Edit and turn on the toggle next to Google Drive. Tap Done to proceed.
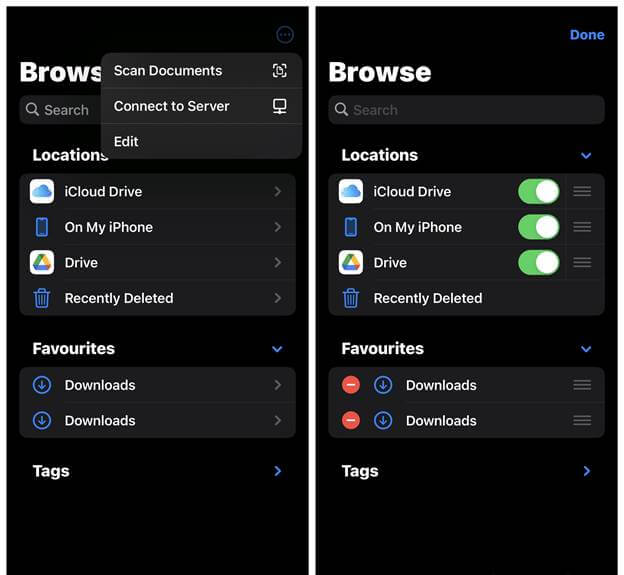
Step 3: Now, tap on Drive. Then, tap the three-dot icon at the top-right corner and tap Select.

- Select the Google Drive photos you want to save to your iPhone and tap the three-dot icon at the bottom right. Then, choose Copy items.
Step 4: Tap Browse at the top-right side and select On My iPhone.

- Hold a blank area and select Paste to save Google Drive Photos to iPhone.
Pros
- No third-party app is required.
- It's easy to use.
- You don't need a PC to operate.
- You can save multiple images at once.
Cons
- It's not as straightforward as the previously mentioned method.
Part 3: Download Photos From Google Drive to iPhone With a Computer
Another way to download photos from Google Drive to iPhone is by using a computer, and there are two workarounds you can use. This includes using the iTunes app or employing advanced third-party software. But regardless of what method you wish to use, you must download photos from Google Drive to your computer. So, firstly, let's see how to download Photos from Google Drive to iPhone;
Step 1: Open the Google Drive website on your computer browser and login into your Google Account to access your profile.
Step 2: Locate the Photo(s) you want to download to your iPhone and right-click it. Then, select Download from the drop-down menu. You can also select multiple photos at once if preferable.

Step 3: Your photos will be downloaded in a ZIP file. Locate the ZIP file, right-click it and select Extract All to save the photos on your PC.

- After that, organize the saved photos in a single Folder.
iTunes: Download All Photos From Google Drive to iPhone
The Apple iTunes app is a great choice for downloading all photos from Google Drive to iPhone. However, beginners might find it complicated to use. Plus, it usually crashes, especially when you're using it to transfer large files.
Step 1: Open the iTunes app and connect your iPhone to the PC using its USB cable. Then, trust the device from your phone.
Step 2: Click on the iPhone icon at the top bar of the iTunes interface. Then, select Photos > Sync Photos and choose the Album or Folder where you saved the Google Drive photos.

Step 3: Choose whether to move all the folders or the selected folder.
Step 4: Click Apply at the bottom right corner to complete the operation.
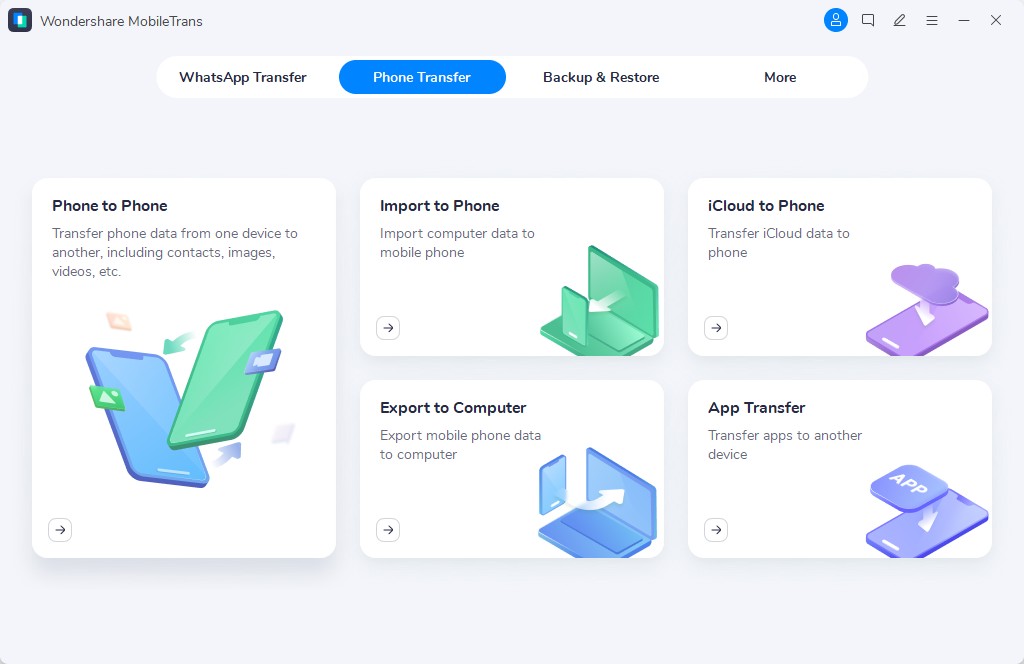
MobileTrans: Save Multiple Images From Google Drive to iPhone
An average user might find iTunes complicated to use. So, for this reason, it's better to use MobileTrans to save multiple images from Google Drive to iPhone.
MobileTrans is a beginner-friendly software that allows anyone, be you tech-savvy or not, to migrate data from a computer to a phone or vice versa.
The tool can directly transfer data like photos, videos, music, messages, and apps between computer and phone. You can even use it to transfer data from phone to phone directly. It only takes a few clicks.
MobileTrans - Phone Transfer
- • Transfer up to five different types of data between phone and computer.
- • Transfer huge files between phone and PC without lagging.
- • Transfer more than 18 types of data between 6000+ mobile phones.
- • Back up your phone to a computer for free.
 4.5/5 Excellent
If you've downloaded the images you want to transfer from Google Drive to your PC, follow the steps below to use MobileTrans to transfer them to your iPhone;
Step 1: Install the latest version of the MobileTrans software on your Windows/Mac computer.
Step 2: Turn to Phone Transfer > Import to Phone.
Step 3: Connect your iPhone to the computer using its USB cable. Then, trust the device from your iPhone.
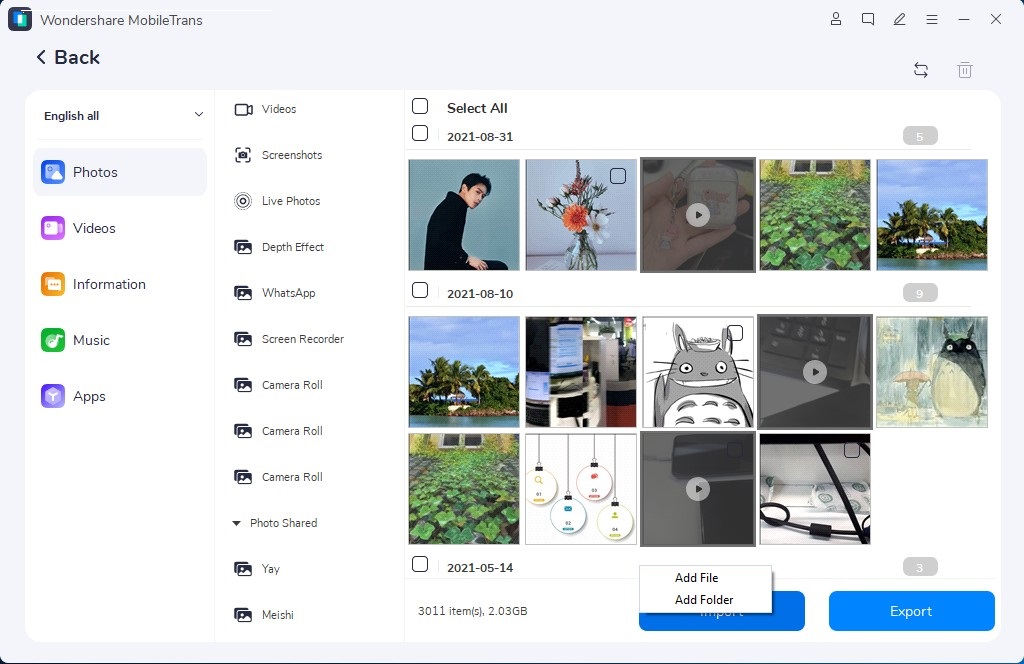
- Click Import > Add File or Add Folder, and select the images you want to save to your iPhone.
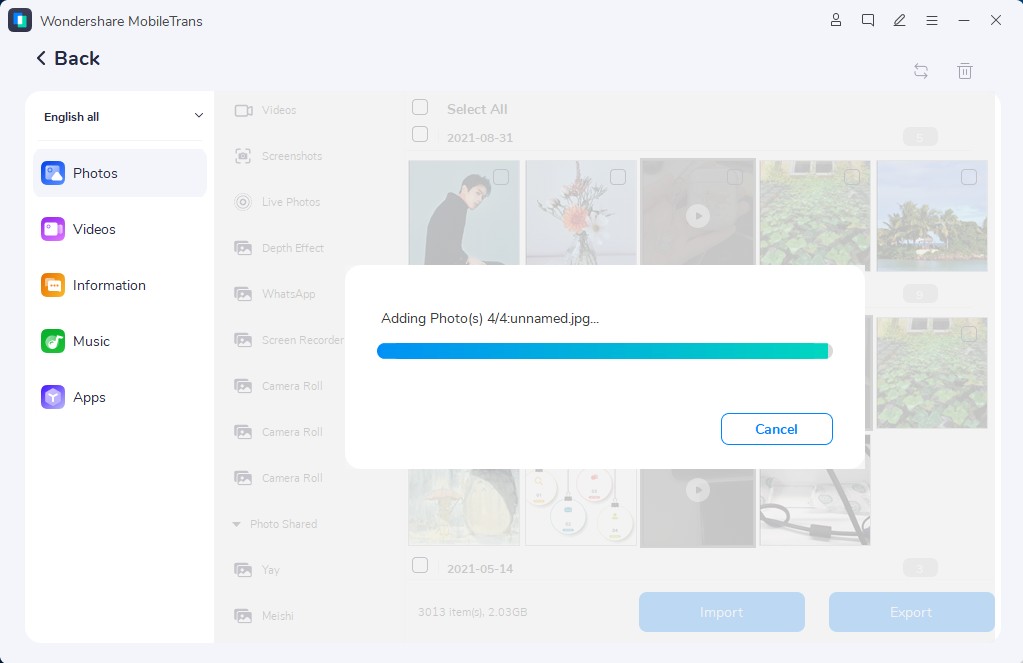
Step 4: MobileTrans instantly begin to import the photos to your phone. Ensure you don't disconnect the iPhone from the PC during the transfer process.
Part 4: How to Save Google Drive Photos to iPhone Using Google Photos
If your photos are stored in Google Photos, you can download them easily.
Steps to Save Photos from Google Photos:
Step 1: Open Google Photos on your iPhone.
Step 2: Select the photo(s) you want to save.
Step 3: Tap Share > Save to device.
Step 4: The photos are saved in Photos app.
Pros
- Best for Google Photos users.
- Supports high-quality downloads.
Cons
- Must install Google Photos separately.
Part 5: FAQs
1. Why can't I save images from Google on iPhone?
Ensure that the file format of the image you are attempting to save is compatible with your device, such as JPEG or PNG. Additionally, verify your browser settings to ensure that image downloads are permitted, as browser settings may sometimes restrict image downloads.
2. How do I backup my photos from Google Drive to my gallery?
Open the Google Photos app on your Android phone or tablet and sign in to your Google Account. Then, tap your Profile picture or Initial at the top right, followed by "Photos settings" and "Backup." Under "Settings," select "Back up device folders" and choose the folders you wish to back up.
Final Thoughts
There you have it. You don't need advanced knowledge to download photos from Google Drive to your iPhone.
Whether you're looking to get the job done directly from your iPhone or a PC, the steps outlined in the article above should help you operate smoothly and effortlessly. Of course, you need to choose the one that suits your requirements. Though we recommend using MobileTrans as it does the job faster.
MobileTrans - Transfer Data between iOS and Android
Easy Data transfer between different phones. The 1-click solution to backup WhatsApp chats on iOS/Android devices.
New Trendings

Top Stories
All Categories


Axel Nash
chief Editor