


 TL;DR:
You can convert existing iPhone HEIC photos to JPG by pasting them into the built-in Files app, process up to 100 images at once on a PC using Wondershare MobileTrans, or prevent HEIC saving entirely via Camera settings.
● To convert files directly on your iPhone, copy selected HEIC images from the Photos app, paste them into any folder within the Files app to trigger an automatic JPG conversion, and tap Save Image to return them to your gallery.
● For bulk transfers to Windows or Android devices, connect your iPhone to a computer via cable and use the Wondershare MobileTrans HEIC Converter tool to batch process up to 100 photos simultaneously.
● To permanently switch your camera output to JPG, select the Most Compatible format option in your Camera settings, though manual conversion is completely unnecessary if you are emailing photos since attachments automatically convert to JPG.
Ask AI for a summary
 ChatGPT
 Perplexity
 Gemini
 Claude
 Grok
Grok
Wondering how to convert iPhone photos to jpg? We're happy to help here! Apple has adopted the HEIC picture format for iPhone, iPad, MacBook, and other devices. This file format preserves the image quality and provides better compression than the JPG format. HEIC photos, for example, are substantially less in file size than JPG photographs of the same quality. However, HEIC compatibility is a significant disadvantage.
It is one of the main reasons people want to Convert iOS Photos to JPG. In this article, you'll discover the finest methods to convert photos to JPG on iPhone. Let's get going!

Part 1: How to Check the Format of Your iPhone Photos
Before you start converting the photos on your iPhone, you must know the file format of your photos. However, if you don't know how to check that, Here're the steps:
Step 1: Launch the Photos app on your device.
Step 2: Navigate to the picture or video, swipe it up, and see the information.

Part 2: Convert Photos to JPG on iPhone via Files App
Many users find it inconvenient to download third-party applications to their smartphone to convert photos to JPG, and we can feel them! Here's a solution to this problem: you can easily convert HEIC to JPG on your iPhone using the built-in Files app.
To convert photos to JPG on iPhone using the Files app, follow these steps:
Step 1: Launch the Photos app. Choose the HEIC images that you want to convert.
Note: You can choose more than one Image.
Step 2: Make a copy of the Image by tapping the Share>Copy.
Step 3: Launch the Files app and select On My iPhone or another location from the drop-down menu.
Step 4: Create a new folder or choose from the existing folders. Press and hold the empty area, then choose Paste from the menu. Your HEIC file will be converted to a JPG file automatically.

Step 5: Select the images pasted into the Files app, and tap on Share>Save Image. After that, the JPG files will be saved in your Photos app.
Pros
- Batch conversion
- Maintain the picture quality
Cons
- Manual selection
Part 3: Batch Change iPhone images to JPG on Computer
If you wish to convert your iPhone photos to JPG format in a batch, you can do it on your computer and then view them on your PC. However, you'll require a third-party tool, such as Wondershare MobileTrans.
Wondershare MobileTrans is a free, easy-to-use tool that allows you to convert HEIC format iPhone photos to JPG in batches. MobileTrans is a one-click solution to data transfer between devices and offers features like data backup and restore.
MobileTrans - HEIC Converter
Convert HEIC Photos to JPG Format With a few Clicks!
- • Convert up to multiple HEIC files to JPG fast without losing quality.
- • Facilitate easy HEIC to JPG conversion with a clean UI.
- • Transfer HEIC images from iPhone to computer within a few clicks.
- • Export converted images from PC directly to Android device.
 4.5/5 Excellent
To convert iPhone photos to JPG on a computer using Wondershare MobileTrans, follow these steps:
Step 1: On your PC, download and install Wondershare MobileTrans. After that, launch the tool on your computer. Export the photos from your iPhone to the computer first.
Note: Ensure your iPhone is connected to your PC via cable.
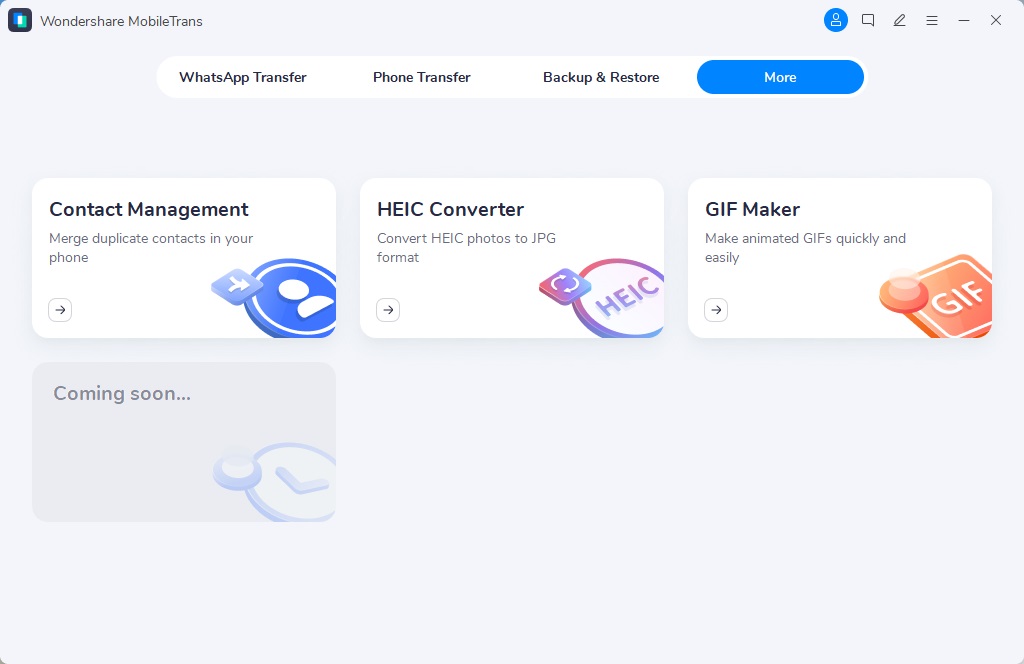
Step 2: To continue, click More Tools from the left bar and go to HEIC Converter.
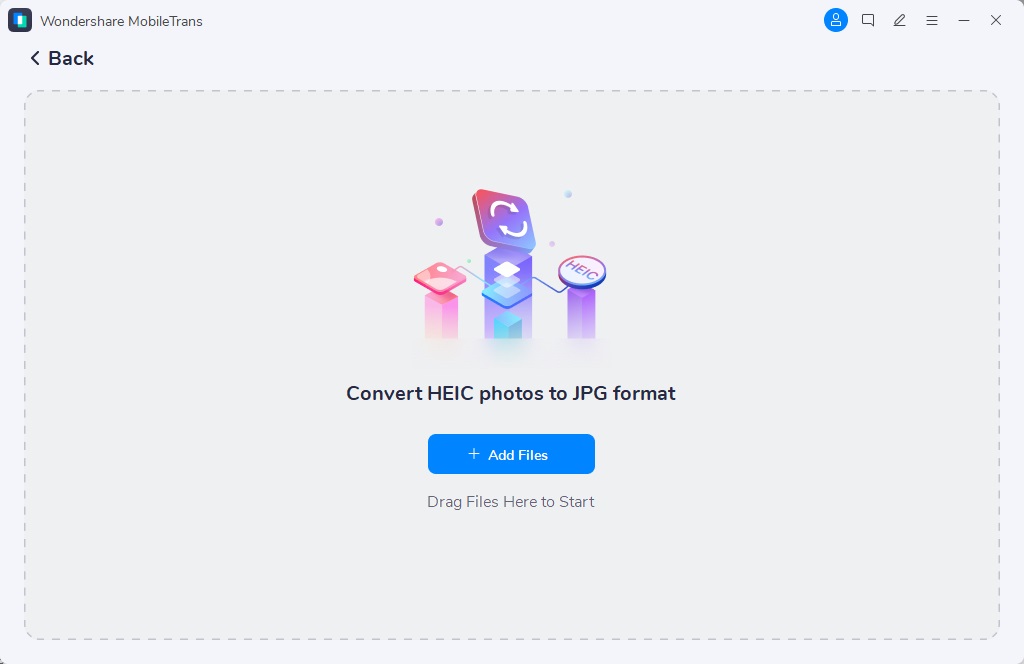
Step 3: Click Add Files to begin uploading your iPhone photos to the tool. You may also upload photos by dragging and dropping them.
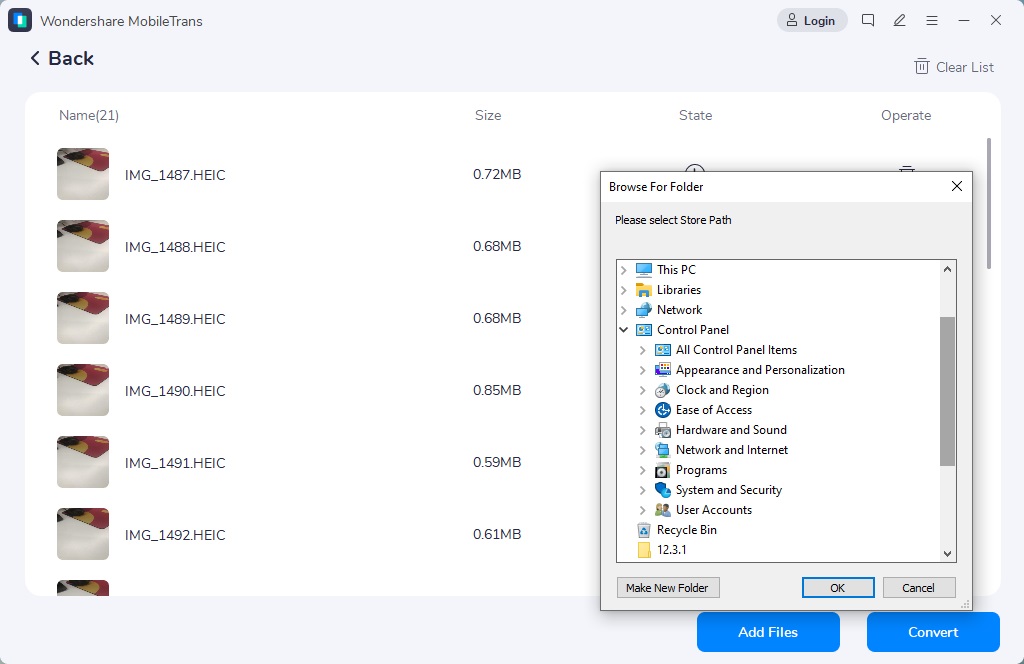
Note: You may convert up to 100 iPhone pictures into JPG format at once.
Step 4: After you've uploaded your files, click Convert to convert all HEIC files to JPG. The interface will prompt you to pick a file directory on your PC to which these files should be exported.
Use Wondershare MobileTrans to convert iPhone photos to JPG in batch now!
Part 4: Do You Really Need to Convert iPhone Photos from HEIC to JPG?
It depends on the way you wish to use the pictures. For example, when you attach HEIC files to your email, they'll automatically be converted into JPG format, so you don't have to convert them into JPG format manually. Moreover, HEIC photos take less space than the JPG format.
However, if you wish to store or view the HEIC photos on your Windows PC or Android, you need to convert them into JPG format. And MobileTrans would be one to help.
Bonus: How to Change iPhone Photos to JPG at First Place
The iPhone saves images in HEIC format by default. However, you may convert HEIC to JPG on iPhone straight in the Settings app so that the iPhone photos would be stored in JPG format later.
To change iPhone picture to JPG using the Settings app, follow these steps:
Step 1: On your iPhone, launch the Settings app.
Step 2: Tap the Camera option, then choose the Format option from the menu that appears.
Step 3: To convert HEIC pictures to JPEG format on an iPhone, choose the Most Compatible option.

Wrap up
Apple adopted the HEIC format to preserve image quality while using less space. However, since not every platform supports this format, people wish to convert HEIC images to JPG format. Even if you can use the Files app to convert iPhone photos to JPG manually, we recommend using Wondershare MobileTrans to Convert iOS Photos to JPG in batches.
MobileTrans - HEIC Converter
Convert HEIC files to JPG fast without losing quality


