What do you do when your iPhone is having problems syncing with iTunes or can't connect to Mac?
Well, to begin with, this is actually a common problem and as we shall see very shortly, it can be caused by a number of factors. If it’s happening to you, don't worry and we are going to show you how you can easily fix this frustrating problem - my iPhone won't connect to Mac.
Part 1. Why won’t my iPhone connect to iTunes on Mac?
One of the most common reasons why your iPhone fails to communicate with your computer has to do with hardware. It is therefore important to check both your iPhone and your Mac for various hardware issues. For starters, check that there isn’t any dust and debris on your ports. Dust and other particles can hinder communication between the device. If there is any dust, clean the devices and then connect them again.
Also, check that nothing is wrong with the connecting cables you are using. The easiest way to ensure it’s not the lighting cables you are using is to change it. If you do this and the iPhone still won’t connect to the Mac, it may be a software issue. In the next section, we’ll share with you a few things you can do to try and fix the problem.
Part 2. How to Fix My iPhone won’t connect to Mac?
The following are 5 of the most effective solutions to an iPhone that won’t connect to the Mac. Try each one individually until your situation is fixed.
1. Restart both the Device and the Computer
It is an easy and effective solution. Simply reboot the computer and the iPhone and then try reconnecting. If that doesn’t work, try the next solution.
2. Update your Software
Old software can cause connection issues. This is especially true when you try to connect a newer iPhone model to an older Mac or PC. Updating both your iOS and iTunes could fix the problem. Here’s how to update iTunes on your Mac.
Click “iTunes” on the Apple Menu bar and then click “Check for Updates”. If there is one, you should make sure that your iPhone is disconnected before installing the update. Restart the Mac and then restart the computer.

If you are running iOS 9, please note that the device will only sync with iTunes v12.3 which can only be installed on Macs running OSX 10.8 or newer.
3. Check your Apple ID
You may be having difficulty syncing content that you’ve purchased (such as music) if you are not signed in to iTunes using the correct Apple ID.
This is easily solved, simply select “Store” and then “Sign in” to log in to your iTunes account. If you are already signed in, please make sure that it is with the correct account.

If the computer is not authorized for use with your account, click on “Store” from the menu bar and then click on “Authorize this computer”. Sign in with your Apple ID when requested and the problem should be fixed.
4. Manually Reset your Privacy and Location Permissions
If you are trying to connect to a computer you have never used before and have accidentally hit “Don’t trust” when you saw the request popup, iTunes may fail to recognize the device. In this case, all you have to do is disconnect the iPhone to the computer and reconnect again to see if the popup request shows up again. If it doesn’t, you can reset permissions manually like this.
Step 1. Open the Settings app on your iPhone and tap on General.
Step 2. Tap “Reset” and then choose “Reset Location & Privacy”.

Step 3. Enter your passcode and then tap “Reset Settings” and you will see the prompt again when you connect the iPhone.
5. Reinstall iTunes
If all else fails, you may need to consider reinstalling iTunes. But you need to first of all remove the old version from the Mac. Here’s how to do it.
Step 1. Open “Finder” and the navigate to the “Applications” folder.
Step 2. Right click on iTunes and select “Get Info”.
Step 3. Click on the padlock icon at the bottom right corner and enter your admin password when prompted.
Step 4. In the “Sharing and Permissions” section, under “Everyone” change to “Read & Write” and close the iTunes info window.

You will now be able to simply drag iTunes from the Applications folder to the trash to uninstall it. Once it’s uninstalled, head on over to the Apple Website and install the latest version.
Part 3. How to transfer data from iPhone to Mac without iTunes?
If you need to transfer data to the Mac and iTunes is still unable to recognize your iPhone, you can use MobileTrans - Phone Transfer to do it. MobileTrans is designed to help you transfer data easily from your iPhone to your Mac. It is quick and very easy to use and works with all versions of iOS and all versions of Mac.
The following is a simple way to use MobileTrans to transfer data from our iPhone to your Mac without iTunes.
MobileTrans - Phone Transfer
Transfer Data from iPhone to Mac With 1 Click!
- • The data types include messages, photos, videos, apps, Music.
- • Move safely without resetting devices or deleting original data.
- • Retain the quality of your data and would keep it private.
- • The interface is extremely simple and will let you select the type of data you wish to move.
Step 1. Download and install the program to your computer. Launch it and then connect the iPhone to the computer. Click on “Phone Tranasfer”.

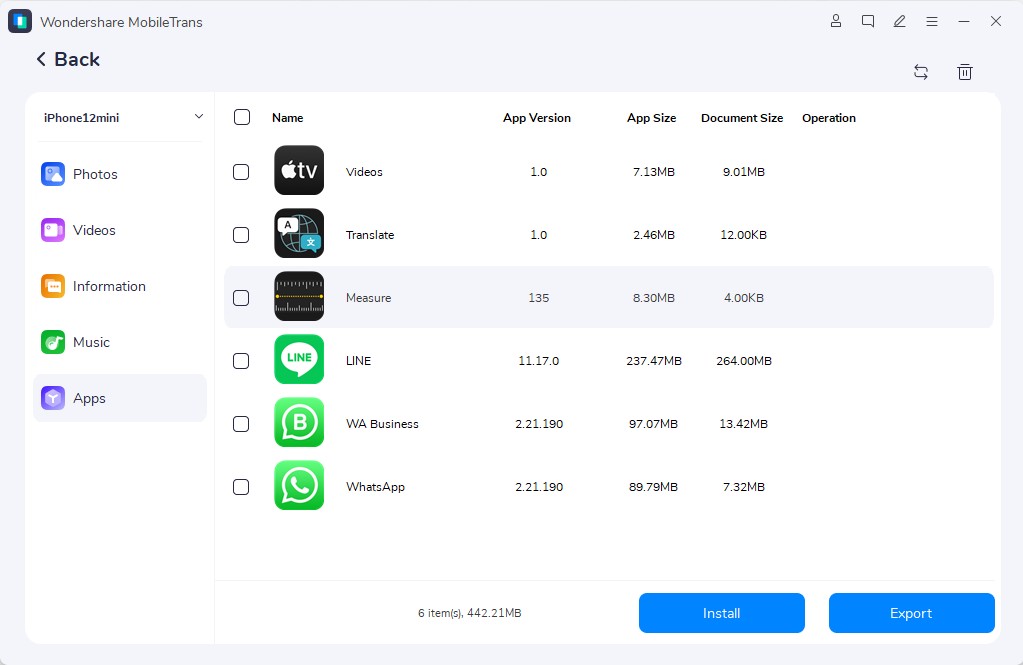
Step 2. Select files to export
Select data types, now 5 supported, in the sidebar on the left. Then choose the files you want to export to your computer.

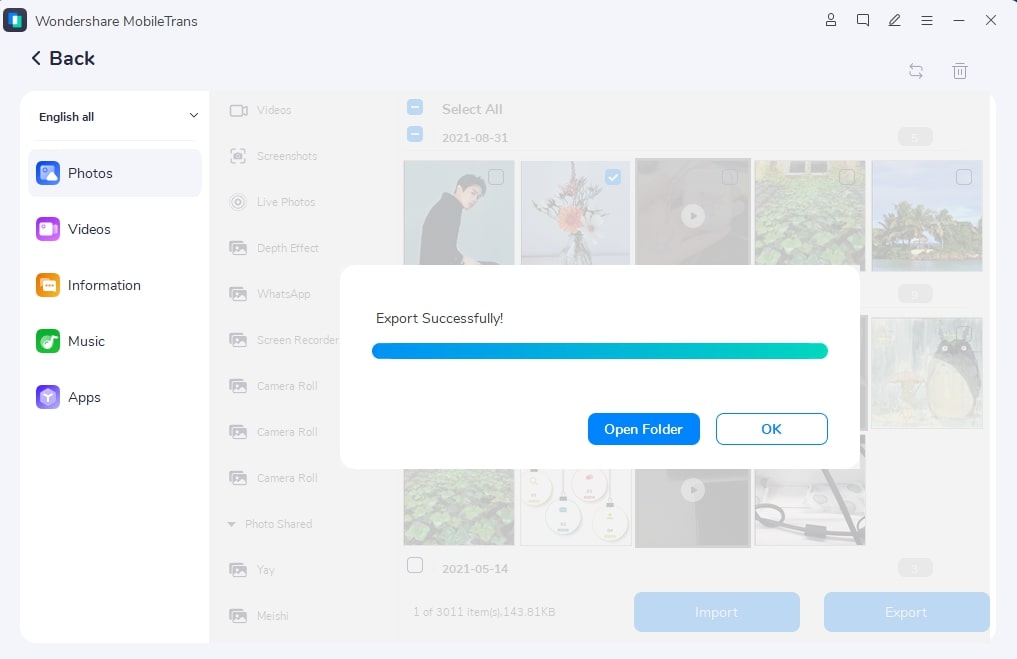
Step 3. Export Successfully
Keep your phone connected and export will complete in a while. You can also import these files to your phone when needed.

We hope the above solutions have helped you fix the problem. Keep in mind that you can use MobileTrans - Phone Transfer to transfer data to your Mac while you try to fix the issue.
New Trendings
Top Stories
All Categories


Nicola Massimo
staff Editor