Suppose you're in the middle of something important. Then, suddenly, your phone becomes unresponsive. It can be annoying and frustrating. That sometimes happens to many iPhone users.
An iPhone can't get out of the search screen and can't swipe up, tap, or find anything in the search bar. If you're lucky, the phone will only swipe down for notifications and settings. The only apps that open are those for which you have notifications.
You can't go to the Home Screen. And even after restarting the device, the situation doesn't change. If you're in a similar state, you must wonder why the iPhone is stuck on the search screen and how to fix it?
It's likely due to an issue with the operating system. Discover an easy fix for this behavior below.
In this article
iPhone Stuck on Search Screen: The Easy Way to Fix
An iPhone stuck on search is not only annoying and frustrating. It's also inconvenient. It's a problem that needs a reliable and immediate solution. As mentioned, the problem is mostly software- or operating system-related.
Wondershare Dr.Fone - iOS System Repair is one of the best tools for fixing iPhone software issues. It can repair 150+ iOS issues, including the iPhone screen stuck on search.
Dr.Fone - iOS System Repair supports all iPhones, from the older to the latest models. The tool allows users to fix iPhone software issues in Standard and Advanced Modes. That helps to "maximize the system recovery efficiency and success rate."
Typically, you'll use the Standard Mode to fix your specific issue without any risk of data loss. If it fails, you can employ the Advanced Mode, which repairs more complex scenarios.
Fix the iPhone Stuck on Search Screen Using the Standard Mode
The following are the simple steps to fix the iPhone screen stuck on search using the Standard Mode on Dr.Fone:
- Install the Wondershare Dr.Fone on your computer. Next, open the software and go to the Toolbox section from the upper-left corner of the screen. Choose the System Repair option on the home screen.

- Connect your iPhone to the computer with a USB cable. Select iPhone from the windows that appear on the screen.

- A new window with options to repair your iOS device will appear. Choose iOS Repair.

- Choose Standard Repair as your repair mode from the two options you're presented with.

- Follow the instructions on the screen to put your iPhone into Recovery Mode. After that, tap Enter Recovery Mode. Or click Guide to learn how to put unresponsive devices into Recovery Mode.

- Once in Recovery Mode, Dr.Fone will detect the appropriate iOS firmware to install. Click Download against the iOS firmware you want to install on your iPhone.

- Begin downloading the iOS firmware. Once downloaded, it will be verified before being made available to update the phone.
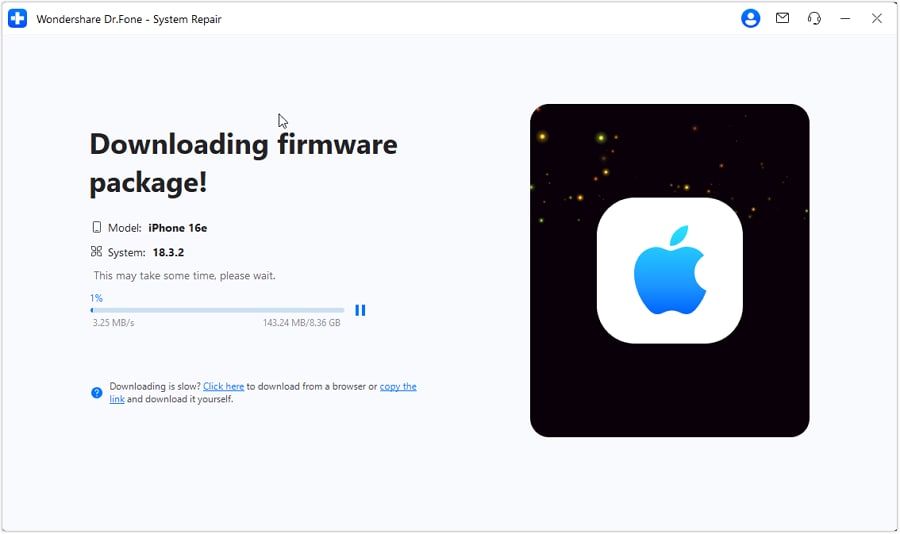
- Click Repair Now to continue to repair the iPhone.

- Wait for the process to conclude. Keep the iDevice connected to the computer.
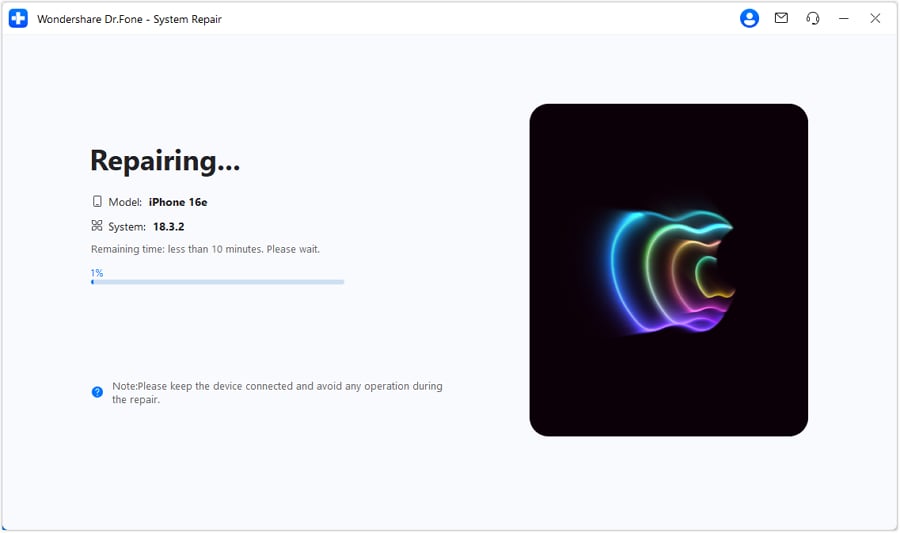
- Click Done once the process is completed. You can now disconnect and use your repaired iPhone.

Fix iPhone Stuck on Search Screen Using the Advanced Mode
If the Standard Mode didn't fix the iPhone stuck on the search bar scenario, try the Advanced Repair. As mentioned, this mode checks the device in depth. It will deal with serious software issues that could be causing your iPhone to get stuck on the search.
Please remember that this mode will restore your device to factory settings. It will erase all your data. It's, therefore, essential to back up your iPhone before you proceed. See below for instructions on backing up your unresponsive iOS device on the computer.
- Connect the device to the computer once you back up your iPhone data. Open Dr.Fone, repeat steps 1-3 above, then choose the Advanced Repair option.
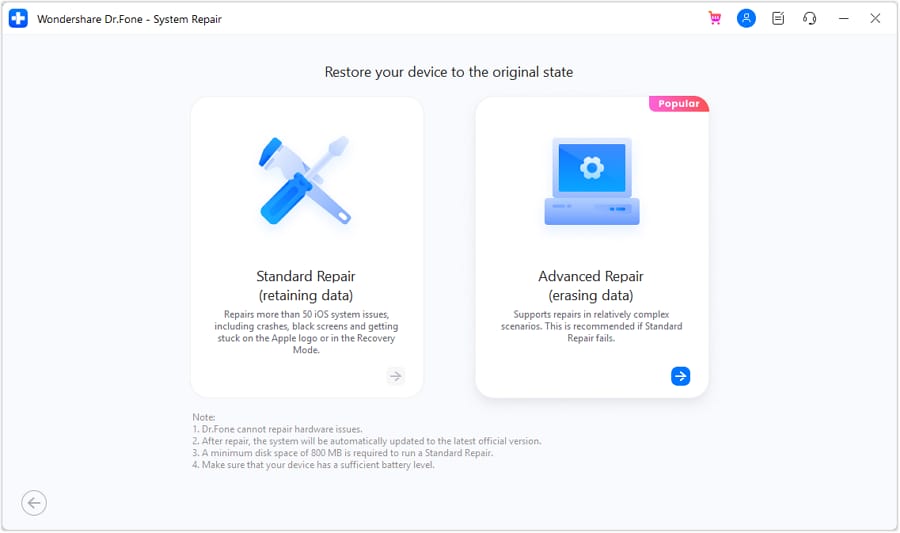
- Follow the guide on the computer screen to put your iPhone in Recovery Mode. Click Enter Recovery Mode or Guide to learn how to put an unresponsive device to Recovery Mode.

- Choose the iOS firmware you wish to download on your iPhone. Click Download next to the particular iOS firmware to begin the process.

- Begin downloading your chosen iOS firmware. Dr.Fone will verify it before the installation starts.

- When the firmware is ready to be installed, click Repair Now to continue.

- You can view the repair as it concludes through a progress bar.

- A window will notify you that the process is completed. Click Done, then check if the iPhone is stuck in search mode. The situation has been fixed.

Other Ways to Fix an iPhone That Is Stuck on Search Screen
Besides the Wondershare Dr.Fone, other tricks exist to resolve your iOS problem. These include force restarting the device and disabling the search feature in settings. Check out the details here.
iPhone Stuck on Search Screen: Force Restart the Device
A force restart is the easiest solution to most software-related issues on the iPhone. So, try it, and it may resolve the issue without much effort. The good thing is that it's easy to force-restart an iPhone, regardless of the model.
If you have an iPhone 8 or newer, include the SE second and third generation:
- Press and swiftly release the top volume button.
- Press and swiftly release the bottom volume button.
- Hold the side (power) button (for about 20 seconds) until an Apple logo appears. Release the button.

To force-restart an iPhone 7 or iPhone 7 Plus:
- Hold the power/side button and the volume down button for about 10 seconds. Release the buttons when the Apple logo appears.
- If the iPhone doesn't turn on, charge it for an hour, then retry. Ensure you're using a functional charger.
Follow these steps to force-restart an iPhone 6 or earlier, including the iPhone SE first generation:
- Hold the side/power button or top button and Home button for 10 seconds. Release the buttons when the Apple logo pops up.
- If the iPhone won't start, charge it for a while, then retry.

Still Stuck on the Search Screen: Disable the Search Feature
You can also fix the iPhone stuck on the search issue by disabling the search function in settings. Follow these steps to disable the search on your iOS device:
- Open the Settings app and go to the Home Screen section.
- Turn off the Show on Home Screen switch under the Search header.

The search feature will no longer appear on your home screen pages. But what if you can't touch anything on the screen to open the settings?
In that case, you can use Sire to open the settings. Say, "Hey Siri, open settings." Once in settings, scroll down to Home Screen. Where you see the Search category, turn it off. If it's already off, turn it on and then back on. Your iPhone should work just fine after that.
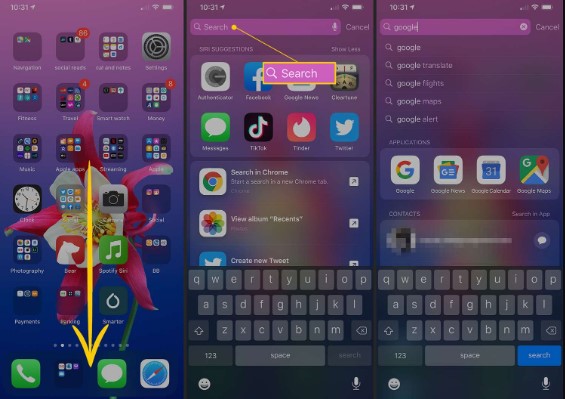
What if you need to search for something in the future and the search is disabled? You can swipe down and use the Spotlight search function.
[Bonus] Back Up & Restore Your iPhone to Any Computer in One Click
Wondershare MobileTrans - Backup & Restore is one of the best tools for backing up your iPhone data. As the name suggests, it's designed to back up and restore phone data.
With it, you can back up your iPhone to any computer - Windows or Mac. After that, you can restore the data whenever needed. Wondershare MobileTrans - Backup & Restore doesn't overwrite your data during the process. The software supports most data types, including videos, photos, contacts, and more. It's fast and effective.
Wondershare MobileTrans
Back Up Your Data to Computer Easily
- • No data loss. No data leaks.
- • Support various data, including files, photos, videos, apps, contacts, etc.
- • Compatible with thousand of device types acorss Android and iOS.

 4.5/5 Excellent
Follow these steps to backup your iPhone to a computer using the MobileTrans - Backup & Restore:
- Install Wondershare MobileTrans software on your PC. After that, connect your iOS device to the computer with a USB cable.
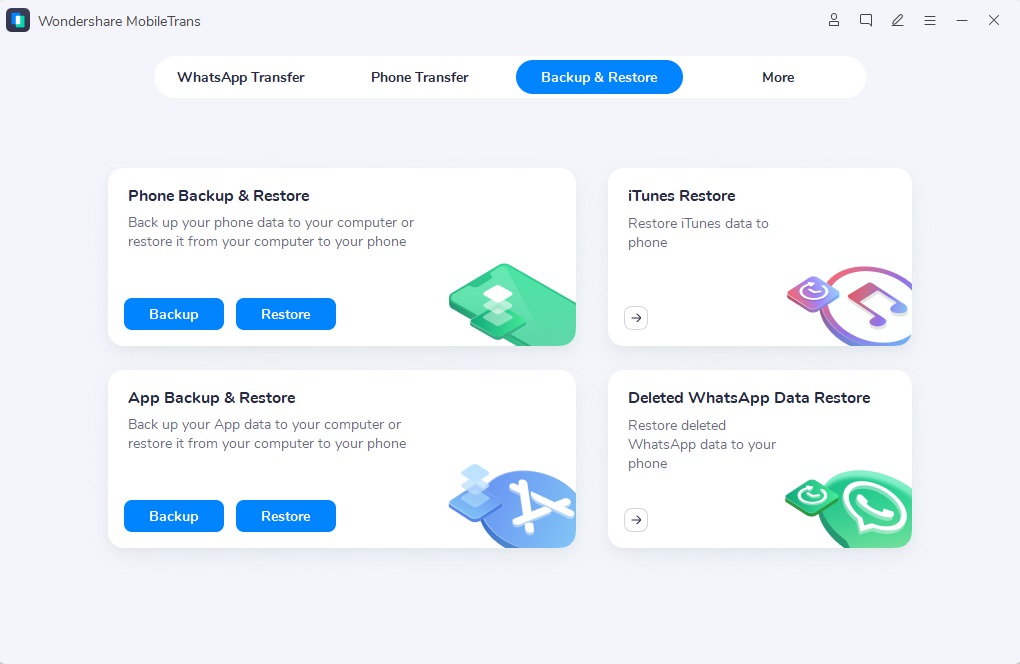
- Open the MobileTrans software and click Backup & Restore from the home screen. Choose the Backup option under Phone Backup & Restore.
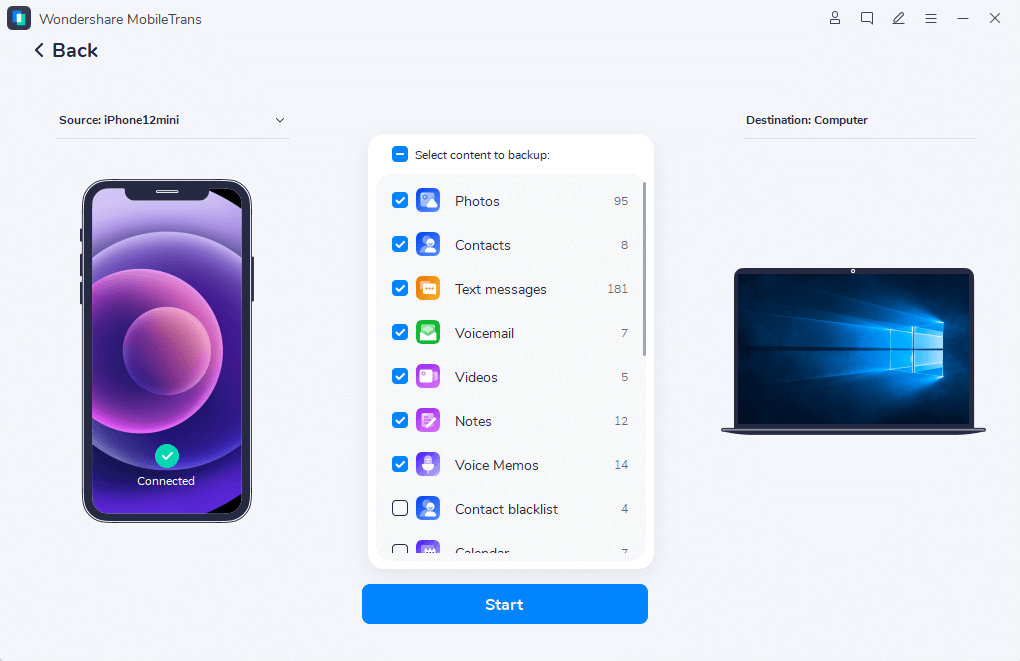
- Select the data types to back up or select all to include all your iPhone data. After that, click the Start button.
- MobileTrans will begin backing up your data. Keep the phone connected to the computer until the process is concluded. It usually takes a moment.
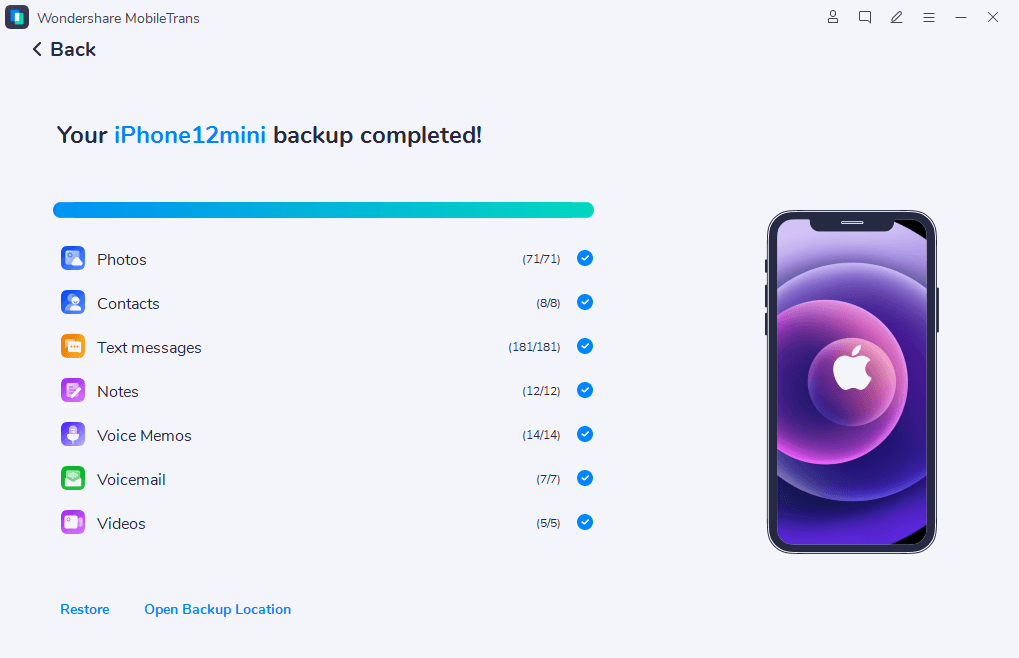
You’ve now backed up your data. Once the iPhone is fixed, restore the backup from the computer with the MobileTrans. Follow these easy steps:
- Connect your iPhone to the computer containing the backup. Use a USB cable.
- Launch the MobileTrans software and switch to the Backup & Restore mode. Click Restore under Phone Backup & Restore.

- Select the data types to restore to your iOS device. After that, click the Start button.
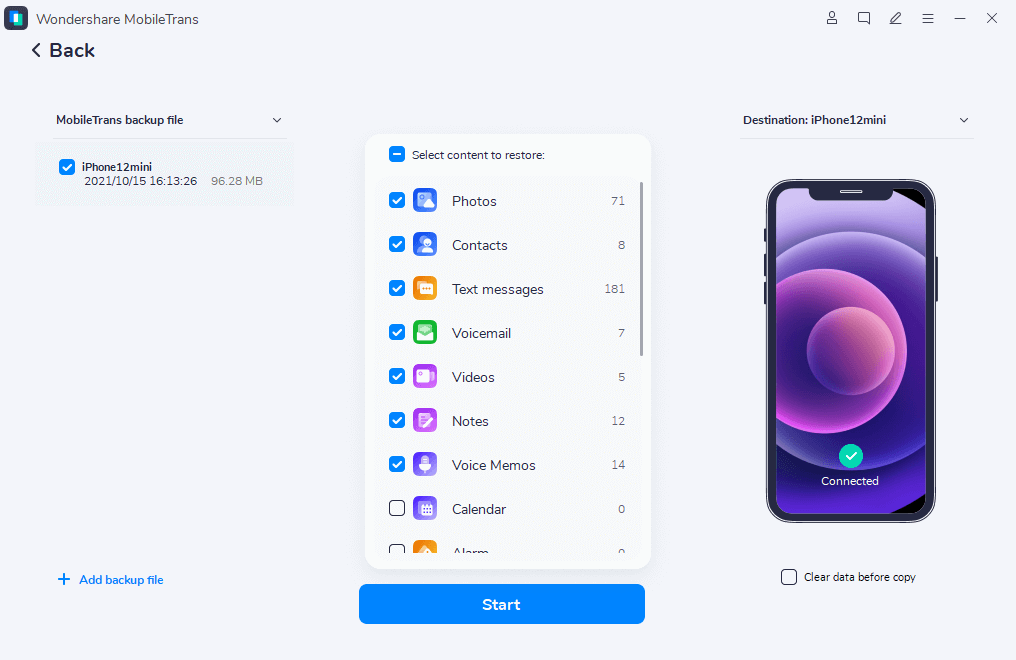
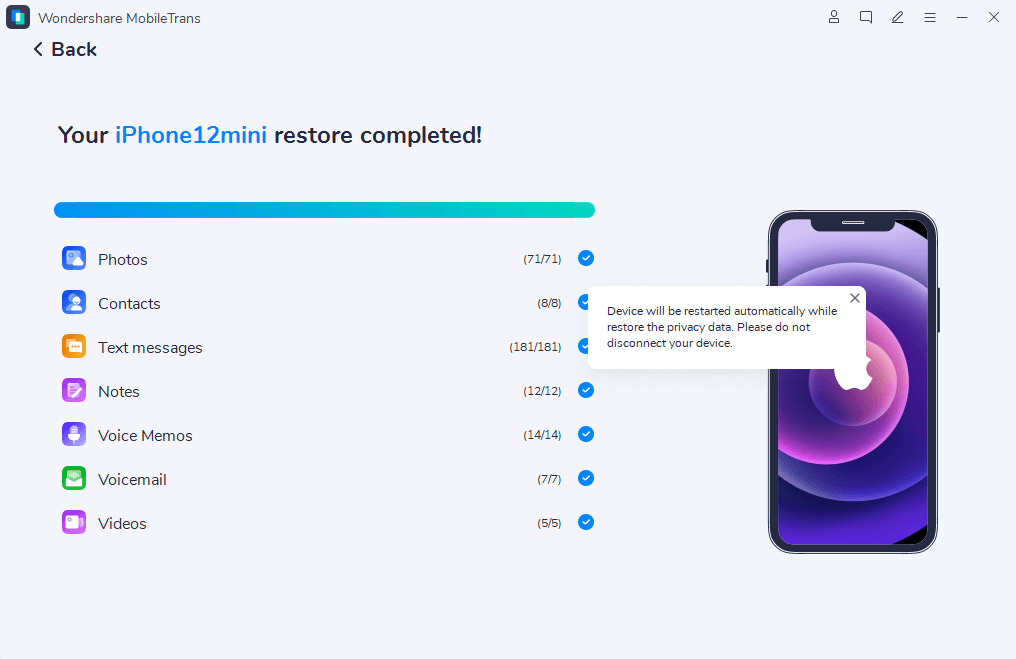
- Keep your iPhone connected until MobileTrans completes restoring your data. The process will be completed shortly.
Conclusion
Fixing the iPhone stuck in the search screen problem is easy after reading this article. You only need to install Wondershare Dr.Fone - iOS System Repair on your computer.
After that, choose which way you wish to repair your device. You can address the scenario using the Standard or Advanced mode. It depends on the complexity of the problem.
If you use the Advanced mode, back up your iPhone to prevent data loss. You've also seen how easy it is to use the MobileTrans - Backup & Restore.
You can also repair the iPhone stuck on searching by force-restarting the device. Or disable the search feature in settings. So, choose your best method and fix the problem like a pro!
FAQ
-
How Do You Fix an iPhone 17 that's Stuck on Search Screen?
Tell Siri to launch settings to fix an iPhone 17 stuck on the search screen. Scroll down to and tap Home Screen. Under this screen, turn the Search feature off. If it's already off, turn it on, then back to off. That should fix the problem on your iPhone. -
Why Is Your iPhone Stuck on Searching?
Your iPhone may be stuck on searching due to a network problem. The easiest way to fix this problem is to restart your device. That will reset any processes interfering with your phone's performance. Alternatively, you can remove the SIM card and reinsert it.


