When we get a new smartphone, we often focus on transferring our media files, documents, contacts, and other data type. Though, it is during this process when your online accounts can be at risk. Therefore, you should also transfer Google Authenticator to new iPhone to make sure the security app would run smoothly. Unlike our contacts or photos, it can be a bit complicated to move Google Authenticator to new iPhone. Don’t worry – in this post, I will teach you how to transfer Google Authenticator to new iPhone in a stepwise tutorial.

Part 1: What is Google Authenticator?
Google Authenticator is a popular iOS and Android app that adds another layer of two-factor authentication for websites and apps. Once you have installed Google Authenticator on your device, you can add various websites and apps to it by scanning a unique QR code. Now, whenever you log-in to these platforms, a unique one-time generated code would be displayed on Google Authenticator that you need to match on their log-in page. This is a perfect alternative to an SMS-based two-factor authentication process and is ideally more reliable.

If you haven’t been using Google Authenticator, then just download the app from the Play/App Store. Now, you can add a new platform, go to its security settings, and scan its QR code to link it to your Google Authenticator account.
Part 2: How to Transfer Google Authenticator to new iPhone?
If you wish to keep your accounts safe, then it is highly recommended to migrate Google Authenticator to new iPhone. Earlier, moving Google Authenticator to new iPhone used to be extremely tedious. Thankfully, Google has made an update in May 2020, letting us move Google Authenticator to new iPhone easily. All you need to do is install the Google Authenticator app on your iPhone and follow these steps:
Step 1: Launch Google Authenticator on iPhone
If you don’t have the Google Authenticator app installed, then first download it from the App Store right here: https://apps.apple.com/us/app/google-authenticator/id388497605
Now, launch the application and make sure that the app (and your device) is linked to the same Google account as before.
Step 2: Change the 2-factor authentication settings
To transfer Google Authenticator to new iPhone, you have to first go to your Google account on your system. Browse to its Settings > Security and visit the two-factor authentication settings from here.

Click on the “Get Started” button to get various options for your Google security settings. Simply browse all the way down and click on the Authenticator app feature.

Step 3: Change your connected phone
Under the Google Authenticator settings, you can click on the “Change Phone” button and pick iPhone as the new target device. You can also select Android as a new phone as per your requirements.

The setup wizard on Google will display a unique QR code on the screen. You can now just launch the Authenticator app on your iPhone and initiate its setup process. Choose to scan the QR code and do the same by using your iPhone’s camera.

Once you have scanned the code, a one-time generated passcode would be displayed on your Google Authenticator app.

Just note this passcode and verify it on your Google security setup wizard on your computer. That’s it! This will successfully move Google Authenticator to new iPhone. You can do the same with any other connected website and link it to your new iOS device as well.

Part 3: Transfer Other Types of Data to New iPhone using MobileTrans – Phone Transfer
Now when you know how to transfer Google Authenticator to new iPhone, let’s get to know a smart way to move other data types. Ideally, you can take the assistance of MobileTrans – Phone Transfer to directly move your data from one device to another. It provides a hassle-free one-click phone to phone transfer solution, sharing extensive compatibility with 8000+ different devices.
This means, you can transfer your data from any other iOS or Android device to your iPhone in minutes. The application can transfer 17 different data types, including photos, videos, audios, notes, bookmarks, Safari data, contacts, call logs, and so much more. You can just connect your device to the system, launch the application, and follow these steps to transfer your data.
Step 1: Launch MobileTrans – Phone Transfer
To start with, simply launch the MobileTrans application on your computer and choose the “Phone Transfer” module from its home. You can also connect your existing Android/iOS device and the new iPhone to your system.

Step 2: Choose what you wish to transfer
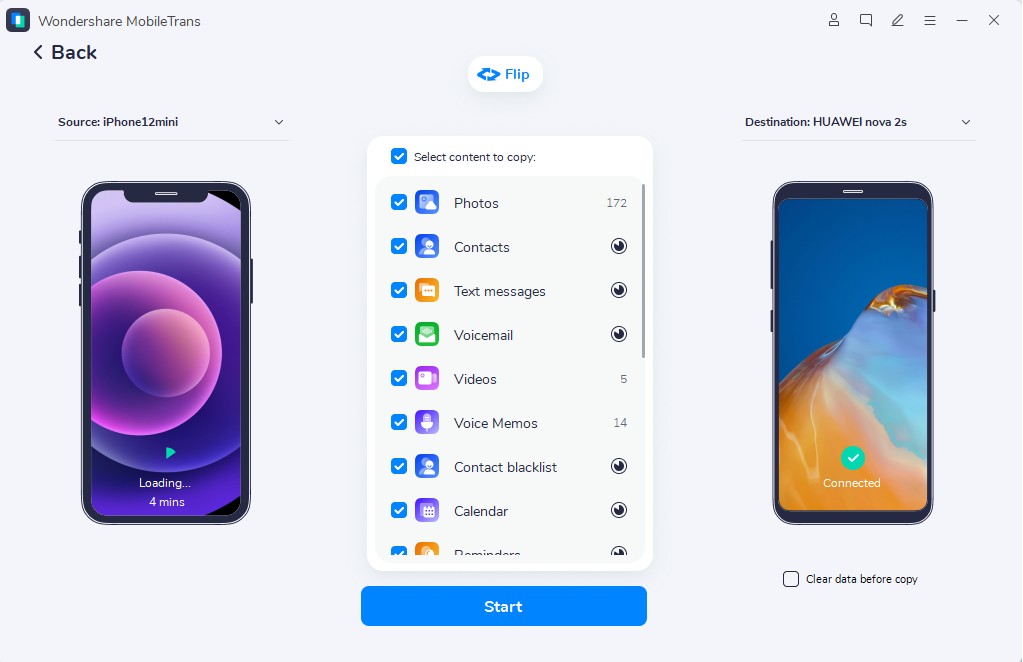
In a while, the application will detect the connected devices and would identify them as either source or destination. There is a flip button here that you can further use to ensure that iPhone would be the destination device.

Once that is done, you can just select what you wish to transfer from the list of the supported data types. There is also an option to clear the target device storage before transferring your data.

Step 3: Perform phone to phone transfer
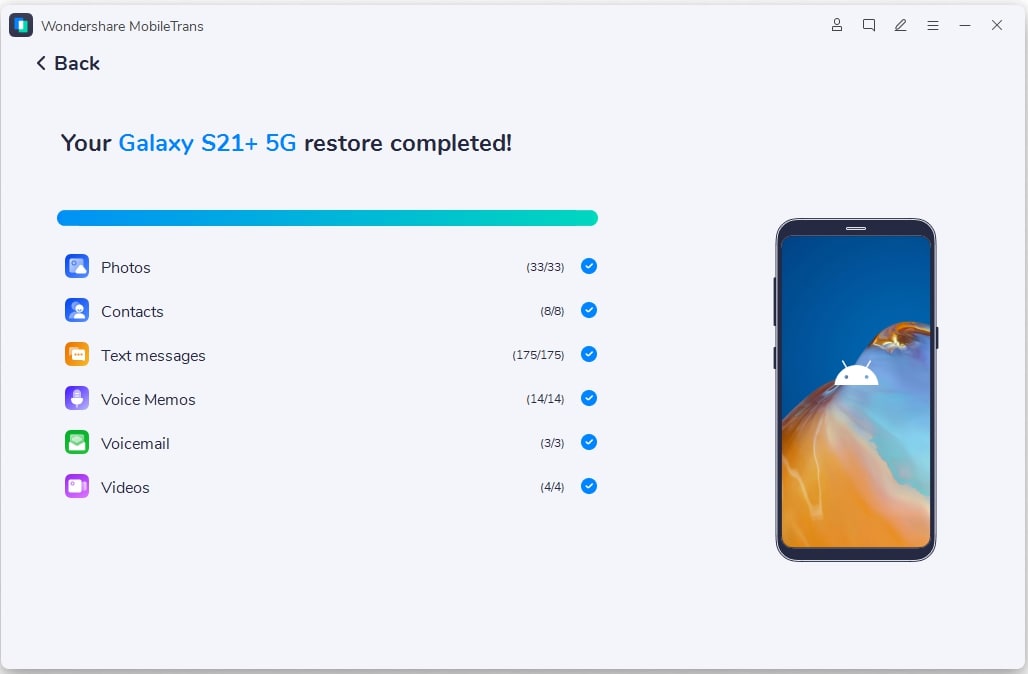
That’s it! After selecting what you wish to move, just click on the “Start” button, and wait for the process to be over. It might take a while so make sure that your devices are connected to the system until you get a success prompt on the screen.

There you go! I’m sure that by now, you would be able to transfer Google Authenticator to new iPhone from your old device. You can easily implement this guide and share it with others to teach them how to move Google Authenticator to new iPhone as well. Besides that, you can also try MobileTrans – Phone Transfer to migrate to your new iPhone without losing your important data in the process.
New Trendings
Top Stories
All Categories


Axel Nash
staff Editor