The most stressful thing that comes to mind when you buy a new phone is to move data from one device to another!
But now, you don't have to worry about losing your data if you upgrade phones, lose your device, or erase it by accident because Google lets you build your backups.
Stay with me until the end of this article, and I'll show you how to restore Android phone from Google backup in easy steps.
In this article
Part 1: How to Back Up Data from Phone to Google?
Back Up All Data from Google
To restore your phone from your Google, you need to first upload your data to your Google backup. The process of backing up data on an Android device is quite simple; all you need to do is:
- Go to Settings app. Choose Google.

- Go to Backup.

- You can access your Google Account info and choose other files to sync.
- Return to the main Backup options. Click the "Back up now" under "Backup by Google One."

By following steps above, your data will be backed up to your Google One account, which allows you to download the data you need whenever and wherever you need them.
Back Up Selective Data from Google
In addition to backing up all your data to Google, you can also back up particular types of data to your Google account.
Here, we take "messages" as an example. The method also applies to other types of data.
Follow the steps below to finish the backup process:
Step 1: Go to "Settings - Google" on your Android. Tap on "Backup".

Step 2: Check the details of backing up your phone with Google One; this is where you’ll see what content is being backed up. To proceed, select "Turn On."

Step 3: Tap on "Back up now".

Step 4: Tap on your phone's backup to confirm that your texts are backed up.

Now you are familiar with the process of data backup to Google. In the next part we will discuss how you can restore all data or selective data from Google backup to your Android.
Part 2: How to Restore Android Phone from Google Backup?
There are two options with regard to restoring your Android phone from a Google backup: to fully restore all data from Google and to restore data selectively. Decide which one suits your situation, as we provide you with stepwise instructions to both conditions.
Restore All Data from Google Backup
First, if you want to fully restore all of your data from the Google backup, you can retrieve your old data on a new Android phone or after a factory reset. The following instruction will guide you through the process:
Step 1: First, tap on Start and accept conditions and terms.
Step 2: Connect your Android phone to Wi-Fi.
Step 3: When asked on the screen showing Copy apps & data, choose Next and Can’t use old device.
Step 4: Log in to your Google account.
Step 5: Select all the data types you want, such as apps, photos, contacts, etc.
Step 6: Tap on Restore for the process to begin. Wait for a while, and your phone will be restored from the Google backup.

Restore Selective Data from Google Backup
For those who only want to restore certain types of data, we here offer you other choices. No matter you want to restore photos, contacts, messages, or WhatsApp data from your Google backup, we here have solutions. Choose the one that fits you the most.
-
How to Restore Backed-up Photos from Google Photos
For those who want to restore photos from Google, we here offer you the instructions.
If you have logged into a different Google account on the device you're now using, you won't be able to retrieve your images.
But if you use the same Google account on your new phone as you did on your old phone, then you can easily restore your photos from Google.
Below is the method of how to restore backed-up photos from Google, follow the steps!
Step 1: Open the Google Photos app first.
Step 2: Tap the image you want to save to your phone.

Step 3: After picking which photos to restore, choose "Save to device" from the drop-down box.

-
How to Get Back Contacts on Android
You can also restore contacts from Google to your Android phone.
If you've already backed up your contacts on Google and want to get them back to your other Android device, here's how to do it:
Step 1: Select "Settings" from your phone's menu.

Step 2: Scroll down and go to Google.

Step 3: Tap the option to "Restore Contacts."

Step 4: If you have multiple Google accounts, select the one where you have created a backup.

Step 5: Press "Restore" and wait until it says "Contacts restored."
Now you know how to restore Google backup to your Android device. Let's explore more options for backup and restoration.
Part 3: Back Up and Restore Data Without Google Backup
If you don't want to use Google for backup any more, there is another amazingly safe and convenient tool called Wondershare MobileTrans that offers simple backup and restoration options.
It is to learn about this fantastic service that makes backing up and recovering your data easy! Here are some reasons why you should use MobileTrans:

How to Back Up Data Using MobileTrans?
As stated previously, you only need a few clicks to start the backup and restore procedure; here are the required steps that you need to do:
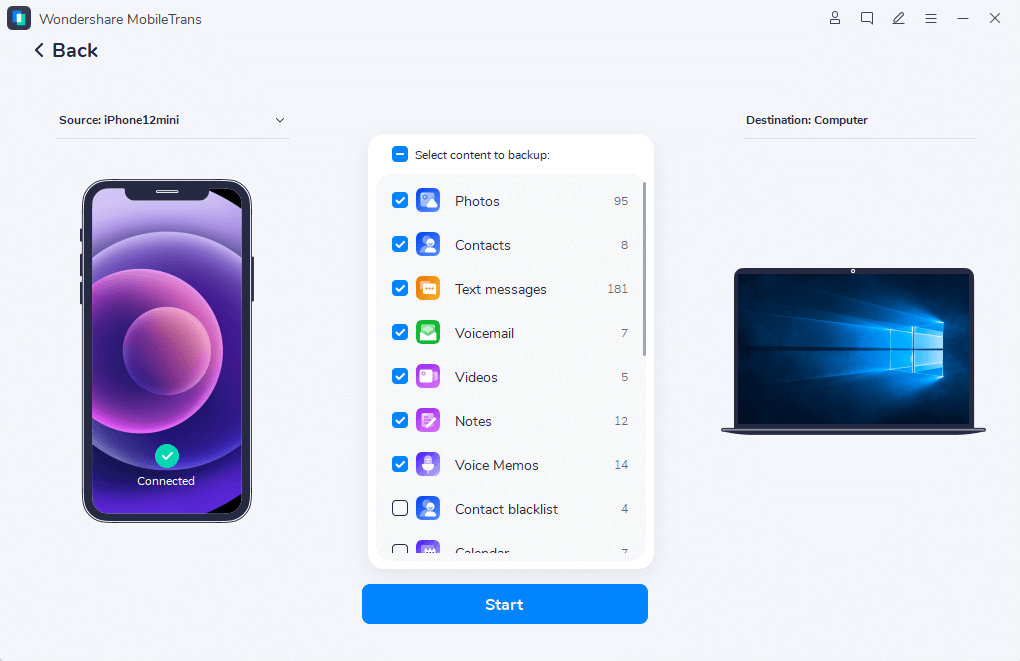
Step 1: Connect your cell phone to the computer.
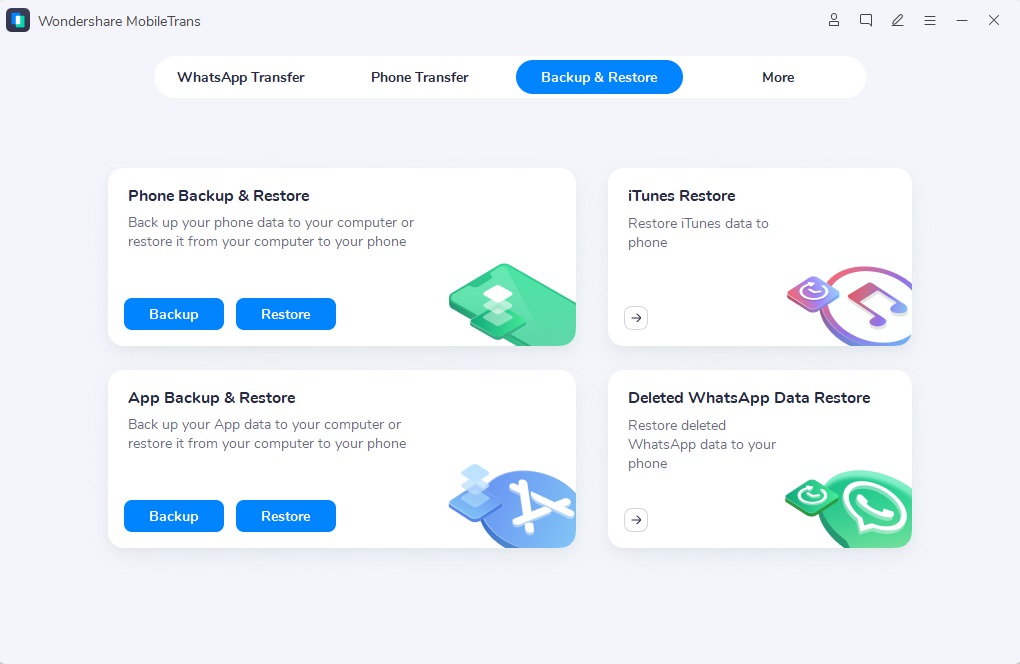
Step 2: Open MobileTrans and start the "Backup" module.

Step 3: Choose the file types you want to backup and press the "Start" option to begin.

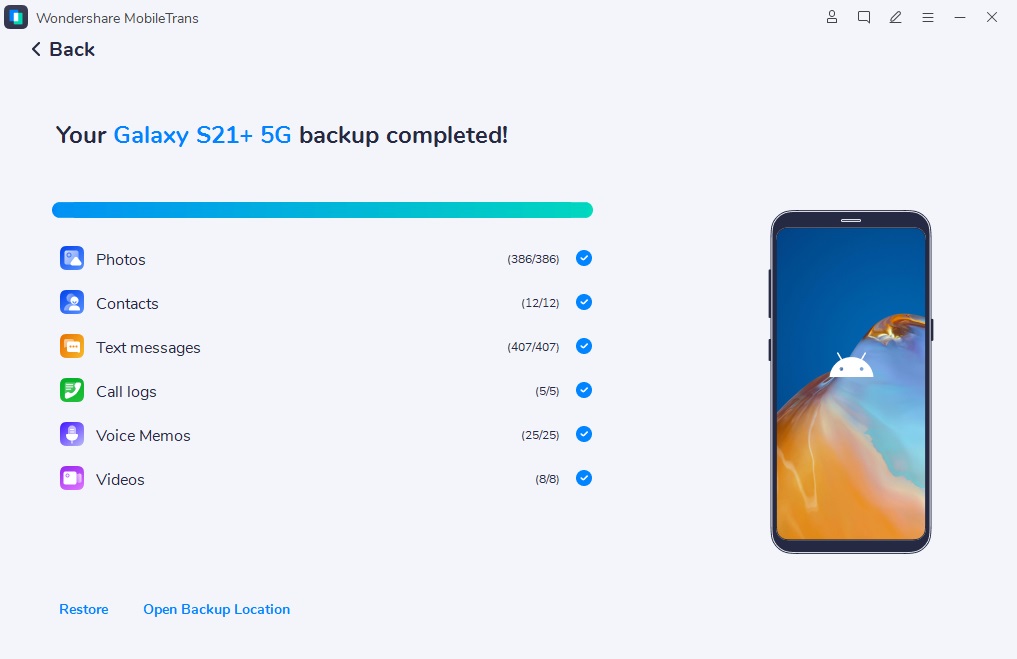
Step 4: If you want to restore data from the computer using MobileTrans, click on "Restore" next to Backup. Choose your device and the data that you want and select "Start".

Final Verdict
The procedures to recover your Android phone's data from Google are basic, as mentioned in this article. MobileTrans - Backup & Restore allows you to back up your device and then restore those backups to any other phone, whether it's an iOS or Android.
Since you are now familiar with the process of restoring an Android phone from a Google backup, you can now retrieve your files, documents, contacts, SMS, and photos from Google Drive in an effortless way.


