Photos are one of the best ways to preserve memories. However, they can take up significant storage space on your iPad if left to accumulate. So, it makes sense if you're forced to erase all your pictures saved on the iPad to free up space for something else.
That's especially true when you need to reclaim an ample space in a hurry. But regardless of your reason for deleting all pictures, learning how to delete all photos from iPad is essential. This quick guide takes you through a few simple steps to erase all your photos from an iPad. Check them out.
In this article
How to Delete All Photos from iPad: Simple Steps
Before learning how to delete all photos on an iPad, there's something you need to know. All deleted items are moved to your Recently Deleted folder. But they will be removed for good after 30 days. If you've enabled iCloud Photos and deleted a photo on your iPad, it will also disappear from your other iCloud enabled devices.
Thus, it's good first to back up any photos you wouldn't want to lose. See how you can do that with a few clicks in the next section. Once you've backed up your important pictures, follow these steps to erase all photos from iPad:
- Launch the Photos app on your iPad.

- Go to the Library and choose All Photos in the navigation bar at the bottom of the screen. Click Select in the top right.

- Begin from the bottom-right image and gently slide your finger left to the bottom-left image, then straight up to the top. Blue check marks will appear next to every photo in the Library.

You can even speed things up by selecting with one finger and holding it on the screen, then using your other hand to swipe. That will take seconds to select thousands of photos.
 Note: Avoid swiping straight upwards or holding your finger down too long. Doing any of this will move the photo instead of selecting it.
 - Once you've selected all the photos you want to delete, tap the trash can icon in the bottom right. Next, tap 'Delete [number] photos.'

How to Delete All Photos from iPad's Recently Deleted Folder
As mentioned, the deleted photos will automatically go to the Recently Deleted album. To remove photos from iPad for good, you'll also have to erase them from this album:
- Tap the Albums tab and scroll down to Utilities, where you'll find the Recently Deleted album.
- Hit the Select button, then scroll up to highlight all the photos. As stated, you can select the photos with one finger and hold the finger on the screen, then use your other hand to swipe. That helps select all the photos faster than scrolling up.
- Tap Delete in the bottom-left corner of the screen. Next, tap "Delete [number] photos" to confirm your action to remove the items.
How to Get Rid of Photos on iPad and Not on iCloud
If you use iCloud storage, deleting photos from the iPad will remove them from your other devices. That can be a huge turn-off if you still want to access the pictures from those other Apple devices. So, here's how to delete all photos off iPad without clearing them from iCloud:
- Open Settings on your iPad.
- Tap [your name], then Sign Out.

- Enter your Apple ID passcode to turn off Find My iPad.
- Select the files you wish to keep on your iPad, then Tap Sign Out to confirm.
By signing out of iCloud, you disconnect the iPad and iCloud. Any actions you take on the iPad, even deleting photos, won't affect iCloud and other devices.
How to Delete Duplicate Photos on iPad
Duplicate photos take up a lot of space that you could use for something important. You can delete all duplicate photos at once by following these steps:
- Open the Photos app.
- Tap Albums, then choose Duplicates album under Utilities.
 Note: Duplicate album is available on iPadOS 16 and later. The detection of duplicate photos happens automatically.
- Select the Merge option. Tap Merge [number] items to confirm and combine the duplicates.

Your iPad will combine the highest picture quality and relevant data to save one photo in the Library. The other duplicate images move to the Recently Deleted album. You can then move to this album and erase all photos from iPad.
Back Up Important Photos in a Few Easy Steps
You can free up space on your iPad without permanently deleting essential photos. Wondershare MobileTrans can help you quickly back up all your photos to a computer. That way, you can restore the photos anytime should the need arise.
Besides, MobileTrans - Backup & Restore supports over 18 data types. In addition to photos, you can also backup your videos, documents, messages, and other files. That would allow you to get all the space you need to save more files on the iPad.
Wondershare MobileTrans
Back Up Your Data to Computer Easily
- • No data loss. No data leaks.
- • Support various data, including files, photos, videos, apps, contacts, etc.
- • Compatible with over 6,000 types of devices acorss Android and iOS.

 4.5/5 Excellent
How to Back Up iPad Photos and Other Data with MobileTrans
There are two ways to learn how to change Apple ID without losing data. You can do it on your iPhone or computer.
- Install MobileTrans on your computer or Mac.
- Connect the iPad to your PC using a USB cable.
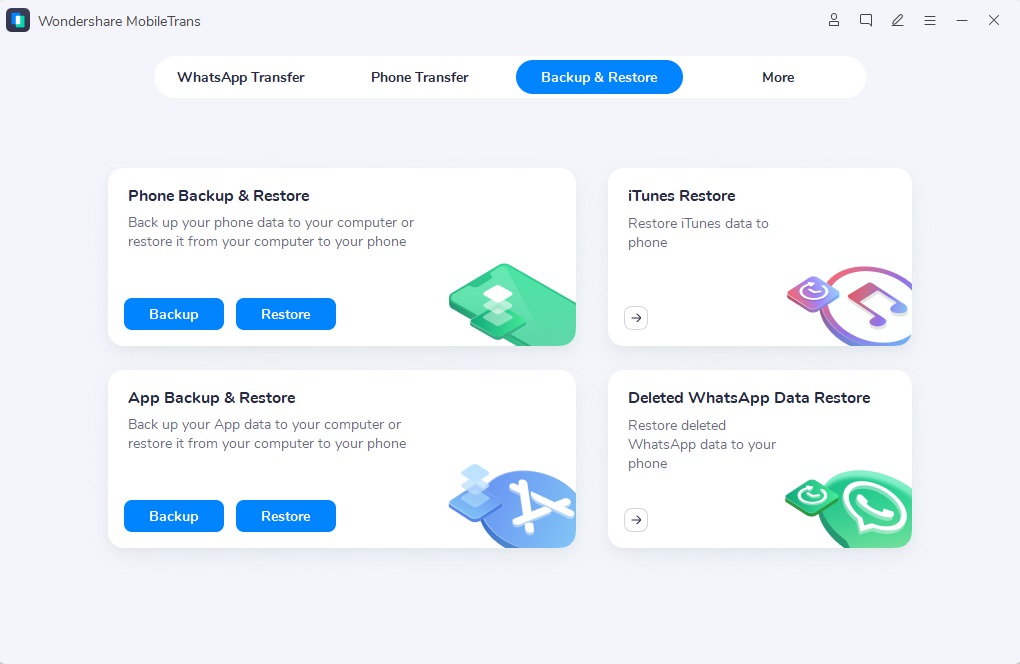
- Open MobileTrans and choose Backup & Restore from the software interface.

- Click Backup under Phone Backup and Restore.
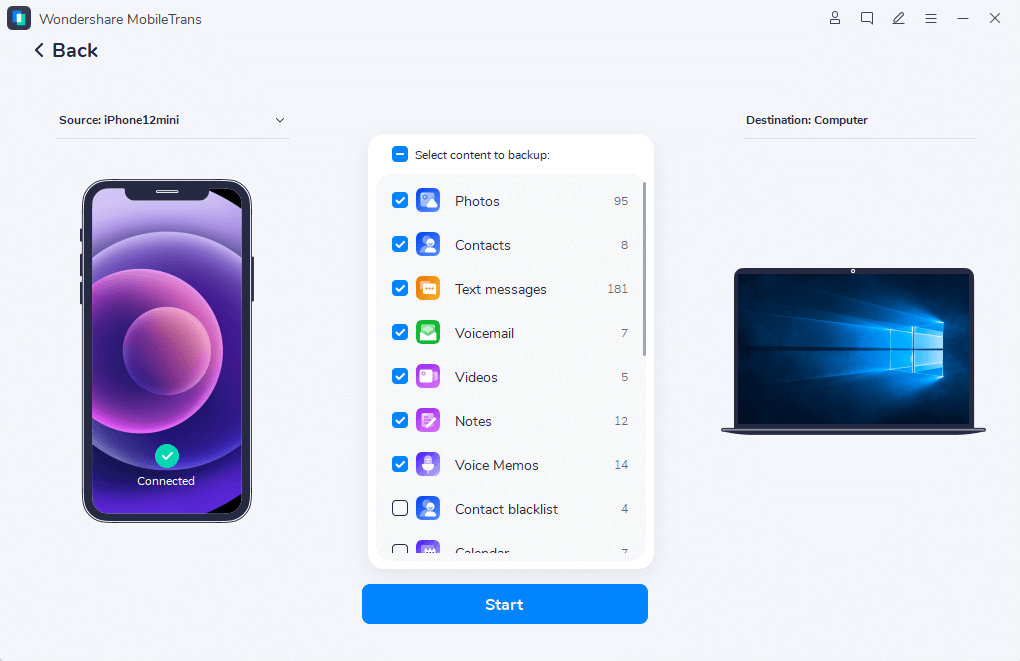
- Select the file type(s) you wish to back up. In this case, Photos. But, as mentioned, you can also select videos, messages, notes, and more.

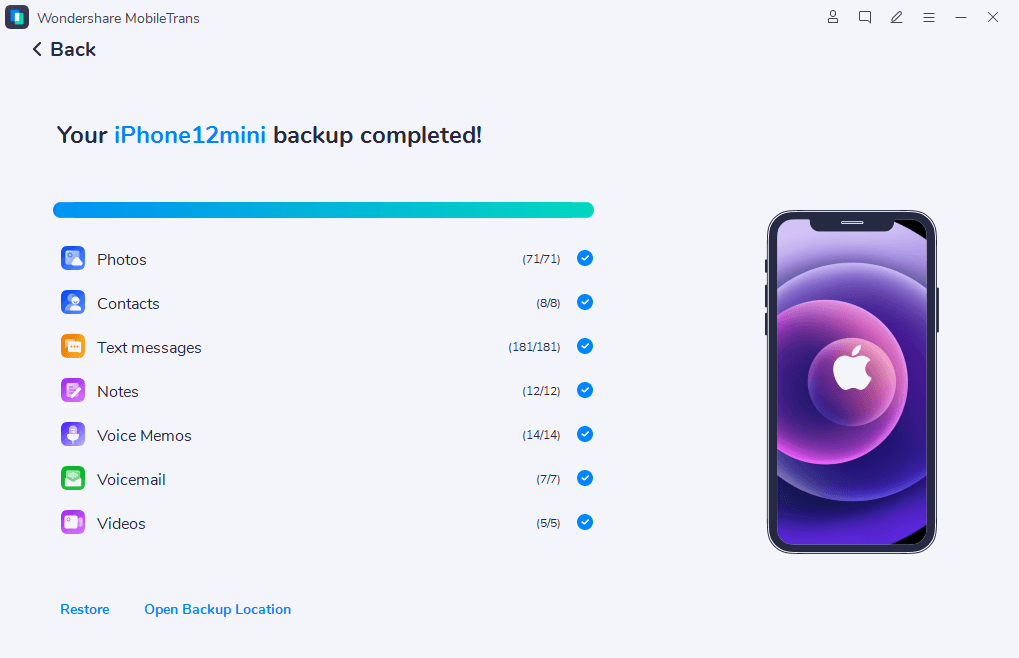
- Click the Start button for the MobileTrans to begin the backup process. Keep your iPad's connection secure until the process completes in a few minutes. The software will notify you when it's done.

How to Restore iPad Backup with MobileTrans
Should you need your photos and other data returned to the iPad, you can restore the files with a few clicks:
- Connect your iPad to the computer or Mac containing your backup.
- Open MobileTrans and click Backup & Restore.
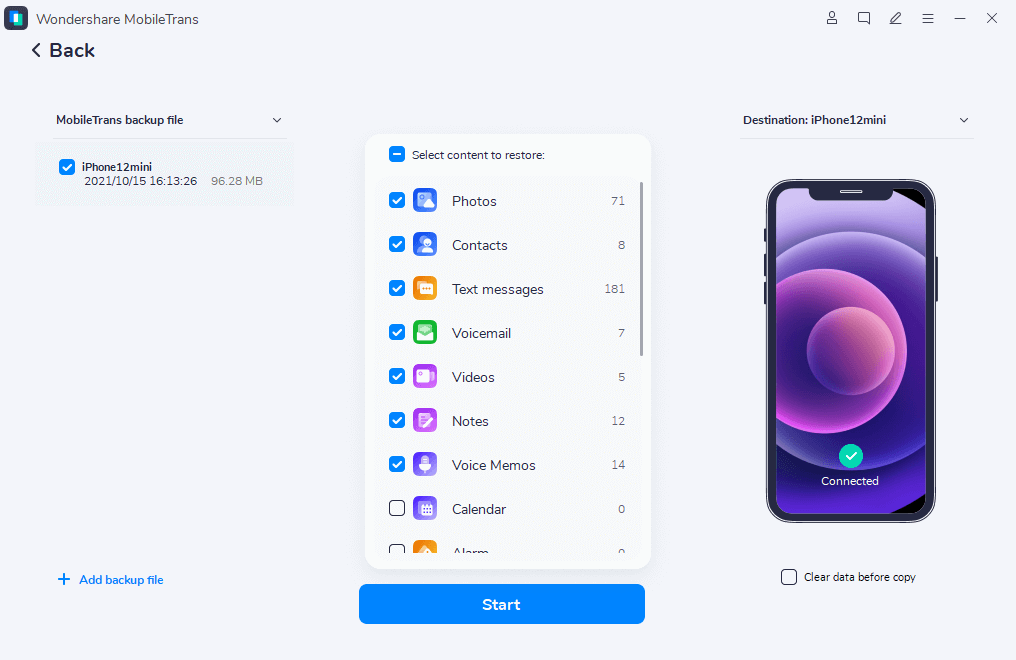
- Choose Restore under Phone Backup & Restore. Once the iPad is detected, MobileTrans will display all your backed-up files, which you can restore.

- Select the files you need to restore to your iPad (if you made multiple backups) and click Start.

- Wait for a few minutes for MobileTrans to restore your backups. You'll get a notification when that is done.
Conclusion
After going through this guide, you now know how to delete all photos on iPad. As you may have realized, the steps are straightforward. Remember that once you remove pics from iPad, they go to the Recently Deleted album.
They stay in this album for thirty days, after which they are gone for good! Wondershare MobileTrans can help back up photos to a computer before permanently deleting them from the iPad. Download and install MobileTrans for free if there are iPad photos you'd rather back up to your computer.

 4.5/5 Excellent
FAQ
-
Can You Delete All Photos on Your iPad at Once?
Yes, you can delete all photos on your iPad at once using a few simple steps. Open the Photos app and go to the Library. Choose All Photos in the navigation bar, then tap Select in the top-right. Select all the photos you need to erase, then tap the trash can icon in the bottom-right of the screen. -
Can I Delete All Photos from the iPad But Not on Other Devices?
Yes, you can delete all photos from your iPad but not on other devices by disabling iCloud Photos or signing out of your iCloud account. That way, you can delete photos from the iPad and still be able to access them from your other Apple devices. Ensure you back up your photos to a computer before turning off iCloud Photos to avoid accidental deletion.


