


 TL;DR:
You can efficiently manage Google Photos storage by using the native Free Up Space tool to automatically remove local copies of backed-up media, turning off sync for specific folders, or clearing temporary app data.
● Manually deleting pictures and videos within the Google Photos app only removes the cloud version, meaning the original files remain completely intact on your local phone storage.
● To stop unwanted media from consuming cloud capacity, you can manually exclude specific directories from syncing by toggling them off in the Back up device folders menu.
● Wondershare MobileTrans offers an offline alternative to save photos directly to a computer hard drive, which requires a USB cable connection and an active USB debugging setting on your mobile device.
Ask AI for a summary
 ChatGPT
 Perplexity
 Gemini
 Claude
 Grok
Grok
Are your important pictures taking up too much space? Are you tired of seeing the storage full alert on your Google Photos app? Fret not. You're in the right place.
When you see that Storage Full message, your device is too full, and you won't be able to take new pictures or videos. Also, low storage can slow down your phone and make it harder to use other apps. Therefore, making room in Google Photos is important for the efficient performance of your phone.
It will help your device work better and faster. Plus, removing unnecessary photos makes your Google app more organized.
This blog post will list reasons for the low storage space of Google Photos and advise how to free up space in Google Photos. Stay glued.
In this article
Why Should You Organize Photos on iPhone?
The Free Up Space feature is a handy tool Google provides to help you manage your photo and video storage efficiently. It is a straightforward solution to tackle the storage issue on your device.
Its primary function is to identify and delete copies of photos and videos that have already been backed up to the cloud. Unlike manual methods, it automatically detects photos and videos that have already been safely backed up to your Google account.
The feature also provides a visual overview of the space that can be freed up. When you enable this feature, you get the above-mentioned benefits.
Here's how to find and use the Free Up Space feature:
Step 1: Start by launching the Google Photos app on your device. You can download it from the app store if you don't have it installed.
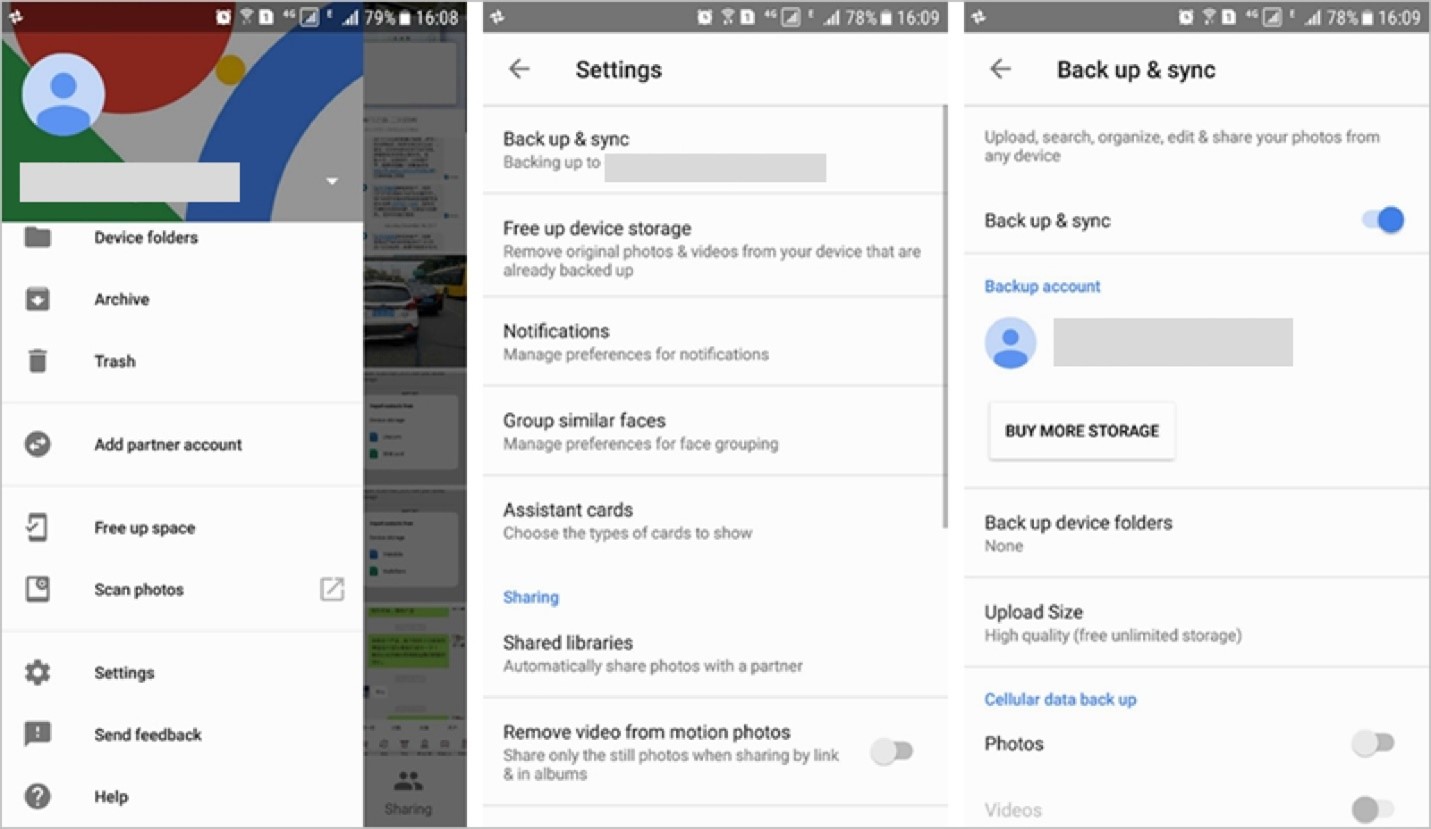
Step 2: In the top left corner of the app, you'll find a menu icon. It is usually three horizontal lines. Tap on it to open the menu, and then select Settings.
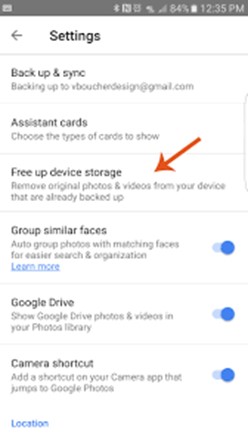
Step 3: Within the Settings menu, scroll down until you find the Free Up Space option. Depending on your device, it might be located in the Storage or Back up & sync section.
Step 4: Navigate to the Free Up Space section. Google Photos will display the space freed up by removing backed-up photos and videos. Review this information to ensure you're comfortable with the deletion. Then, tap the Free Up or Delete button to proceed.
Step 5: Google Photos may prompt you to confirm your action. Confirm your decision to complete the process.
Once the cleanup is complete, you'll receive a confirmation message indicating how much space has been freed up. Your device is now decluttered.
The Free Up Space feature is a quick and efficient way to optimize storage without losing memories. all your precious photos and videos are securely stored in your Google Photos account.
Other Methods to Free Up Space in Google Photos
If you don’t like the method above or want to manually declutter your Google Photos, we offer you other ways to free up Google Photos space in this part. Continue reading to pick the one that you like the best.
Turn Off Backup for Specific Folders
You can free up space in Google Photos by turning off backup for specific folders. This approach stands out because of its simplicity and customization features. The method allows you to select which folders are backed up and which are not.
Here are the steps to turn off backup for specific folders:
Step 1: Launch the Google Photos app on your device.
Step 2: Tap on the three horizontal lines in the top left corner to open the menu. From there, select Settings.>
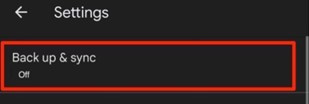
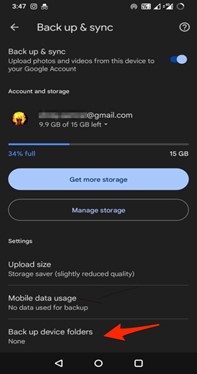
Step 3: Find and select the Back up & sync option within Settings.
Step 4: Under Back up & sync, tap on Back up device folders. This section displays a list of folders currently set to be backed up.
Step 5: You'll see a list of folders with toggles next to them. Toggle off the folders you don't want to be backed up. This could include folders containing images or videos that aren't important for cloud storage.
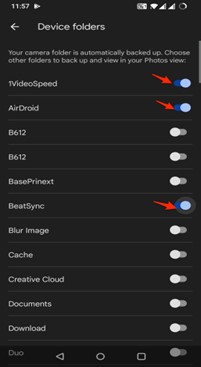
Step 6: Once you've deselected the folders, confirm your changes. This action ensures that Google Photos won't upload new content from the excluded folders to the cloud.
Periodically revisit these settings to adapt to changes in your media storage needs. If you create new folders or want to include previously excluded ones, adjust the backup settings accordingly.
Delete Unwanted Photos and Videos Manually
Manually deleting unwanted photos and videos in Google Photos is a straightforward approach. It offers a level of control over your media collection. This method provides simplicity and the ability to make personalized decisions about what stays and what goes.
Here are the steps to delete unwanted photos and videos.
Step 1: Launch the Google Photos app on your device.
Step 2: Explore your photos in the main feed or within specific albums.
Step 3: Tap and hold on to the first photo or video you want to delete. This action activates the selection mode.
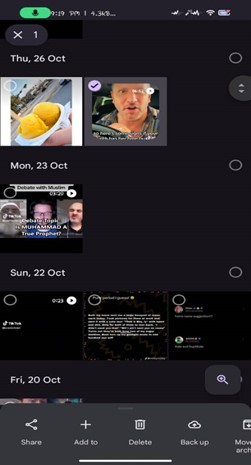
Step 4: In selection mode, tap on additional photos or videos you want to delete. They will be highlighted.
Step 5: Locate the trash or delete icon once the desired items are selected. A bin symbol usually represents it.
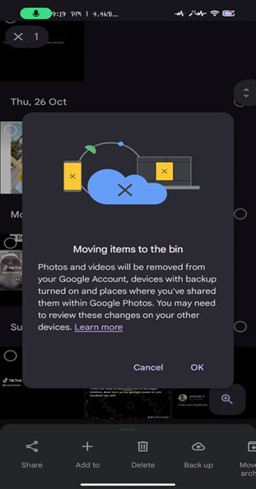
Step 6: Google Photos will prompt you to confirm the deletion. Confirm your decision to remove the selected photos and videos.
After confirmation, you can permanently delete items to free up space. Keep in mind that this action is irreversible. The manual deletion method allows you to review and select each item individually. But if you don’t want to remove old photos, we have other options below.
Clear Cache and App Data
If you aim to free up space in your device taken by Google Photos, you can clear cache and app data. Clearing the cache and app data targets the temporary files and data stored by the Google Photos app on your device. Other methods may involve sifting through photos or adjusting settings.
This method is appropriate for reclaiming space without delving into individual photos or videos. The cache and app data often accumulate over time as you use the app. This consumes a significant amount of storage. Here are steps to clear cache and app data:
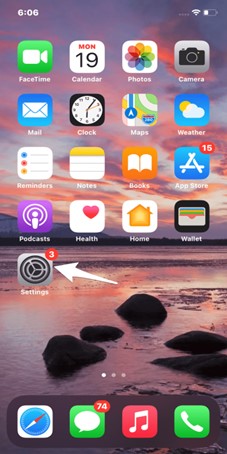
Step 1: Navigate to the Settings on your device. A gear icon usually represents this.
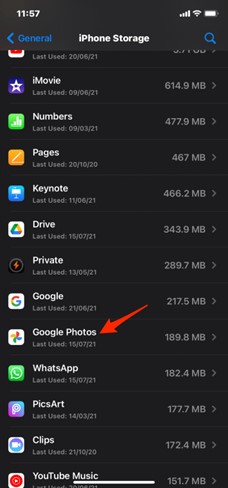
Step 2: Go to General and then iPhone Storage.
Step 3: Scroll through the list of installed apps and find Google Photos. Tap on it to access the Google Photos storage.
Step 4: Inside the Google Photos app storage, you can see Offload App. Tap on it to free up storage user by Google Photos.
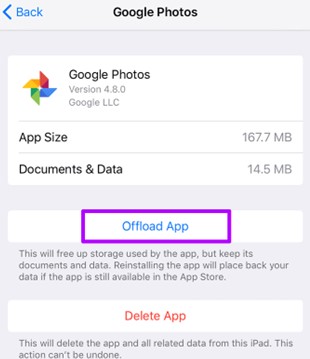
Confirm your decision when prompted. And now you have cleared cache and app data in your Google Photos.
Organize iPhone Pictures using the Photos App
Freeing up space on Google Photos comes with complicated steps and instructions. Alternatively, there is a backup tool that requires just a single click. We recommend the Backup & Restore feature of Wondershare MobileTrans.
Unlike traditional methods, this solution offers a distinctive advantage. Wondershare MobileTrans allows you to save your data directly on your computer. It doesn’t require relying solely on cloud storage solutions like Google Photos, which have the risk of data leaks. By using MobileTrans, you can also save valuable space on your mobile devices.
After creating a backup on your computer, you can easily restore your photos to any compatible device. This user-friendly process ensures you can access your photos whenever and wherever you need them.
 4.5/5 Excellent
Here are the Steps to free up space using Wondershare MobileTrans - Backup & Restore feature:
Step 1: Download and install Wondershare MobileTrans on your computer. Launch the program and select the Backup & Restore module.

Step 2: Connect your device to the computer using a USB cable. Ensure that USB debugging is enabled on your device.
Step 3: In the MobileTrans interface, click on Backup. Choose the Photos category. Select the specific photos or opt for a full backup.
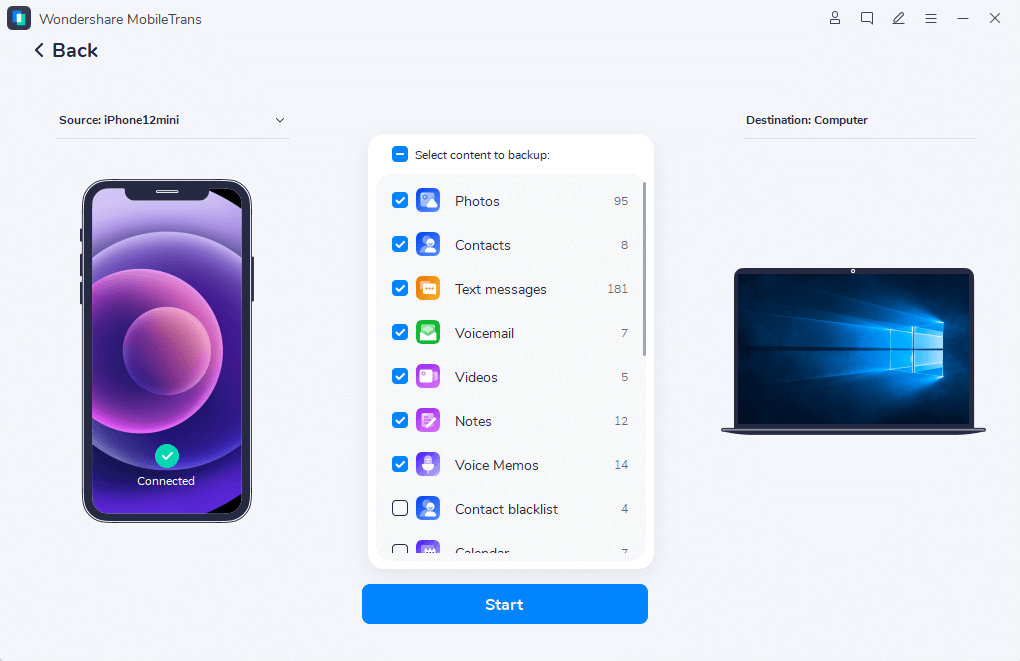
Step 4: Specify your computer as the backup destination. This ensures your photos are stored locally on your computer's hard drive.
Step 5: Click on the Start button to initiate the backup process. MobileTrans will securely transfer and store your selected photos on your computer.
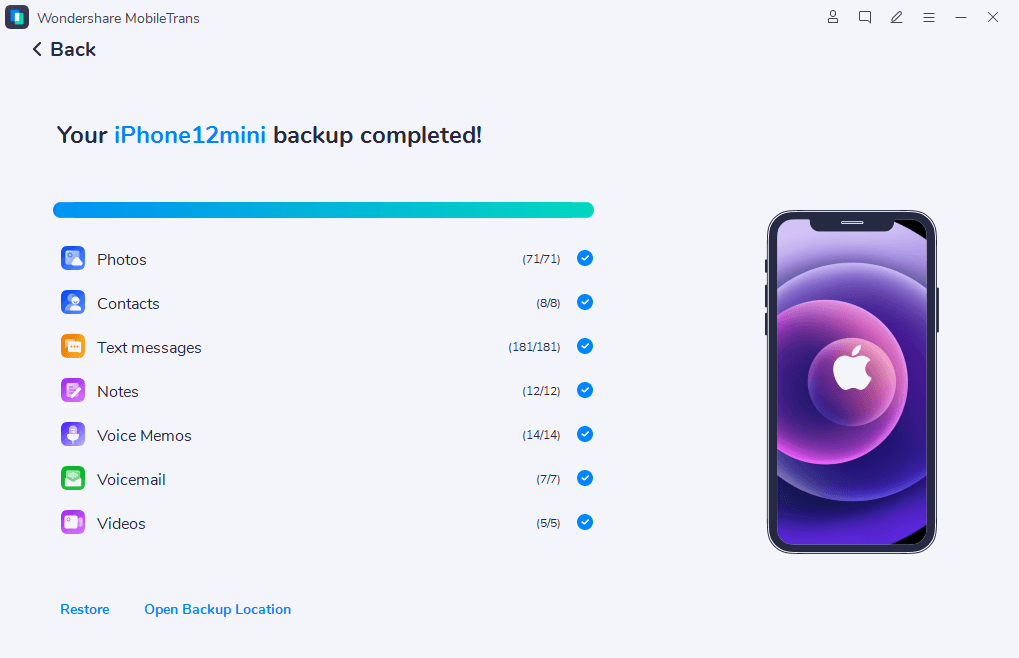
Once the backup is complete, MobileTrans will provide a confirmation. You can now disconnect your device.
By adopting Wondershare MobileTrans, you not only free up space on your device. You will also gain the advantage of having your photos stored locally. This offers greater control and accessibility.
Final Words
Finally, you can free up space in Google Photos using any above methods. You can use Google Photos' native features like Free Up Space. Additionally, you can explore manual methods, such as deleting unwanted photos, allowing tailored control over your photo collection.
For those seeking an alternative with just a single click, Wondershare MobileTrans would be your best bet. Its Backup & Restore feature offers a unique solution. You reduce dependence on cloud services by saving data directly to your computer. It also provides flexibility and control over your photo storage.
Remember to regularly review and organize your photos and data for a better-performing phone. It’s a good habit to both protect your data privacy and take control over your device.
4.5/5 ExcellentFAQ
-
How do I get rid of (undo) Free Up Space on Google Photos?
To undo Free Up Space, open Google Photos, go to Settings, and find Free Up Space. Tap it, and you'll see the option to undo or recover space. Confirm your decision, and the deleted photos will be restored to your device. -
Will deleting photos from Google Photos delete from the phone?
No, deleting photos from Google Photos doesn't remove them from your phone. Google Photos operates independently of your device's gallery. It only removes the cloud copy. If you want to clear space on your phone, use features like Free Up Space or manually delete from your device gallery.


