


 TL;DR:
You can add music to your iPhone by syncing your library via iTunes or iCloud, downloading offline files from Google Drive or Dropbox, or using Wondershare MobileTrans for direct device transfers.
● Use iTunes via USB to selectively sync large music libraries, or enable iCloud Music Library to automatically sync your catalog across devices if you are an Apple Music subscriber.
● Choose Google Drive or Dropbox to conserve local iPhone storage, which requires uploading audio files from a computer first before marking them for offline playback within the respective iOS apps.
● Opt for Wondershare MobileTrans to quickly import specific songs from a PC or another phone without needing a cloud subscription or overwriting your existing iPhone music library.
Ask AI for a summary
 ChatGPT
 Perplexity
 Gemini
 Claude
 Grok
Grok
Adding music to your iPhone is a breeze with these five easy methods. In this guide, we'll walk you through various methods covering how to add music to iPhone. Then you’ll find it simple to add your favorite tracks to iPhone.
Say goodbye to the hassle of syncing—this guide ensures a smooth and stress-free process. Let's make your iPhone the ultimate music companion!
In this article
-
- Method 1: Sync Music from iTunes (Great for Managing Large Libraries)
- Method 2: Use iCloud (Perfect for Apple Music Subscribers)
- Method 3: Download Music from Google Drive (For Storing Songs in the Cloud)
- Method 4: Sync Music from Dropbox (Also Great for Cloud Storage)
- Method 5: Transfer Music with MobileTrans (For a Versatile Transfer)
Get Ready to Add Music to iPhone
Before exploring the methods of adding music to your iPhone, setting the stage for a seamless experience is key. This section of our article focuses on the essential preparation steps. From ensuring your device is updated to organizing your music library, we'll cover everything you need to do beforehand.
Following these straightforward steps will ensure a smooth process.
- Update Your iPhone: Make sure your iPhone has the latest software for a seamless experience.
- Organize Your Music: Tidy up your music library on your computer. Sort by playlists, artists, or albums for easier transfers.
- Check Storage: See how much space you have on your iPhone. This helps prevent any surprises during the transfer.
- Know Your Options: Explore different ways to add music—iTunes, streaming, or cloud storage. Knowing your options makes the process simpler.
These steps set the stage for a smoother music addition to your iPhone in the next part. Let's get everything ready for your iPhone.
Part 2: How To Add Music To iPhone?
Now that your iPhone is prepped and ready, it's time to dive into the exciting part—adding music! In this section, we'll guide you through simple and effective methods to bring your favorite tunes onto your device.
From using iTunes to cloud services and more, these step-by-step instructions ensure a smooth and enjoyable process.
Method 1: Sync Music from iTunes (Great for Managing Large Libraries)
If you have an extensive iTunes music library, the easiest way to transfer it is by syncing directly with iTunes.
Syncing music to your iPhone with iTunes is ideal if you want to selectively manage exactly which songs, albums, or playlists get copied from your library.
Here's how to sync music to your iPhone using iTunes:
- Use a USB cable to establish a connection between your iPhone and computer. Launch iTunes if it doesn't open automatically. If prompted, authorize your computer to access your iPhone by entering your passcode on the device and selecting "Trust This Computer."

- In the iTunes app, click on the "Music" icon located at the top-left corner of iTunes to access your music library.

- If you created a playlist, drag the desired songs from your library to the newly created playlist. If not, select the specific songs you want to add to your iPhone by clicking on them.
- Click on your iPhone icon at the top-left corner of iTunes. Under the "Settings" tab on the left sidebar, select "Music."

- Check the box next to "Sync Music" and choose whether to sync the entire library or selected playlists, artists, albums, or genres. After selecting your preferences, click on the "Apply" button at the bottom-right corner of the iTunes window to transfer music to your iPhone.

And that’s it! iTunes offers a simple space to add music to the iPhone easily. It's great for large iTunes collections.
Method 2: Use iCloud (Perfect for Apple Music Subscribers)
If you subscribe to Apple Music or buy songs through iTunes, iCloud Music Library seamlessly syncs everything across your devices.
To use iCloud Music Library, you will first have to learn how to add music to Apple Music on iPhone. Follow these steps:
- Launch the Apple Music App on your iPhone and find the specific song, album, playlist, or video you wish to save.
- Press and hold on the song, album, playlist, or video, then select "Add to Library."

- Visit your Library and locate the recently added song, album, playlist, or video.
- Tap the Download icon represented by a cloud with a downward arrow to save it for offline use.

Turning on iCloud Music Library is perfect if you want access to your Apple Music catalog and iTunes purchases on your iPhone. It will automatically upload and sync your content.
Method 3: Download Music from Google Drive (For Storing Songs in the Cloud)
If you keep your music library in Google Drive for cloud storage, you can download songs on your iPhone for offline listening.
Here's how to add music to iPhone using Google Drive:
- On your computer, upload the audio files you want to Google Drive. They can be mp3, m4a, wav, etc.

- Now, install the Google Drive app on your iPhone and sign in with your Google account.
- Open the Google Drive app on your iPhone and tap on a song. Select "Make Available Offline" to download the song to your device.

- Downloaded songs will be accessible in the Music app for offline playback.
Using Google Drive is great if you want to save space on your iPhone but still have access to your music offline. Anything stored in Drive can be downloaded when needed.
Method 4: Sync Music from Dropbox (Also Great for Cloud Storage)
As an alternative to Google Drive, you can use Dropbox to sync music by uploading files to the cloud too.
Here’s how to add music to iPhone from Dropbox:
- Install the Dropbox mobile app on your iPhone and sign in to your account.
- On your computer, hit the “Upload” button to add the music files you want to Dropbox. Drag and drop files into your Dropbox folder.

- Open the Dropbox app on your iPhone, find the uploaded songs, tap the More options (Three-dots) icon, and choose "Make Available Offline".

- Songs saved offline will appear in your Music library for playback without an internet connection.
Syncing music from Dropbox is great if you already use Dropbox to store files. Anything added to Dropbox can be saved offline on your iPhone.
Method 5: Transfer Music with MobileTrans (For a Versatile Transfer)
For full flexibility adding music files without iTunes, the third-party app MobileTrans lets you transfer music to your iPhone easily.
Wondershare MobileTrans
Transfer Your Favorite Music to iPhone as You Like!
- • No data loss. No data leaks.
- • One-stop transfer of musics, photos, videos, apps, etc.
- • Directly transfer your data crossing computer, iPhone and Android.
- • Move your favorite playlists to iPhone without cloud!
 4.5/5 Excellent
Here's how MobileTrans works to add music:
- Download and install MobileTrans on your computer. Launch the app.
- Connect your iPhone to your computer using the cable. MobileTrans will automatically detect the device.
- In the MobileTrans interface, switch to the “Phone Transfer” tab and then select “Import to Phone” to import computer data (songs saved on your PC) to your iPhone. Alternatively, you can also select the “Phone to Phone” option if you want to transfer music from your other phone to your iPhone.

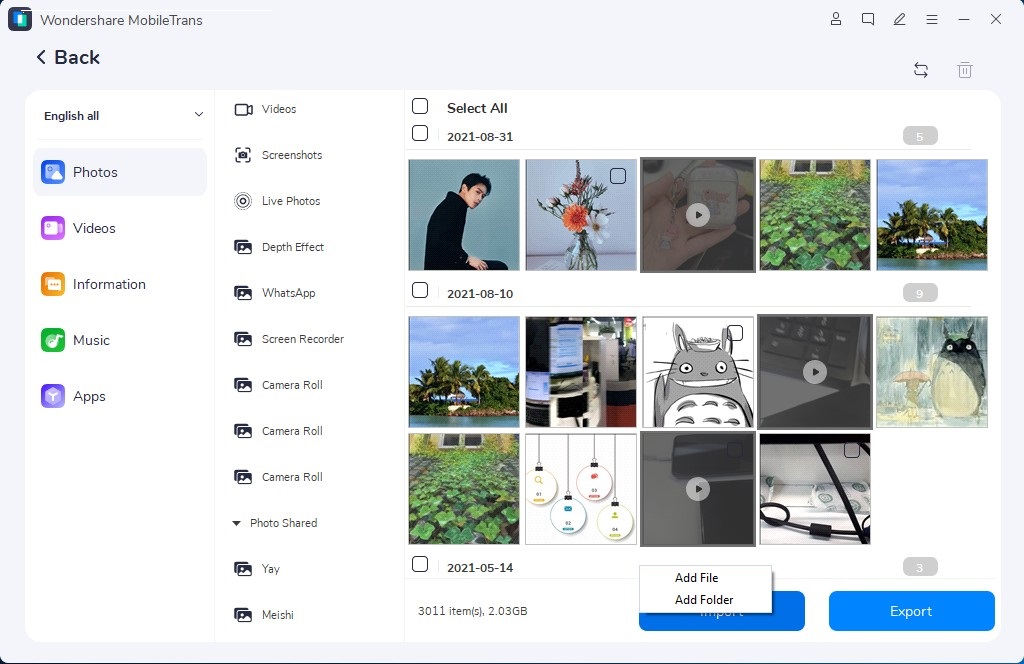
- Switch to the “Music” tab from the left menu pane. Select all the songs you wish to transfer to your iPhone and then tap the “Import” to initiate the transfer.
- Keep your iPhone connected to your PC until the song transfer process is completed.
And that’s it! Using MobileTrans is great if you just want to quickly add a few albums, songs, or playlists without affecting your existing iPhone library.
Part 3: The Best Way To Add Music To An iPhone
When it comes to adding music to your iPhone, you have a few options to choose from. However, here's a quick comparison of the best features that meet your needs.
| Method | Library Syncing | Cloud Access | Song Selection | Ease of Use |
| iTunes Sync | Syncs entire or selected library | ❌ | Full control over song selection | Straightforward if using iTunes |
| iCloud Music Library | Syncs Apple Music & iTunes purchases | ✅ | Limited song selection control | Seamless if using the Apple ecosystem |
| Google Drive | ❌ | Stores library in the cloud | Can select songs to download | Requires uploading songs first |
| Dropbox | ❌ | Also stores the library in the cloud | Can select songs to save offline | Need to install the app and upload |
| MobileTrans | ❌ | ❌ | Select specific songs, albums, playlists | A simple transfer without affecting the library |
Overall, here are 3 reasons why using Wondershare MobileTrans is better for adding music to your iPhone compared to the other methods:
- MobileTrans allows you to transfer specific songs, albums, or playlists without affecting your existing iPhone music library. The other methods sync your full library.
- You don't need a subscription, like Apple Music or a cloud storage account. Just download songs right to your iPhone quickly.
- The transfer is simple and intuitive even for non-tech savvy users. No need to learn complicated iTunes syncing or uploading to the cloud.
So, MobileTrans is the quickest and simplest way to add music if you just want to get songs onto your iPhone. It gives you total flexibility without syncing your entire library.
But iTunes and iCloud Music Library works very well if you purchase a lot of music through Apple. And Google Drive/Dropbox are great cloud storage options. Evaluate your needs to pick the best method for you!
Conclusion
There you have 5 straightforward methods to add music to your iPhone! iTunes and iCloud Music Library are best for syncing your existing music library. Google Drive and Dropbox give you access to uploaded music files. And MobileTrans lets you quickly transfer songs without using iTunes or erasing content.
Choose the music transfer method that works best for your needs. With these options, you'll be listening to your favorite tunes on your iPhone in no time.


