Have you faced an issue when your iPhone voicemail gets full and keeps saying "mailbox is full"? You’ll miss important calls due to the full voicemail in the iPhone. This frequent problem interrupts call connections and prevents recording new messages.
When your voicemail inbox gets full, important calls could slip through the cracks. A stuffed voicemail box leaves no room for fresh messages so you cannot find time-sensitive information. Let's explore why is iPhone voicemail full and how to fix this problem.
In this article
The Problems Caused by Full Voicemail Box
- Overloaded Storage
If your iPhone voicemail gets full, it's not only the voicemail that struggles but also your device's storage. Even worse, each alert that your voicemail is full eats up storage space too. All that used storage can slow down how your phone works.
- Missed Calls Frustration
A full voicemail box prevents your phone from receiving new messages. So, opportunities may pass you by without you even knowing.
- Inability to Record New Messages
When your voicemail box is full, it causes problems receiving and leaving messages. The problem gets worse because a full voicemail disrupts communication both ways. You cannot get incoming messages left for you and you cannot leave outgoing messages either.
Overall, a full voicemail box creates more than annoyance because it causes storage, reception, and recording issues. Let's explore how to clear voicemail messages to help your iPhone communicate better.
How to Check Your Voicemail Box Size?
Knowing your voicemail box capacity is simple. Follow these easy steps and you'll have the details.
- Go to iPhone Settings.

From your iPhone's home screen, select the app labeled "Settings," which features an icon displaying interlocking gears. This icon stands out making the Settings app readily identifiable.
- Scroll further down and select the "Phone" option.

This will reveal customized options for your device's call and messaging features.
- Select the Voicemail option.

Select this to see the particulars, like how much storage space is available for saving messages. Knowing your limit prevents unwanted deletions if the box fills up.
Follow these simple steps to easily see how many messages your voicemail box holds, allowing you to better organize old recordings. Now that you know the current space used, continue on to streamline your voicemail for a smoother iPhone experience.
How to Clear Your iPhone Voicemail
Here’s how to troubleshoot the mailbox is full iPhone notification.
- Step 1: Open the Phone app.

To start, find the Phone application on your home screen. Tap this icon to open the phone program.
- Step 2: Access the Voicemail section.

To access your stored voicemail messages, open your Phone app and locate the Voicemail section. This area holds all voicemail recordings received. Look for the tab labeled Voicemail, commonly found toward the bottom of the screen, and select it. This will display your voicemail inbox where messages can be listened to or managed.
- Step 3: Delete individual Voicemail messages.

Here, you've entered the Voicemail area. To erase individual communications, slide your finger left on a particular announcement you want to take away. An "Delete" choice should show up; tap on it, and the announcement vanishes from your voicemail rundown.
How to Save Important Voicemails Before Deleting
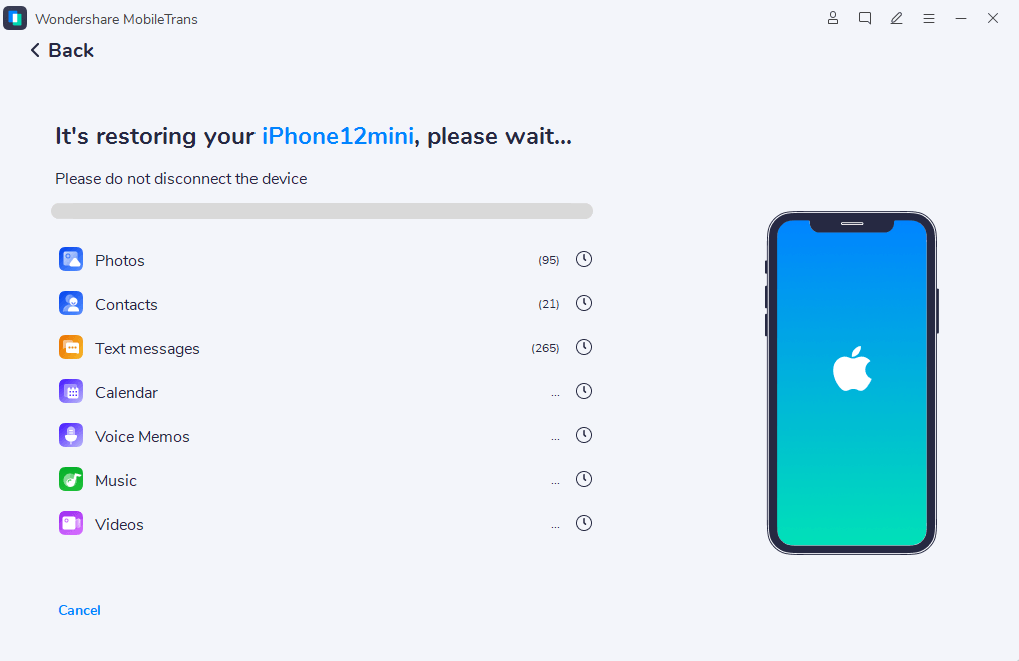
If you clean your voicemail but your phone can’t record new messages, it’s time to get a more reliable solution. And that’s where MobileTrans comes in, a strong yet easy-to-use transfer tool. Here are simple steps to manage a full iPhone mailbox using MobileTrans.
- Step 1: Install MobileTrans.
To start, install and open MobileTrans on your computer. The process involves initiating the application to facilitate moving voicemails between phones.
- Step 2: Access Phone Transfer module.

Simply tap the 'Phone Transfer' option within the MobileTrans app and pick 'Phone to Phone.'
- Step 3: Connect your iPhone and select Voicemail to transfer.

Now, connect both iPhones to your computer with their USB cables to get started. Identify the old iPhone as the 'Source' and the new device as the 'Destination.' Use the 'Flip' button if MobileTrans misidentifies the devices. Check the 'Voicemails' option and any other data you wish to transfer.
- Step 4: Initiate Transfer.

Start the process to move voicemails by tapping 'Start'. Keep both iPhones linked until the transfer finishes. After completion, easily access voicemails from the new iPhone that were moved over.
How to Avoid a Full Voicemail Box?
If you always got stuck because your iPhone voicemail inbox was overflowing? The following tips can help you avoid the trouble beforehand!
- Set Reminders for Regular Checks: Daily schedules can become crowded quickly, causing voice messages to build up unattended. A helpful notification can remind you to inspect and erase voicemails at consistent intervals.
- Utilize the "Clear All" Feature: Do numerous notifications leave you feeling bombarded? The "Clear All" option in your voicemail settings acts like a fresh start, immediately creating room for novel and significant messages.
- Lengthen Voicemail Storage Duration: Look through your voicemail settings to save messages for a greater time. Having voicemails last a bit more before deleting lets you access them after a longer period.
- Optimize for Automatic Deletion: Want to avoid manual cleaning? Adjust your voicemail settings for automatic removal. It means the unimportant messages will say goodbye on their own. That keeps your voicemail box tidy and easy to use.
Conclusion
In short, keeping up with your full iPhone voicemail box is important for continuous communication. Clearing room, removing messages you don't need, and preventing missed calls becomes simple with our easy-to-follow instructions. Before cleaning the voicemail, MobileTrans can preserve your cherished messages.
Keeping your voicemail arranged and available is not difficult anymore!


