


 TL;DR:
Transfer files between PCs locally via external hard drives and LAN cables, or remotely using cloud storage, WhatsApp Web, or remote desktop software depending on your file size constraints.
● Network transfers via LAN require assigning a static IPv4 address to both computers, setting one as the default gateway, and disabling "Password protected sharing" in Windows settings.
● Remote transfer methods possess specific capacity limits, with WhatsApp Web capping files at 2GB and Google Drive offering 15GB of free storage, whereas TeamViewer supports transfers with no file size limits.
● Exporting data from a PC to an Android or iOS phone requires a direct USB connection using Wondershare MobileTrans to process the transfer offline without internet or Wi-Fi dependencies.
Ask AI for a summary
 ChatGPT
 Perplexity
 Gemini
 Claude
 Grok
Grok
If you have also got a new Windows PC, then you can have a similar query in mind. When we move from one computer to another, the first thing that we do is the transfer of our important data. After all, you don’t want to lose your important files while doing the PC to PC transfer.
Well, if you are a beginner, these forums will fail to give you a detailed answer to learning how to transfer files from PC to PC. This article covers some of the finest solutions with detailed guidance that you must consider for data sharing.
In this article
Part 1. Why Should Users Transfer Files from One PC to Another?
Before you know how to send files from PC to PC, are you familiar with the reasons for commencing this process? This section covers possible situations determining the need to share files from one device to another:
- Upgrading to a New PC: When someone purchases a new PC, it raises the need to share data from an old device to a new one. Doing so can streamline the workflow by effectively moving personal files and software without distortion.
- Data Backup and Security: In addition, transferring data from across devices is considered the best backup solution. In case of device malfunctioning or theft, having data on other devices will give you peace of mind that your data is safe and secure.
- Collaborating With Others: In workplaces, data transfer from one PC to another is usually required for real-time collaboration. Various methods can ensure that everyone can access updated data for enhanced productivity.
- Freeing Up Storage Space: Sometimes, excessive data can affect the device's pace, ultimately slowing down work progress. Therefore, moving data across devices will keep your device's performance fast and up to par.
- Transferring to a New Operating System: Instead of storage or backup, there comes a need when you must transfer data from one operating system to another. For instance, sharing data from Windows to macOS aids in accessing important data without losing key details.
Part 2.Effective Ways to Transfer Files from PC to PC
No matter the reason, here are some of the methods you can use to seamlessly share data across devices. Each method contains stepwise guidance and key features to help you learn how to copy files from PC to PC:
Method 1. External Hard Drive
Considering an external hard drive to transfer data across devices is the finest and most reliable solution. Using this approach, you can copy files and folders, depending on your drive storage. However, while pasting the data to the new device, ensure your external hard drive is virus-free to prevent data corruption. Thus, follow the guide below to share files from one PC to another with an external hard drive:
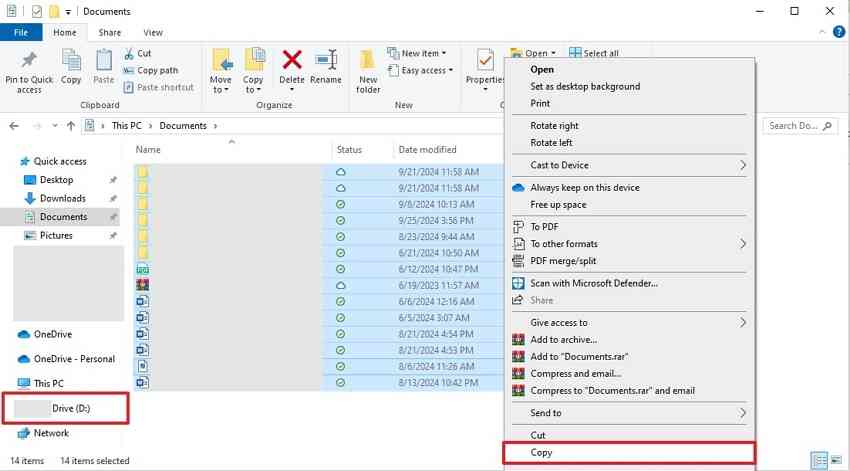
Step 1. To begin, connect the external hard drive with your old PC to start copying the data. Once the drive is attached, locate the folders and copy them all at once by pressing the "Ctrl" key. After selecting them, right-click and choose the "Copy" button, and head to the external hard drive to paste the data.
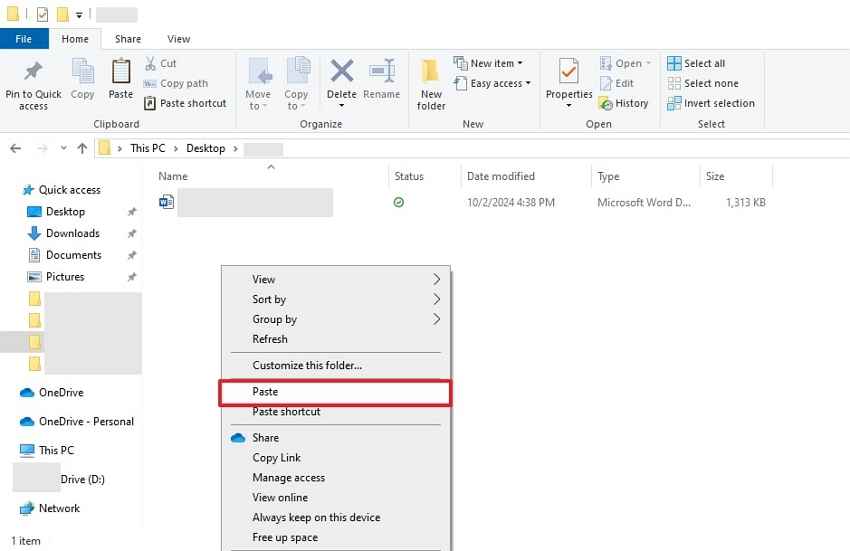
Step 2. On your new PC, connect the external hard cable and choose where to paste the files. As done, right-click and choose the "Paste" option from the dropdown menu to share the folder on another PC.
Method 2. Network Transfer (Wi-Fi or LAN)
A network connection is another method for learning the fastest way to transfer files from PC to PC without affecting data integrity. By using a LAN cable, you can easily share folders without requiring Wi-Fi routers. However, before transferring data, a network connection between devices must be created by assigning them a static IP address. Here is how to connect two PCs on the same IP address and share documents:
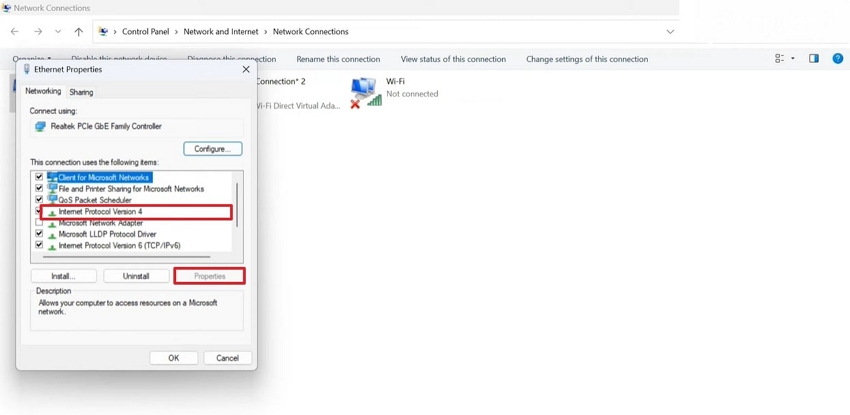
Step 1. Go to "Network Connections" on your PC and right-click on the “Ethernet Adapter” to fetch its properties. A pop-up menu will appear, where you must choose the "Internet Protocol Version 4" option and then the "Properties” button. From the new pop-up menu, configure both computers where one computer will act as the “Default gateway” for the other device.
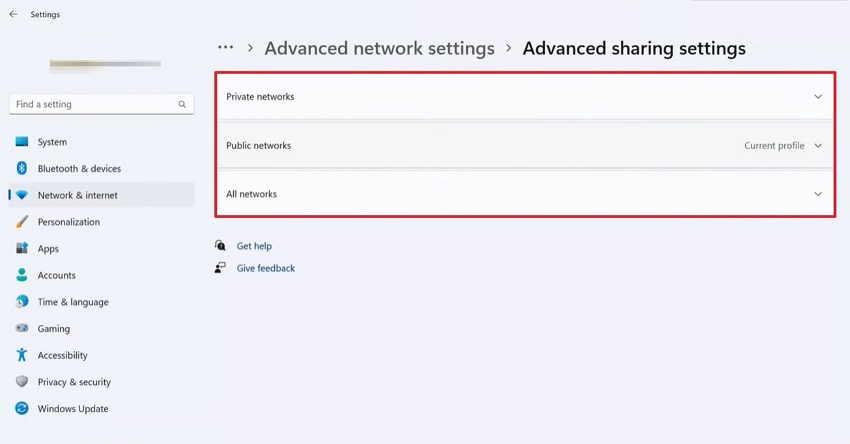
Step 2. Now that both PCs have the same addresses, you have to turn on network sharing on both devices to share data seamlessly. To do so, search for the "Advanced sharing settings" in the Windows settings and toggle on public, private, and all network settings on both PCs. However, do not forget to disable the “Password protected sharing” toggle across the “All networks” settings.
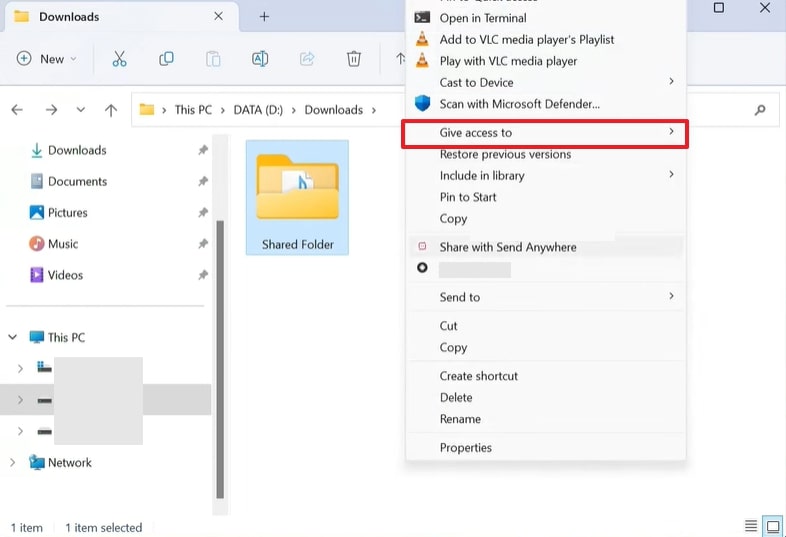
Step 3. Since network sharing is enabled on both devices, move to the folder you want to share and right click to tap the "Give access to" option. Following that, choose "Specific people" from the next pop-up and pick the "Everyone" option from the dropdown menu. Once access is given, hit the "Share" button to move the data to LAN.
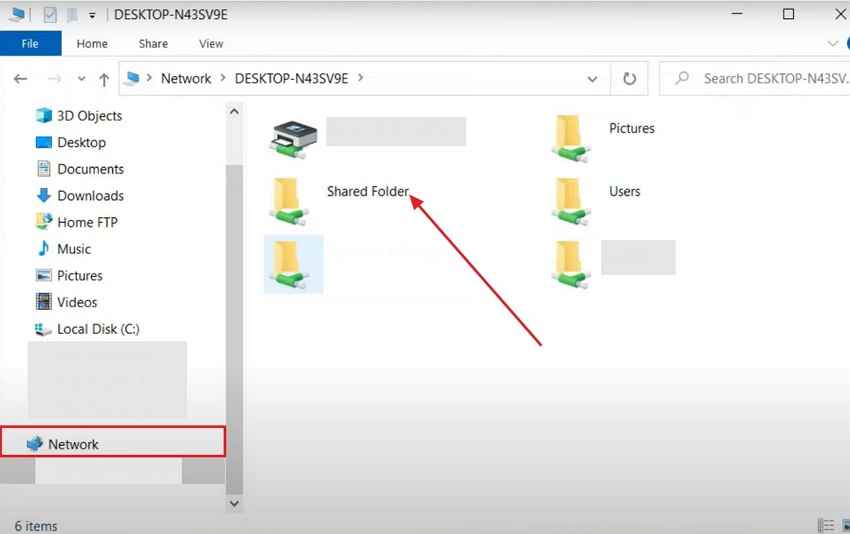
Step 4. Move to your other PC now and click the "Network" folder to locate the shared folder on the main interface.
Method 3. Cloud Services
Cloud services such as Google Drive offer a dependable method for transferring important files between different devices. It provides 15GB of complimentary storage and is compatible with various file formats, such as documents and videos.
Furthermore, you have the option to upload either a file or a folder as required, and it can be accessed from any device with the same account. Hence, follow the provided instructions below to discover the fastest way to transfer files from PC to PC.
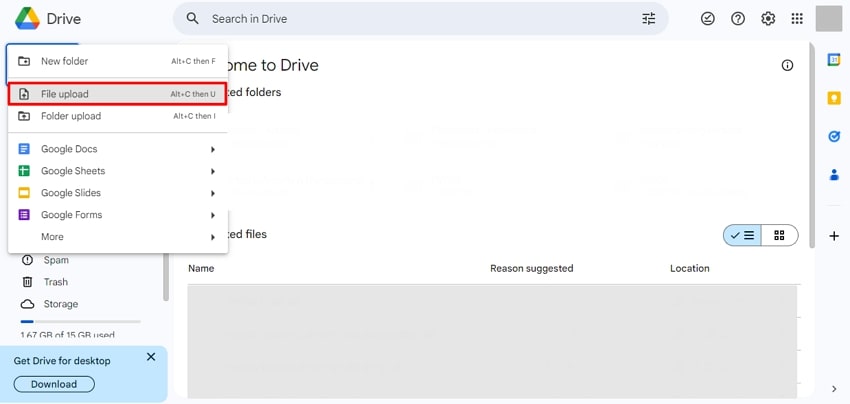
Step 1. Begin the procedure by accessing Google Drive on your preferred browser and logging into your account. Upon accessing its main interface, click the "+" icon to choose the "File Upload" option.
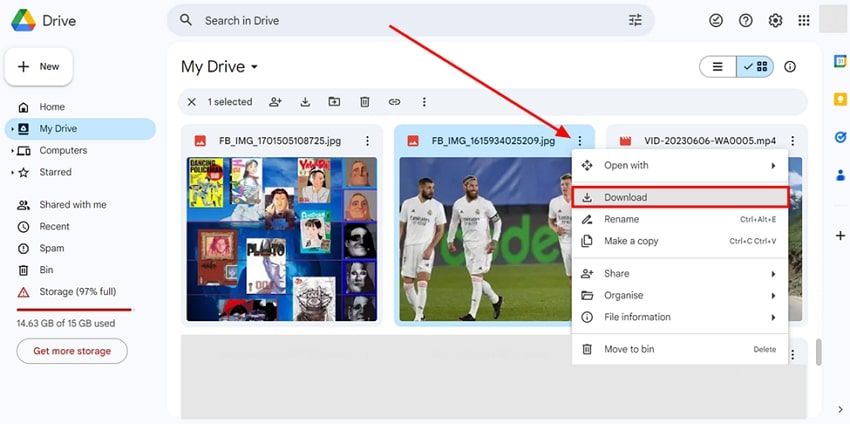
Step 2. Afterward, launch the cloud storage platform on your other computer using the same account you used to upload the file on your first PC. Next, locate the recently uploaded file and click on the "Three Dots" to choose the "Download" option to save it on your computer.
Key Features
- Once the documents are shared via link, you can track the viewed activity using its send and track tool.
- Instead of completely deleting files, Google Drive stores the files in the “Bin” tab to restore them if needed.
- You can limit the editing access after sharing the file through this platform.
Method 4. Remote Desktop Software
If you are working from a distance and need to quickly share files across different remote devices, there are numerous tools available to help with this. These tools enable users to remotely connect to and operate a different computer or device from a separate place. In this section, we will examine three well-known remote desktop software solutions for smooth remote access and control.
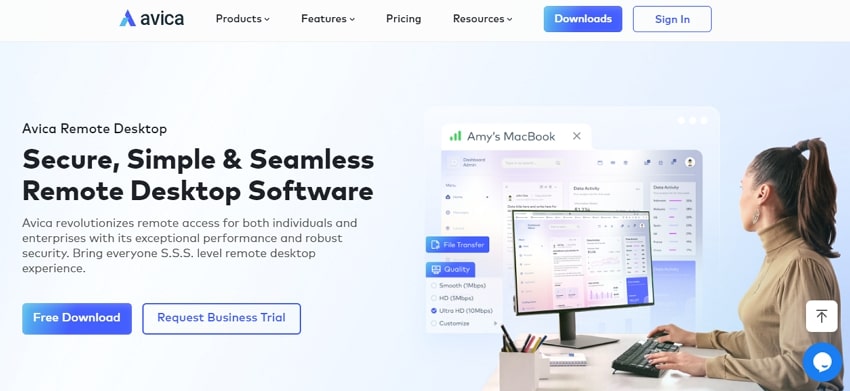
Avica Remote Desktop is a remote desktop software solution that focuses on seamless file transfer capabilities between devices. The platform allows you to send files directly between connected devices during a remote session. Alongside that, it ensures data encryption during file transfers to keep your information safe from unauthorized access.
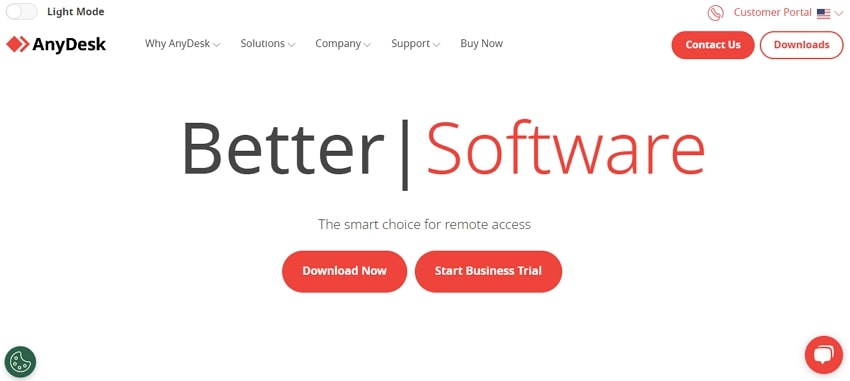
2. AnyDesk
It is another popular remote desktop software known for its efficient and user-friendly file transfer capabilities. This platform offers a dedicated file transfer mode, allowing users to send files between devices without accessing the remote desktop interface. Apart from file sharing capability, it includes features like a whiteboard and annotation tools that let you highlight parts of the screen or make notes during the session.
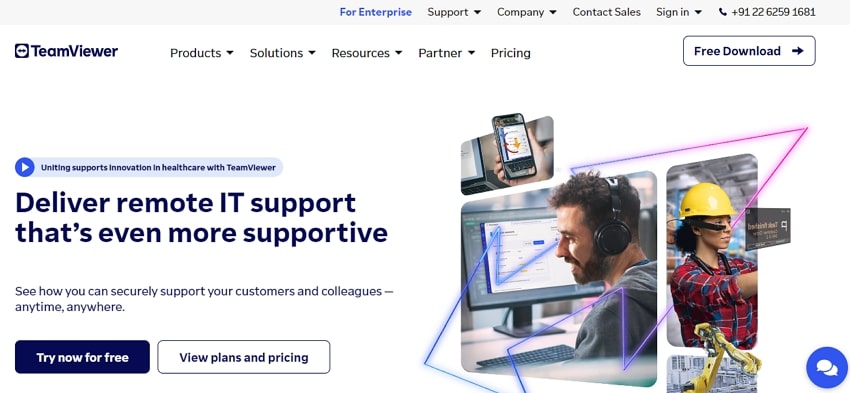
3. TeamViewer
TeamViewer enables fast and secure file transfers between connected devices, making the process efficient. It allows for the transfer of large files with no size limit, which is ideal for businesses and individuals needing to send high-volume data. Furthermore, this platform uses end-to-end encryption for secure connections to protect your data and sessions from unauthorized access.
Method 5. Online File Transfer Services
In spite of installing software, you can also consider WhatsApp Web since it's the best way to transfer files from PC to PC. This method works on both desktop and mobile to allow seamless file transfers across devices. However, you can only transfer files with a maximum size of 2GB per transfer using this method. Thus, follow the instructions below to learn how to transfer files from one computer to another.
Step 1. Open WhatsApp Web on your browser and navigate to the “Chat” where you want to send the file. Next, click on the “+” icon to choose the “Document” option to select the file from your computer. Once the file in uploaded, simply hit the “Enter” button and the file will sent to your chosen recipient.

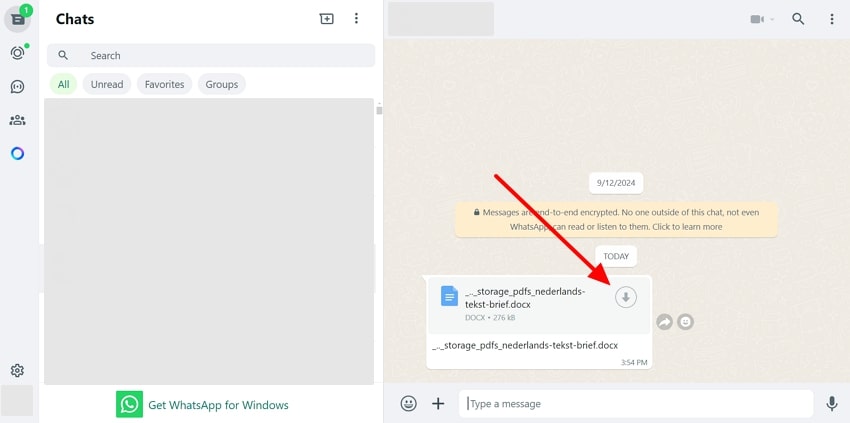
Step 2. Now, open this web messaging platform on another PC with the number to which you have sent the file. Then, simply click on the "Download" icon, and the file will download successfully on the second PC.
Part 3. Import Data to Your Phone Using MobileTrans
Now that you know the fastest way to transfer files from PC to PC, there comes a time when you have to share data from PC to phone. Through this process, you can create a backup of your files in case your PC gets stolen or corrupted. In that context, Wondershare MobileTrans offers you convenient methods to share data on the iPhone or Android in a few taps.
While moving the data, you won't have to face the hassle of connecting devices to the internet or Wi-Fi. By merely installing the app on your devices, you can easily share the data with enhanced protection to prevent data breaches. Not just that, MobileTrans ensures safe and hindrance-free data sharing since it operates via USB cables to move data.
Wondershare MobileTrans
Transfer Your Phone Data Easily
- • No data loss. No data leaks.
- • Support various data, including files, photos, videos, apps, contacts, etc.
- • Compatible with thousands of device types acorss Android and iOS.
- • Transfer photos, videos and more from Android or iOS device to Computer and vice versa.
 4.5/5 Excellent
Guide to Transfer Data from PC to Phone with MobileTrans
No matter if you want to share a single folder or multiple files, here is how you can use MobileTrans to import data on your mobile phones:
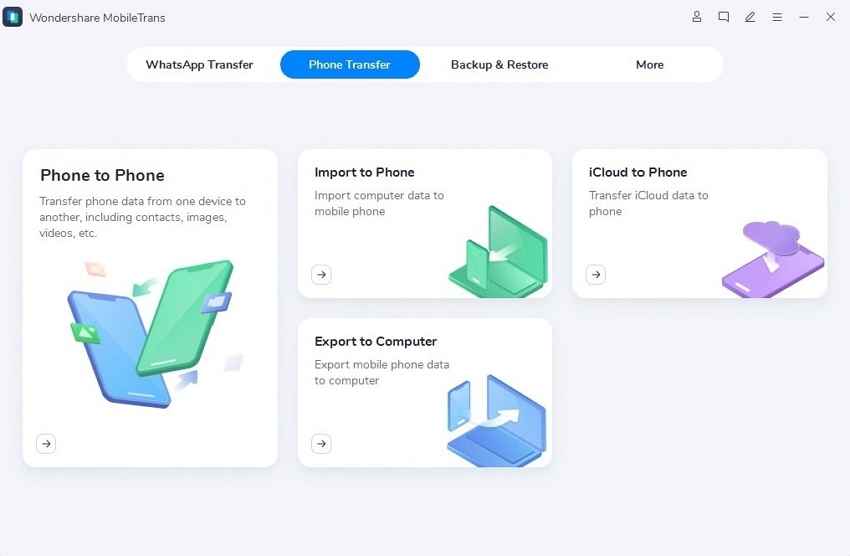
Step 1. Connect Your Devices via USB Cable and Access Import to Phone Feature
Start by launching MobileTrans and connecting devices through USB to let the software detect your Phone. After that, choose the "Import to Phone" feature from the "Phone Transfer" tab on your PC to start the file-transferring process.
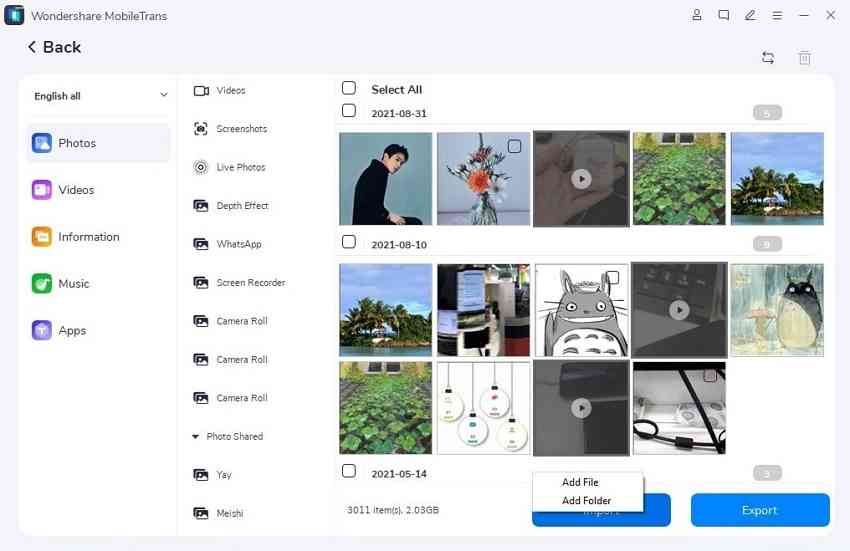
Step 2. Decide the File or Folder You Desire to Import on the Phone
From the next screen, press the “Import” button at the bottom to manually browse your system and choose the files you want to transfer. Within MobileTrans, your data is organized into various categories that you can preview before transferring.
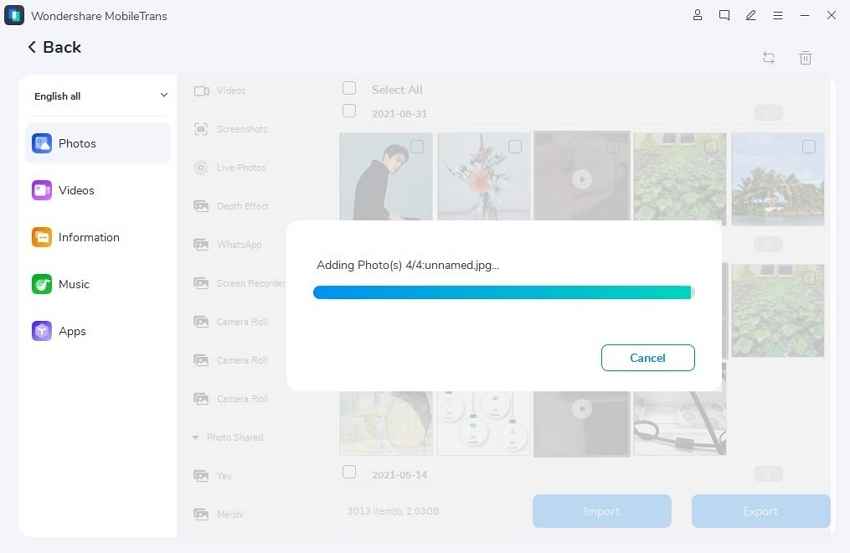
Step 3. End the Import Process After Choosing Data
After you choose the desired file or folder from the MobileTrans menu, hit the "Import" button again to share data on your mobile Phone.
Advantages of Using MobileTrans
- Cross-Platform App Sharing: For phone-to-phone sharing, MobileTrans offers you a list of apps that allow batch installation.
- Data Sharing from Phone to Other Operating Systems: It doesn't matter if it's an app, image, or music, MobileTrans enables you to extract data across PC or macOS in just one click.
- Pocket-friendly Solution: Unlike other platforms, it’s a cost-effective solution for importing or exporting data across devices for sharing or backup.
Conclusion
Summing up, learning the best way to transfer files from PC to PC is necessary to ensure safe and secure data sharing. Therefore, the guide provides detailed guidance on the best approaches for moving data from one device to another. Review the details and explore how MobileTrans makes this process seamless for you with its advanced data migration methods.


