


 TL;DR:
Transferring music from an iPad to a Mac requires choosing between MobileTrans for unrestricted wired transfers, AirDrop for wireless sharing, or iTunes and iCloud for syncing official Apple purchases.
● iTunes restricts transfers exclusively to music purchased directly from the iTunes store and cannot move third-party or unpurchased tracks to the computer.
● Syncing via iCloud requires an active Apple Music or iTunes Match subscription using the same Apple ID, but the transmission is slower and disabling the iCloud media library afterward will automatically delete the downloaded content.
● For non-purchased local files, MobileTrans utilizes a USB cable to transfer data without overwriting existing files, while AirDrop handles wireless transfers once the Mac's receiving visibility is set to Everyone.
Ask AI for a summary
 ChatGPT
 Perplexity
 Gemini
 Claude
 Grok
Grok
You may need to transfer music from iPad to Mac for many reasons. For example, you might have lost all your songs from the Mac. But the songs are still on your iPad, so you wish to restore them to the Mac.
Or you've captured new music files with your iPad and wish to enjoy them on the computer. Your iPad storage may also be running out after downloading lots of songs. You don't want to delete them, and transferring them to the Mac sounds excellent.
Whatever your case is, it's easy to transfer these items to the Mac. Just like you can easily get music from iPhone to PC, you can also do that with iPad and Mac. This article will discuss various methods to do it. Read on and find out which one works best for you.
In this article
Transfer Music From iPad to Mac with One Click
MobileTrans - Phone Transfer is the quickest way to move music from iPad to Mac. You only need a USB data cable. Besides being fast, the MobileTrans software doesn't overwrite data during the transfer. All of your music will be safe and secure.
The best part is that the software has an extremely easy-to-use interface. Anyone can use it to share music between devices with one click.
Wondershare MobileTrans
Move Your Data to Mac Efficiently
- • No data loss. No data leaks.
- • Support various data, including files, photos, videos, apps, contacts, etc.
- • Compatible with over 6,000 types of devices acorss Android and iOS.
 4.5/5 Excellent
Use the following steps to transfer music from iPad to MacBook with the MobileTrans:
- Download from the official website, then install the MobileTrans software on your MacBook.
- Connect your iPad to the Mac using a USB data cable.
- Open the MobileTrans software on the Mac. Go to Phone Transfer, then choose Export to Computer.

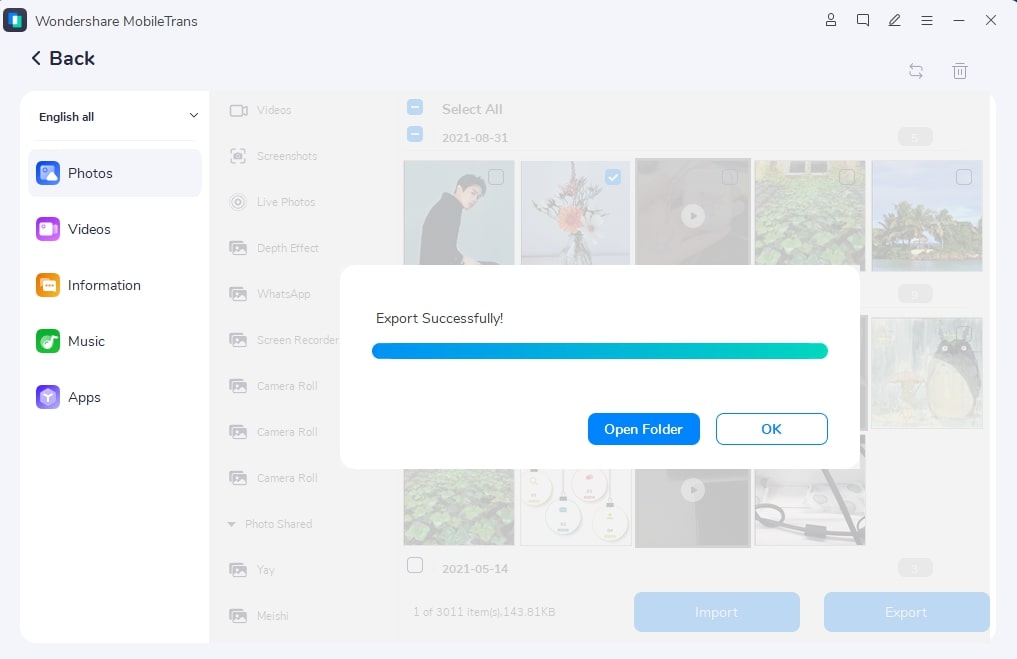
- MobileTrans will display five data types you can transfer from the iPad to your Mac on the left sidebar. Choose Music, select the songs you want to export to the Mac, and click Export.

- Wait while your Music is being exported to the Mac. The process will be completed soon. Meanwhile, don't interrupt the connection.
Unplug your iPad once the export is done. That's how to transfer songs from iPad to Mac. It's as simple as that. Your music is now saved on your Mac!
Transfer Music From iPad to Mac with iTunes
iTunes is another great option for anyone to learn how to transfer music from iPad to Mac. It lets you purchase and manage music on your device and sync iPad songs to Mac. You can even backup and restore iPad music from the computer.
There's one downside, though. You can only transfer music purchased from iTunes. If you wish to share songs downloaded from another source, iTunes won't help. In other words, iTunes doesn't support third-party music apps. You can't transfer non-purchased music to the Mac using this method.
But if all your music is purchased from iTunes, then here's how to copy music from iPad to Mac:
- Ensure you have the latest iTunes on your Mac.
- Connect the iPad to your Mac with a USB data cable. If prompted, tap Trust and follow on-screen instructions to allow the computer access to iPad content. After that, launch the iTunes app.
- Click on File on the main iTunes interface. Next, click Devices, then choose Transfer Purchases from [your iPad’s name].

- You'll see a prompt to enter your Apple ID and password to authorize the transfer. Input them, and you're done!
- The music will be copied to your Mac shortly. After that, on your Mac, choose Recently Added from the left sidebar of the iTunes window. Select the transferred music and click Download. That will copy them to the computer.
- If you can't find the Download button, right-click on the music, then choose Show in Finder. That will open a directory where your music files are saved. And that's how to get music from iPad to Mac.
Part 3: Other Methods to Transfer Music from iPad to Mac
Besides MobileTrans and iTunes, there are methods to transfer music from iPad to Mac. These include AirDrop and iCloud. Check the details below.
AirDrop is one of the most popular data-sharing methods between Apple devices. You can wirelessly transfer music from your iPad to the Mac.
- Turn on AirDrop on both iPad and Mac.
- On your Mac, open a Finder window. Locate AirDrop from the left sidebar. Click on it, then set its visibility to Everyone.

- On the iPad, open the Settings app, then tap General. Turn on AirDrop.

- Open the Music app on the iPad and find a song to share.
- Tap the three-dot (More icon) button at the right-bottom corner of the screen. Choose Share Song...then tap AirDrop.
- Tap your Mac icon from the list of AirDrop-ready devices on the AirDrop tab. Open your Mac, then tap Accept to receive the music file.

- Move Music From iPad to Mac with iCloud
Have you subscribed to iTunes Match or Apple Music? You can use iCloud to sync iPad music to Mac.
It's an excellent option for any iPad and Mac user. If you open the iCloud music library on both devices, your songs and playlists get synced to iTunes. You must sign in using the same Apple ID. The one you use to subscribe to Apple Music.
However, the transmission process is usually slow compared to other methods. Also, when you close the iCloud media library, any downloaded content will be deleted.
Can you put up with these downsides? If yes, follow the steps below and transfer music from iPad to Mac without iTunes:
- On your iPad, go to Settings, then choose Music. Toggle the iCloud Music Library (Sync Library in iPadOS 13 or later) option to On.

 Note: You'll be asked whether to keep your iPad music. All music files on the iPad will be uploaded to iCloud Music Library if you choose to support them. But what if you decide to Delete & Replace? In that case, all files on your iPad will be replaced with the iCloud Music Library's content.
 - On your Mac, open iTunes, then choose Edit. Click Preferences at the top menu bar on the iTunes window.
- Click General, then tick iCloud Music Library. Click OK. Your music from the iCloud Music Library will be uploaded to iTunes.
- If you're still on the Mac, follow the path: Libraries > Music > iTunes Media > Music. It will take you to the folder containing all the music you need. Drag and drop this folder to your Mac.
Conclusion
Learning to transfer music from an iPad to an iMac or Macbook Air is easy. This article has shown you how by discussing many ways to do it. We've outlined MobileTrans as one of the quickest ways. It also lets you transfer any music without limitations.
But you can also use iTunes to download music from iPad to Mac. That is your purchased music. Alternatively, use AirDrop, the most popular sharing method between Apple devices or iCloud. So, choose the most appropriate method and transfer those songs from the iPad to the Mac!
4.5/5 Excellent

