


 TL;DR:
Transferring music from an iPad to an iPhone requires selecting a method based on file ownership: use Wondershare MobileTrans, AirDrop, or the Mail app for non-purchased audio, and iTunes or the built-in Settings app for purchased tracks.
● Wondershare MobileTrans supports bulk transfers of non-purchased music via a computer connection, bypassing the manual selection process of AirDrop and the attachment size limitations of the Mail app.
● Attempting to share purchased Apple Music songs using AirDrop or the Mail app will only transmit a URL link to the destination device rather than the actual playable audio file.
● Official synchronization of purchased music strictly requires both the iPad and iPhone to be logged in with the identical Apple ID, and using the Sync Library option via Settings is exclusively available to active Apple Music subscribers.
Ask AI for a summary
 ChatGPT
 Perplexity
 Gemini
 Claude
 Grok
Grok
If you enjoy music, you probably want to have your favorite songs available on any device you own. So you have surely come to the right place if you have been considering moving your favorite tunes from your iPad to your iPhone.
This article covers five main ways to transfer music from iPad to iPhone. So let's go right to the important matter instead of wasting time. Continue reading to learn more.

3 Ways to Transfer Music From iPad to iPhone [Non-Purchased Music]
Here is what you need to know if you have been looking for solutions to help transfer your own or downloaded music on your iPad over to your iPhone.
Method 1: Transfer Music From iPad to iPhone via MobileTrans
MobileTrans from Wondershare is an incredible software that allows users to transfer files, music, photos, etc., over a pool of devices. For instance, you can transfer your desired files from iPhone to iPad, Android to iOS devices, and mobiles to computers. All in all, it's limitless.
Wondershare MobileTrans
- • WhatsApp Transfer: It retrieves your WhatsApp data from your old device and safely transfer it to a new device
- • Phone Transfer: capable of moving over 18 types of data files over Android and iOS devices
- • Backup and Restore: perform a one-click backup and restore procedure from your iOS or Android devices to a Mac or PC
- • It is fast and reliable.
- • You won't lose any data during the transfer.
 4.5/5 Excellent
Steps to Transfer music from iPad to iPhone via MobileTrans:
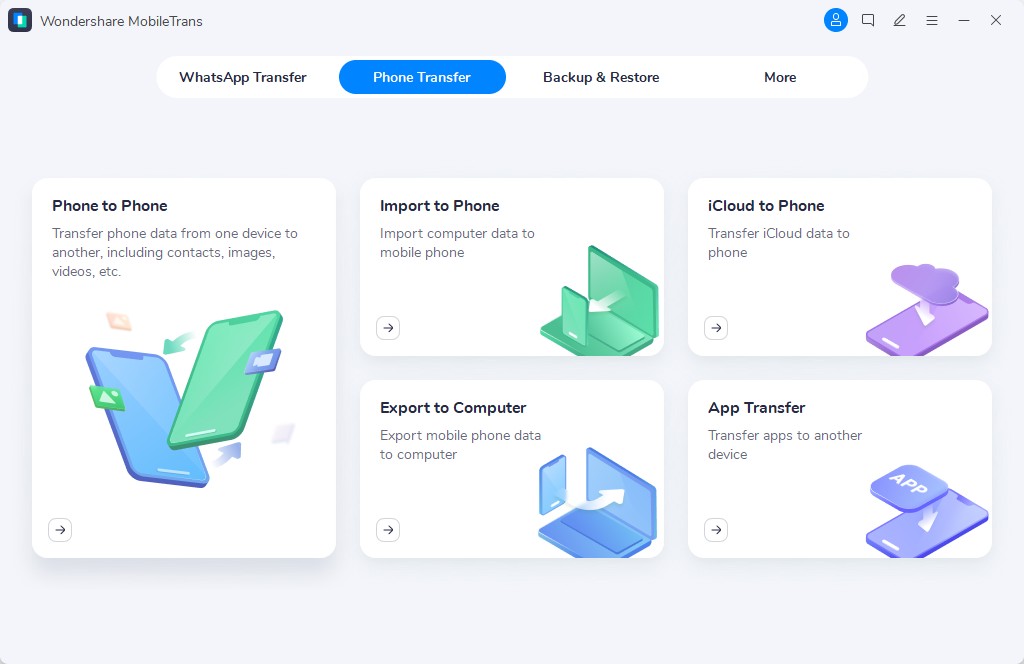
- Please install the application, and launch it. From the main screen, go to Phone Transfer
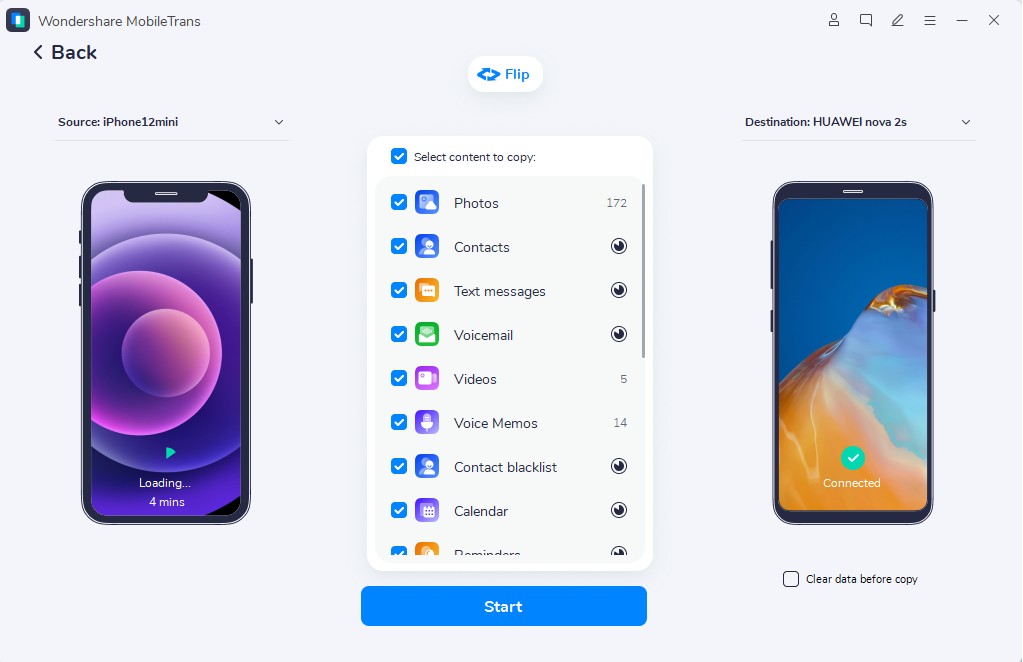
- Securely connect both your iOS devices to the computer through a USB cable. Then, wait until MobileTrans detects both iPhone and iPad.
- When detected, ensure you have assigned the iPad as the Source and iPhone as the Destination. If arranged incorrectly, hit the Flip tab to correct their positions.

- Now, it will show you all the contents of your iPad. Select Music and click on Start. And the process will complete soon.
Why Choose MobileTrans?
If you are wondering why one should use this app, here is why:
- Capable of transferring all your non-purchased music at once
- faster transfer speed than other transfer apps
- supports over 6000 devices
Method 2: Move Music from iPad to iPhone through AirDrop
Apart from MobileTrans, you can use Apple services such as Air Drop. It is one of the best processes to help you move your favorite music from your iPhone to your iPad without a charge.
Steps to Move Music from iPad to iPhone through AirDrop:
- Take your iPhone and iPad and turn on AirDrop
- Now, go to your iPad, open Music, and tap and play a song you wish to move to your iPhone.

- Hit on More, and tap on Share Song

- Choose AirDrop and select the destination device i.e., your iPhone
- On the iPhone, tap on Accept or View to see the transferred music
Note: Here is something you should pay attention to: if you transfer purchased songs in Apple Music through AirDrop, you will be allowed to send out links, not the actual file.
Pros:
- AirDrop is wireless
- No tool or any third-party app needed
Cons:
- Pretty slow
- You have to do transfers manually
Method 3: Send Music from iPad to iPhone Using Mail App
Apart from AirDrop, what if I tell you that you can also use the Mail app to transfer your favorite songs from your iPad to your iPhone? Yes, it is possible.
Steps to Send Music from iPad to iPhone Using Mail App:
- Head to Mail App on the iPad, click Compose, enter the correct email address, click on Add Attachment, select the song, now hit Send
- Open the Mail app on your iPhone, refresh the inbox, open the received mail, and download it

Note: If you want to send purchased songs to Apple Music via Email, you can only send the link, not the file.
Pros:
- Pretty easy to transfer
- No charges required
Cons:
- Imposes size limitations
Part 2: Sync Music From iPad to iPhone Officially [Purchased music]
Wondering how to officially get all your favorite purchased tracks from iPad to iPhone? This section is all yours.
Method 1: Sync Music From iPad to iPhone via iTunes
If you are an iTunes user, you can synchronize the music from your iPad to your iPhone to transfer your music. Check this out:
- First, ensure that both your iOS devices are signed in with the same Apple ID
- Connect your iPad to your computer, and iTunes will be launched automatically
- Click the iPad icon, select Music from the list, and enable Sync Music.
- Disconnect your iPad. Then, connect your iPhone to Your PC.
- Follow similar steps above to sync the iTunes library to your iPhone.

Pros:
- Easy transfer of songs from iPad to iPhone
- Less complicated
Cons:
- Requires the same Apple ID
Method 2: Sync Music From iPad to iPhone via Settings
Another way of transferring your favorite music from iPad to iPhone is via settings. Here is how it can be done:
- Ensure that both your iPad and iPhone are running with the same Apple ID
- Head to Settings on both the devices
- Click Music
- Toggle to turn on the Sync Library

Pros:
- Easy
- No charges needed
Cons:
- You have to be an Apple Music subscriber to do so
Final Thoughts
You can use any of the methods mentioned above to transfer music from iPad to iPhone. However, MobileTrans would be a fantastic option if you have a PC. Now, you can enjoy your favorite music on all your iOS devices.


