Moving to the iPhone is an exciting step forward, but it can be disheartening when cherished photos don't make the journey. Isn’t it?
So, the photos didn't transfer to new iPhone 17? In this article, we'll clearly address why and how photos failed to transfer. Each photo holds a special memory, and losing even one feels like misplacing a piece of your story. Our aim is clear: reunite you with these moments.
Let's work together to ensure your memories find their place in your new iPhone.
In this article
A video guide for your quick look:
Why Didn't My Photos Transfer to the New iPhone?
Insufficient storage on your new iPhone might be the culprit. It causes photos to stall in transfer. Additionally, network instability or a weak connection can lead to incomplete migration. Outdated software versions on either device can also hinder the seamless transfer of your photos.
Here are some common reasons why you cannot swiftly move photos to your new iPhone:
- Connectivity Issues: Weak or unstable network connections may interrupt the transfer process, leading to incomplete migration.
- Outdated Software: Running older iOS versions on either device can result in compatibility problems, hindering photo transfer.
- File Corruption: Damaged or corrupted photos may fail to transfer, requiring special attention.
- Incomplete Backup: If your old device's backup was incomplete or interrupted, some photos may not have been included in the transfer process.
- Disabled iCloud Account: If your iCloud account is disabled or experiencing issues, it can prevent the seamless transfer of photos to your new iPhone.
By identifying the specific issue can greatly assist in finding the right solution. The problems of connection, software and photos are easy to discover and solve. However, when it comes to iCloud, you may need a step-by-step guide for your iPhone new iPhone.
Photos Didn't Transfer to new iPhone? Try These Solutions
Solution 1: Enable iCloud Photos on Your iPhone
iCloud can help move photos to the new iPhone easily. It syncs them across devices, avoiding manual transfers and potential data loss. If you find your iCloud account is disabled, you need to enable it at first.
Here are the steps to enable iCloud Photos on iPhone for a seamless transfer:
Step 1: Open the Settings app on your iPhone and select “Photos”.

Step 2: In the Photos settings, enable the “iCloud Photos” option if it was disabled by default.
Solution 2: Use the Same iCloud Account on Both iPhones
You have enabled iCloud Photos, however, the photos didn’t transfer to your new iPhone. Then you can check if your iPhones have logged in the same iCloud account.
This is a straightforward and hassle-free method. Once set up, all photos on your old iPhone will be automatically backed up to iCloud, providing an additional layer of security for your precious memories. Follow the below-listed steps:
Step 1: On your old iPhone, go to "Settings" and tap on your name at the top. Then select "iCloud."
Step 2: Ensure you are signed in with your iCloud account. Now, it’s time to enter your Apple ID and password.
Step 3: In the iCloud settings, turn on "Photos" to sync your photo library. This ensures all your photos are backed up to your iCloud account.

Step 4: Allow some time for your photos to sync with the iCloud server. This process might take a while depending on the number of photos.
Step 5: Power on your new iPhone and follow the on-screen instructions until you reach the "Apps & Data" screen.
Step 6: Choose the option that says "Restore from iCloud Backup".

Step 7: Now, here comes the crucial part. Enter the same iCloud credentials that you used on your old iPhone.
Step 8: Select the most recent backup file from the list. This should be the one containing all your photos.
And that’s it! Allow the restoration process to finish. Your photos and other data will be transferred to your new iPhone.
Once the process is complete, open the Photos app on your new iPhone to ensure that all your pictures have been successfully transferred. By using the same iCloud account on both iPhones, you won’t fail to transfer the photos you need on the new iPhone.
Solution 3: Backup Your Old iPhone Again
If your new iPhone doesn't have enough room for all your photos, or if your old device's backup was incomplete or interrupted, you should make a new backup of your old iPhone. But this time, only back up the photos from the apps you use a lot. This way, the backup can fit nicely on your new iPhone.
Step 1: Go to Settings on your old iPhone and tap your profile.
Step 2: Choose iCloud.

Step 3: On the iCloud page, switch off the button next to apps whose data you don't need in the iCloud backup.
Step 4: Return to the iCloud page and tap iCloud Backup. Then, switch on Back Up This iPhone and tap Back Up Now to save your chosen photos and data to iCloud.
Solution 4: Use Move to iOS
If you’re an Android user, we also have you covered. You can transfer your photos via Move to iOS to your new iPhone. Because Move to iOS is an app specialized for transferring Android to iOS devices.
Step 1: Download and launch “Move to iOS” app both on your iPhone and Android device.
Step 2: Follow the setup instructions until you reach the "Apps & Data" screen. Then tap on "Move Data from Android" when prompted during the setup process.

Step 3: You will receive a six- or ten-digit verification code on the iPhone. Enter this code on your Android when prompted by the "Move to iOS" app.

Step 4: On your Android device, select the photo you want to transfer to your iPhone.
Step 5: Tap "Next" on your Android phone, and the data transfer process will begin. If you need to transfer lots of photos, it may take some time.
Solution 4: Use Wondershare MobileTrans Tool
Unlike manual methods or other software, Wondershare MobileTrans streamlines the process. You won’t have to go through the manual process, logging in your Apple ID or entering verification code. And you don’t need to worry about the limited storage of iCloud or iPhone.
Moreover, MobileTrans saves time even if you have a large number of photos to transfer to a new iPhone. And it allows cross-platform transfer. Not matter from iPhone to iPhone, Android to Android, Android to iPhone and vice versa. It effortlessly transfers with just a few clicks.
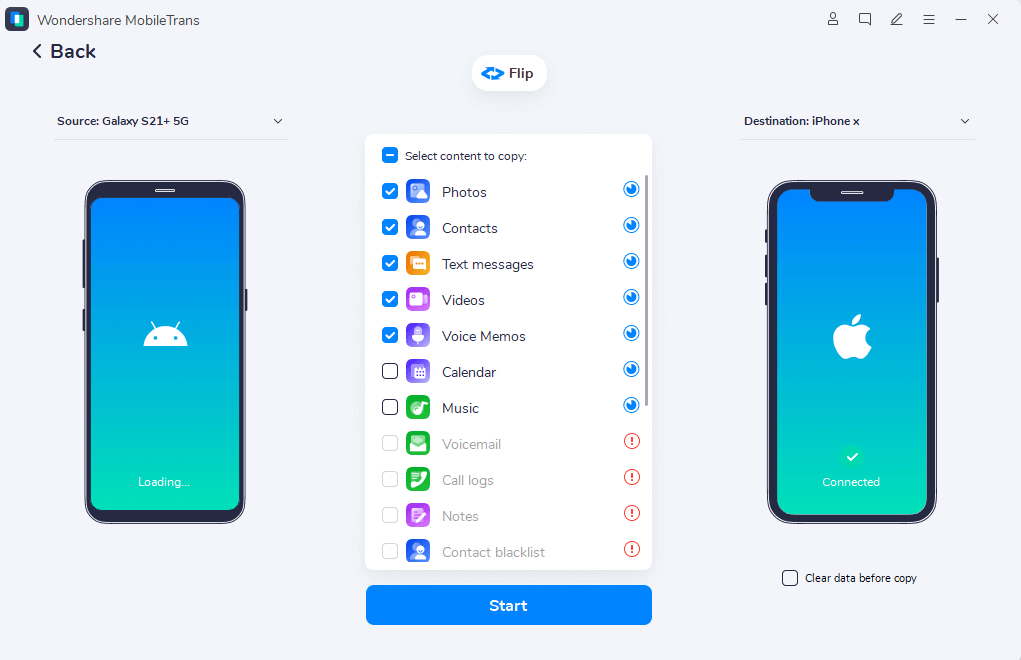
Step 1: Download and install the Wondershare MobileTrans tool on your computer.
Step 2: Use USB cables to connect both your old phone (the source) and the new iPhone (the target) to your computer.
Step 3: Open the MobileTrans software on your computer. It will automatically detect both connected devices.

Step 4: In the main interface, switch to the “Phone Transfer” tab. Select the “Phone to Phone” option to get started.

Step 5: From the list of data types, select 'Photos'. This tells MobileTrans specifically what you want to transfer.
Step 6: Click 'Start' to begin the transfer process. MobileTrans will now start moving the selected photos from your old iPhone to the new iPhone.

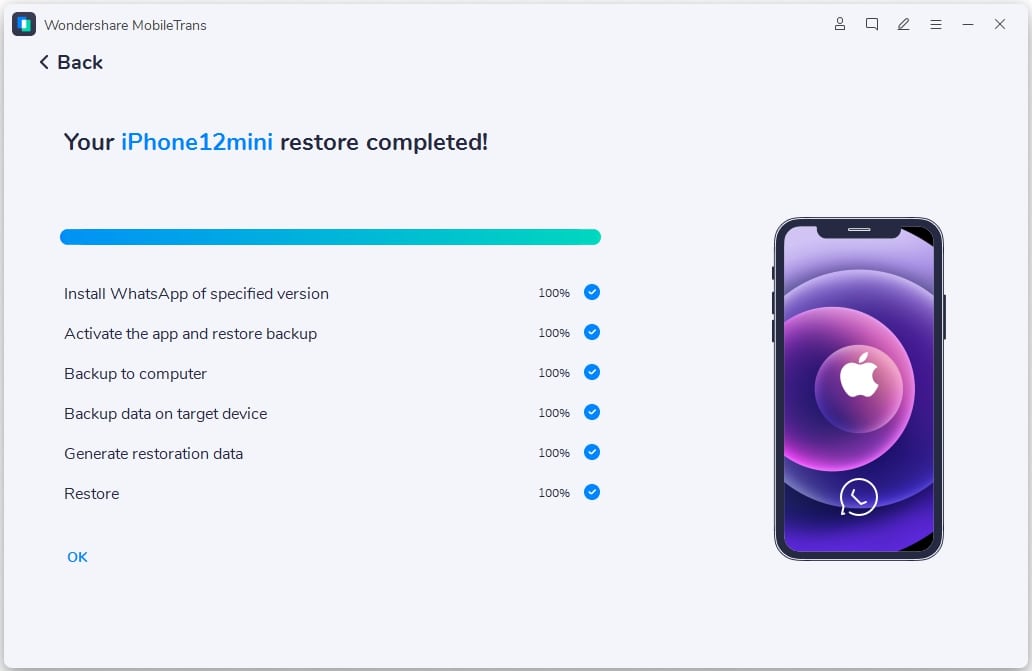
Once done, MobileTrans will notify you of the successful completion of the transfer. Verify on your new iPhone that the photos have been transferred correctly.
Tips for Seamless Photo Transfer on iPhone
Stuck with the “Why my photos didn't transfer to new iPhone” thought? Here are some quick tips for a seamless photo transfer while setting up your new iPhone:
- Choose a strong and stable Wi-Fi connection. It is essential for a smooth transfer process.
- Ensure both your old and new iPhones are running the latest iOS versions for compatibility.
- Consider using a user-friendly tool like Wondershare MobileTrans for an efficient transfer process.
- If enabled, turn off Battery Saver mode to ensure uninterrupted data transfer.
- Connect both iPhones to power sources during the transfer to prevent any interruptions due to low battery.
Conclusion
Through simple steps, we've resolved the hitch of “Photos didn't transfer to new iPhone” issue. These straightforward fixes have reconnected you with your precious memories. In a world of pixels and moments, your memories now shine bright once more. Welcome to a world of seamless transitions.
FAQ
-
What can I do if I see the "Unable to Transfer Photos" error message during the migration process?
If the "Unable to Transfer Photos" error appears, ensure both devices have ample storage and a stable connection. Restart the transfer process and verify your settings for a successful migration. -
Can I transfer photos wirelessly, or do I need a physical connection?
While wireless transfer options exist, using a physical connection via a tool like Wondershare MobileTrans often provides a more reliable and faster solution for photo migration. -
Will transferring photos affect the original copies on my old device or cloud storage?
No, transferring photos doesn't alter the originals. They remain intact on your old device or in cloud storage. The process creates a duplicate, safeguarding your memories.


